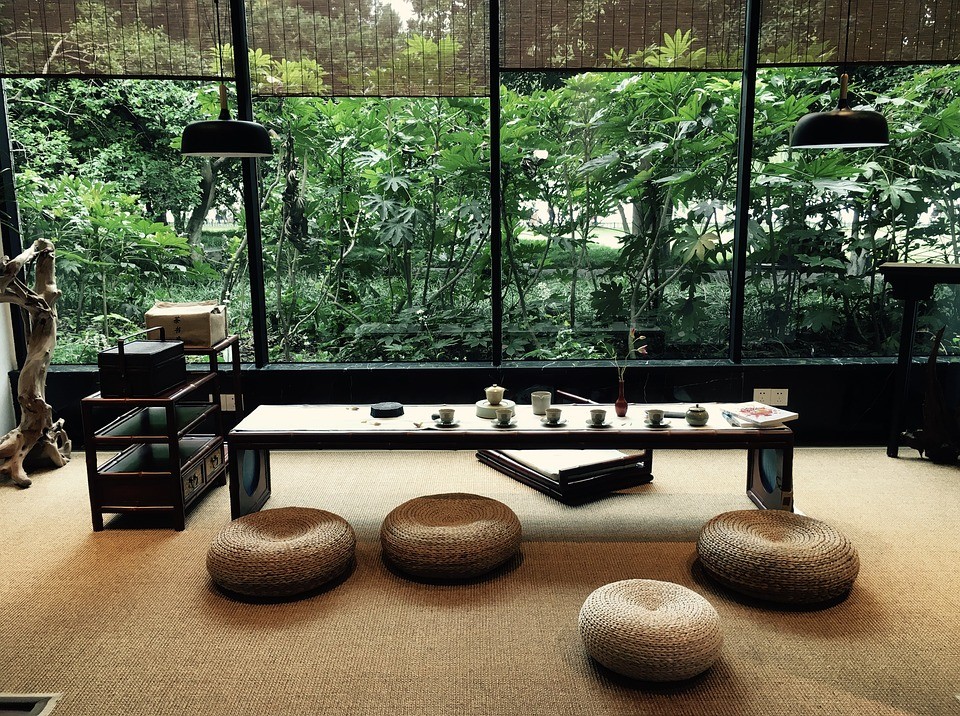
The market of real estate is more and more developed and popular also, selling your property is truly fierce competition. Therefore, how to help you as your real estate product have successful position in the market?. Taking better photos isn’t the only way you can improve visibility, but your potential customers will want to see the product. A picture really is worth a thousand words. The more high-quality images the more attraction’s customers, you can completely do it.
Below are some real estate photography tips to catch your customer’s eyes in the first time.
Use the correct equipment
Before shooting real estate photography, the first tphotos tips you should do: choosing and using the correct equipment. Therefore, how to use the correct equipment?. You need to take care of 3 main elements including: wide lens, flash and tripod.
Wide angle camera lens will give each room in the home a true sense of depth. Additionally, wide lenses are an incredible way to display the whole room or exterior so that one can clearly see how it looks in detail. Furthermore, using wide angle camera allows you avoid unrealistic images and at the same time, allows to zoom out and make a space look larger and more spacious.
For using tripod, you have on a tripod allows you to keep the camera and be more deliberate in making your composition. With a digital camera, you can take a quick test shot and review it to make adjustments for the final shot. First, you can adjust the overall composition and what is in the frame by moving the camera or changing the lens. It really helps if your camera is on a tripod. Then, make the next adjustments by moving the furnishings and objects in the room. So they are most pleasing in the photo.
Taking unique photos
Interior Photography
Homes come in all shapes, sizes, styles, and conditions. Here we send them a task list with our suggestions on prepping the home prior to the photo session. Once inside, you should set out to photograph the main rooms: the living room, kitchen, dining area, master bedroom, master bath, are all ‘must shoot’ rooms. There could also be a library, office, large walk-in closet, and more. The client can often tell you what they deem important. Next, seek to the best perspective for each room.
Exterior Photos
Shoot from a low angle to create a very unique perspective for the exposure. You can choose the approriate times to shooting photos. The best time of day to take photos of any outdoor object is the early morning where natural light is crisp and clear, or the early evening. In both instances, the light should come in from the side which highlights the house.
Avoid using the Flash
Even basic point-and-shoot cameras are getting better at low-light situations and your camera’s flash will never be able to light a room well. With your camera on a steady tripod, you can have a long exposure and a natural-light feeling to the photo without getting a blurry shot. If you do not want the photo to be blurry during the long exposure, put the self-timer on and let the camera settle.
Shot straight on without a flash, this photo feels warm and inviting. Keep in mind that the longer your lens’s focal length, the more camera shake will occur. Mount your camera on a tripod and use the camera’s timer to create the sharpest shots.
Improve Your Final Photos
Enhance your photos. A basic understanding of good photo-editing software can go a long way toward improving your final image. Enhance the colors and the main look of the photo. Make your photos look attractive, clean and professional by removing unnecessary objects.
Here are some useful tips before shooting property photography we wanna share with readers. Four of those ways that help you catch your customer’s eyes and win their budget. What other real estate photography tips and tricks do you want to learn? Share your questions and comments with us below.


