Nature photography always friendly subject that win popularity. A best product photograph need to use many different elements. Natural lighting is one of essential factors to create the success of product photograph. If you love nature photos or you are photographer, have you ever used natural lighting for your photograph?. Below is some useful tips what help you learn how to make better nature photography.
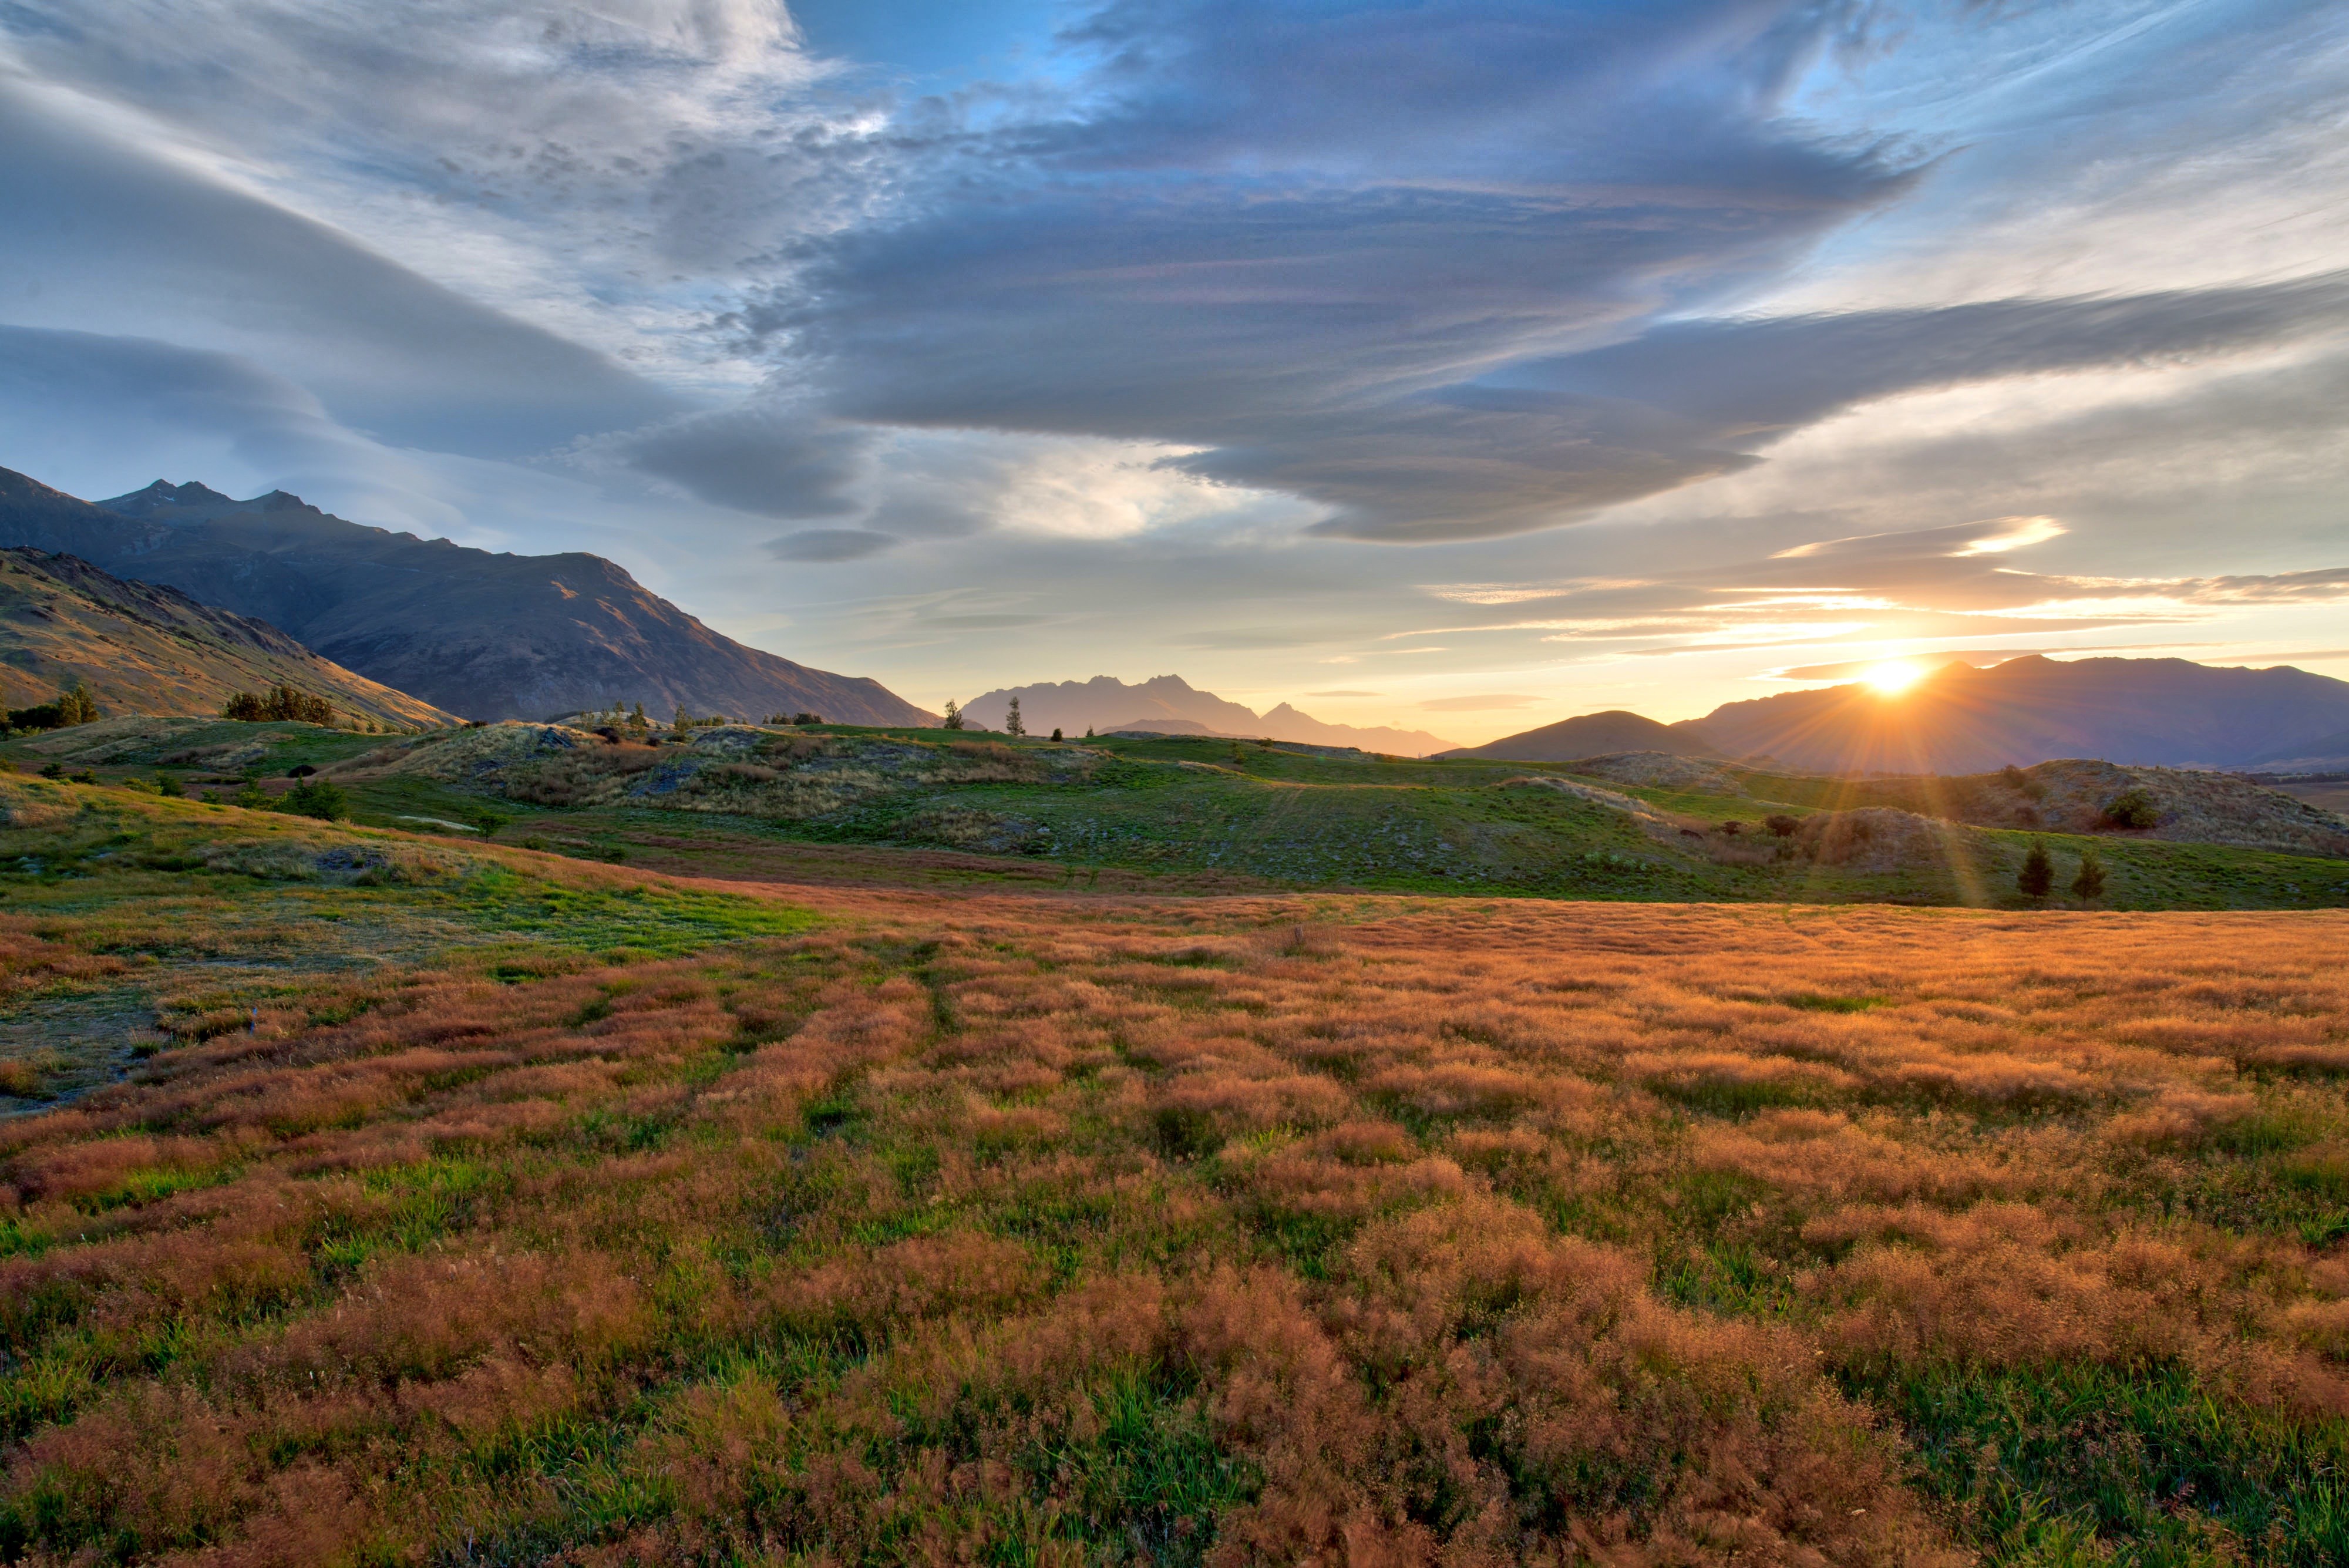
Natural light is extremely straightforward: it’s daylight. You can work in late morning and early afternoon: the times of beautiful sunlight. These gives sufficient lighting near windows or in the shade. If you take a nature photography, viewers loves a great nature photo. It’s easy for viewers to put themselves into the picture. Even if they’ve never been to the mountains, people enjoy looking at pictures of mountains. It transports them, at least for a brief moment, to a peaceful place. So in order to help you get the most out of the time you spend outdoors with your camera, here are some fundamental tips for taking better nature photos.
Get close, get closer
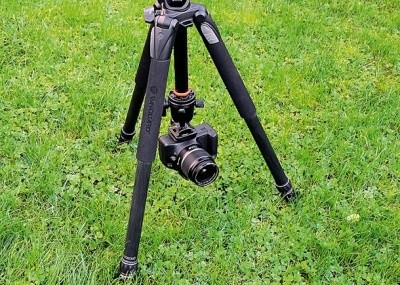
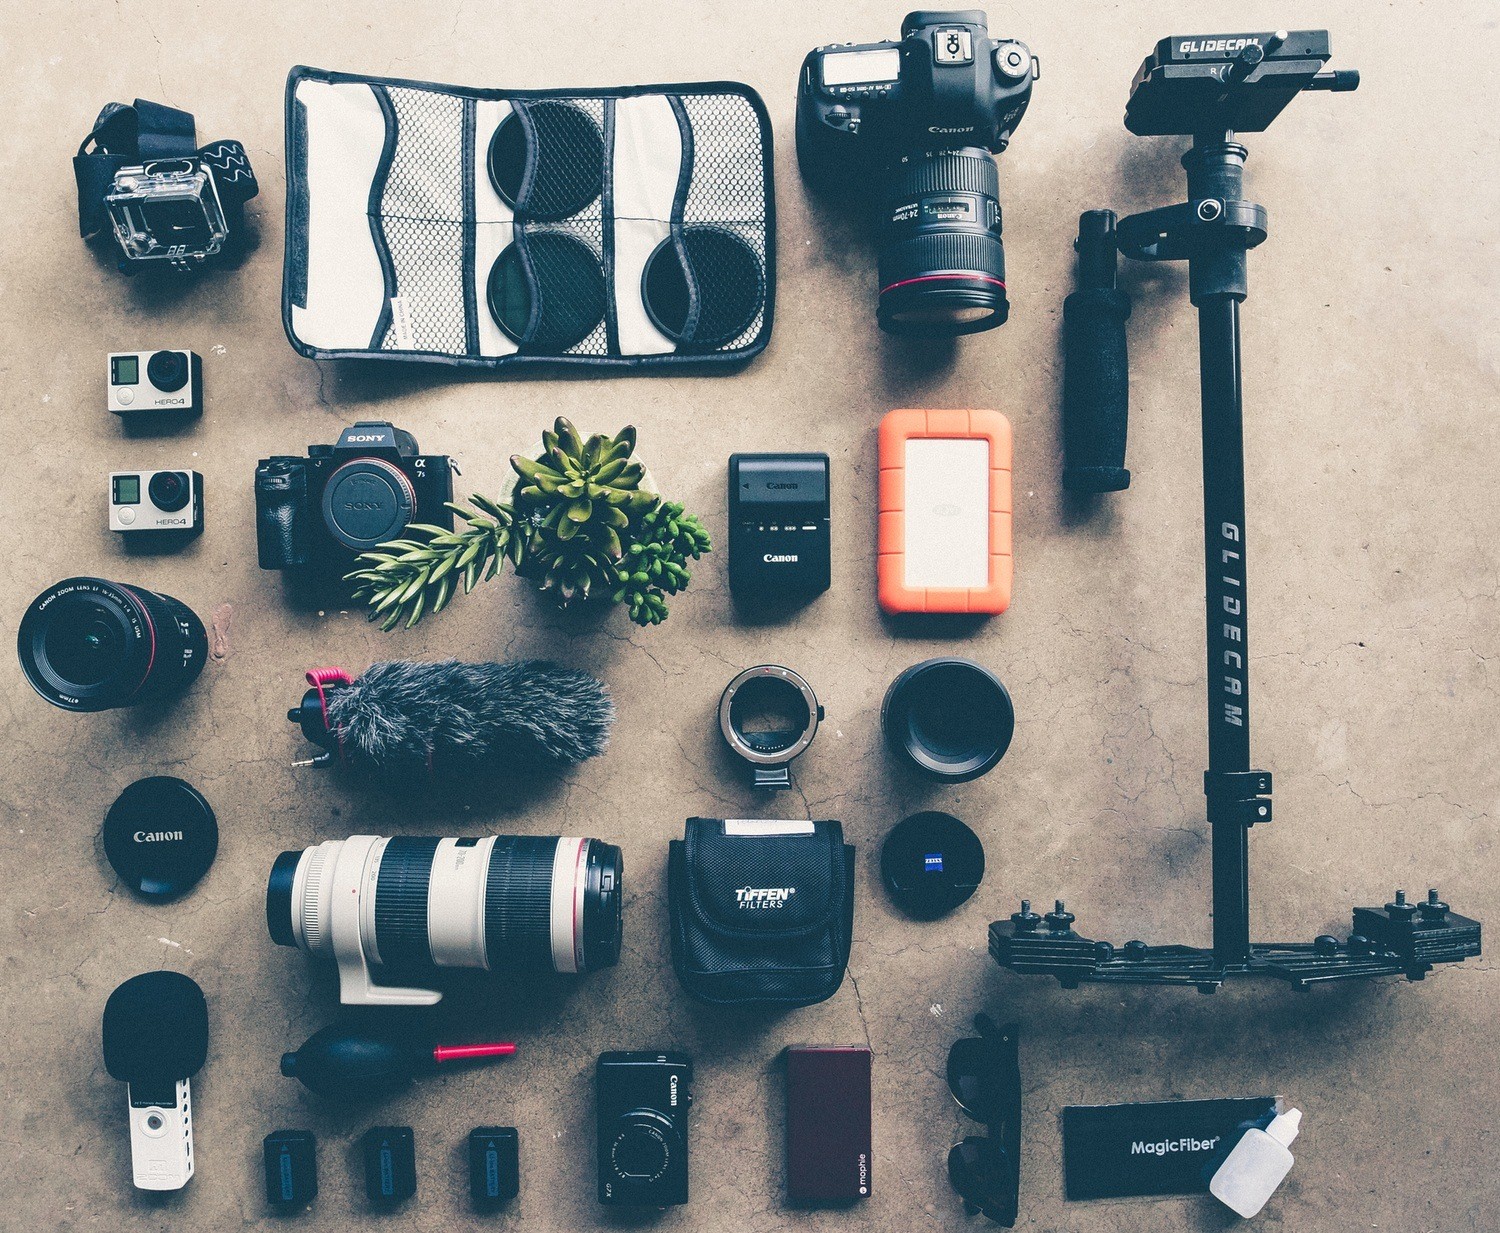
This is a visual directive, not simply about moving closer. You can, of course, get visually closer to a subject by zooming in with a zoom lens. However, for wildlife photography, you need a big telephoto.

That means using a digital single lens reflex (SLR) that can hold at least a 300mm focal length lens or one of the large-zoom compact digital cameras that have an equivalent focal length of 300mm or more.
Look up, look down and look all around
There are many wonderful things to photograph above our heads, and even greater opportunities for creative photography. You can use interesting and dramatic cloud formations, and incorporate clouds in your shots of other natural scenes. Remember that hardly anyone likes looking at an uninteresting sky, so try and compose your shots with that in mind.

It doesn’t stop at merely looking for cool cloud formations either. Get instant creativity in your shots by using leading lines, and vertical perspectives to give your images a uniqueness, that is sure to catch the attention of your viewers. The key thing to remember here, is that your goal is to show things in nature in ways that most people don’t get to see, or have not even considered looking for in the first place.
Be patient to capture the best moments
As you know, the light changes from hour to hour and day to day. To create natural lighting for your own photos, you should shoot your photos at the brightest time of day. The perfect glint of sunlight playing off your prize rose bushes will not happen any sooner or later than you want it to. Keep your camera at the ready, and don’t force the shot. You may arrive five minutes too late for a great shot, but you may be five minutes early for the perfect shot. A small suggestion for you, you can work in late morning and early afternoon – the times of beautiful sunlight and these gives sufficient lighting near windows or in the shade. In general, morning light is bright and has less color, while afternoon and evening light often has a warm undertone and brings out greater contrast in your images. You can always neutralize the image and make it cooler in post-production if want a cool, dark image.
Understand the feature of nature
Nature have pure and simple beauty that bring to you many advantages when shooting photos but we also confirm one thing that you cannot fight the changes of Mother Nature. You should have plan on working with the elements of the natural environment you photograph because simply, animals, trees, bushes, grass,…everything associated with nature functions uniquely in different weather conditions. If you’re looking for a “money” shot, you need to understand the conditions you’re working in, and the subject matter you are photographing.
You can understand the feature of nature as well as the main subject that you want to capture to have a fantastic shooting.
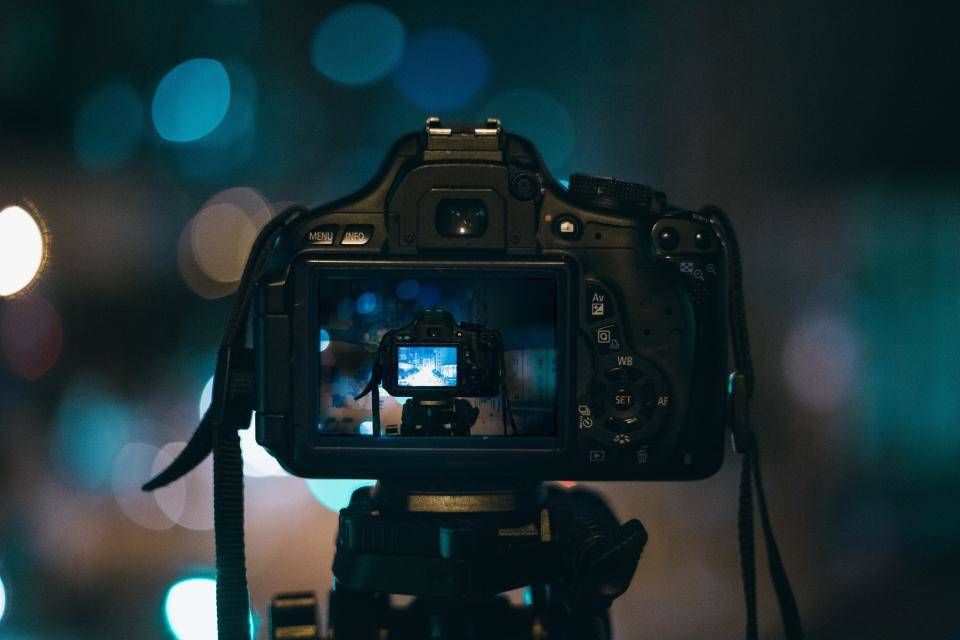
Use and Capture The Light
Light is one of the important factors that contribute the success for beautiful photography. It is the basic force behind all nature photography. It illuminates your subjects, and brings shadows and contrast to your photos. Learning to understand the nature of light is a lifelong journey for any photographer. And using the natural light is one of the best way to help your images become more powerful and more prominent. In addition, direction of light is also very important, and can make a place or object look completely different depending on the angle of the sun. You can choose correctly direction and find as well as try on many different locations at varying times of day, this will help you find and choose the most beautiful moments.

Follow these five simple tips and make the most of your time shooting out in our amazing natural world. Be sure to share them in the comments below as well as your nature images. Moreover, if you have great tips, don’t hesitate, let’s share your experiences for us by give your opinions below.