“Photo retouching services can help improve the quality of photos” How do you think about this quote? Do you think it’s right or wrong? Now we will discuss and find the exact answer to this quote.
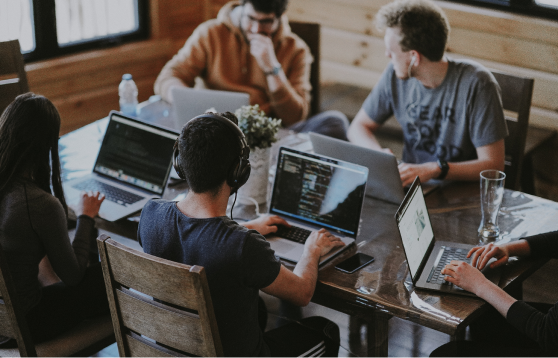
Photo Retouching Services Online
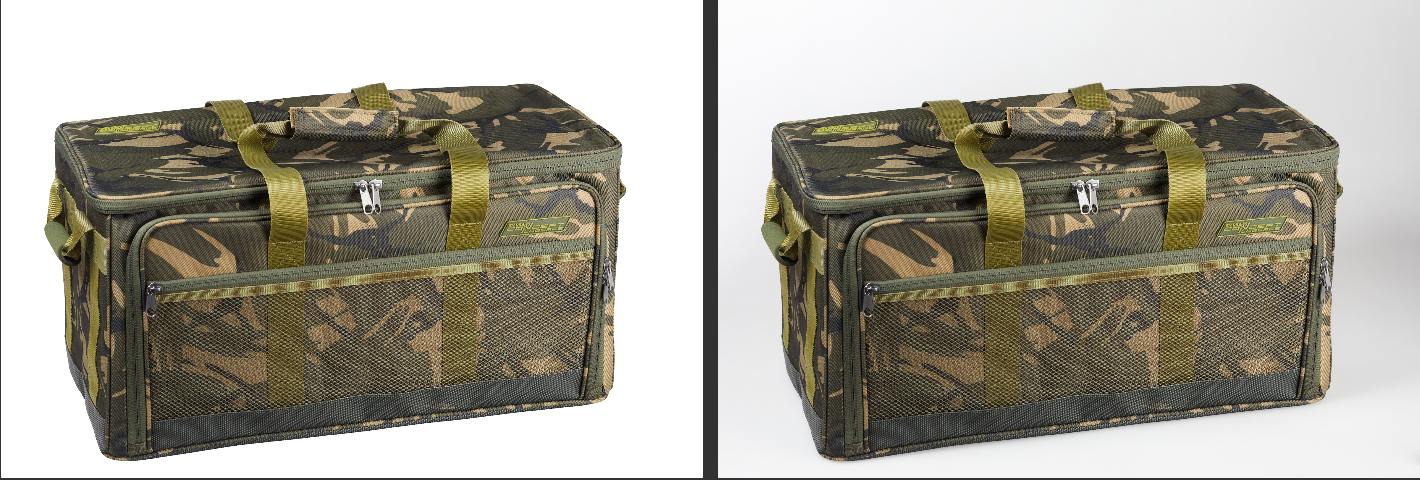
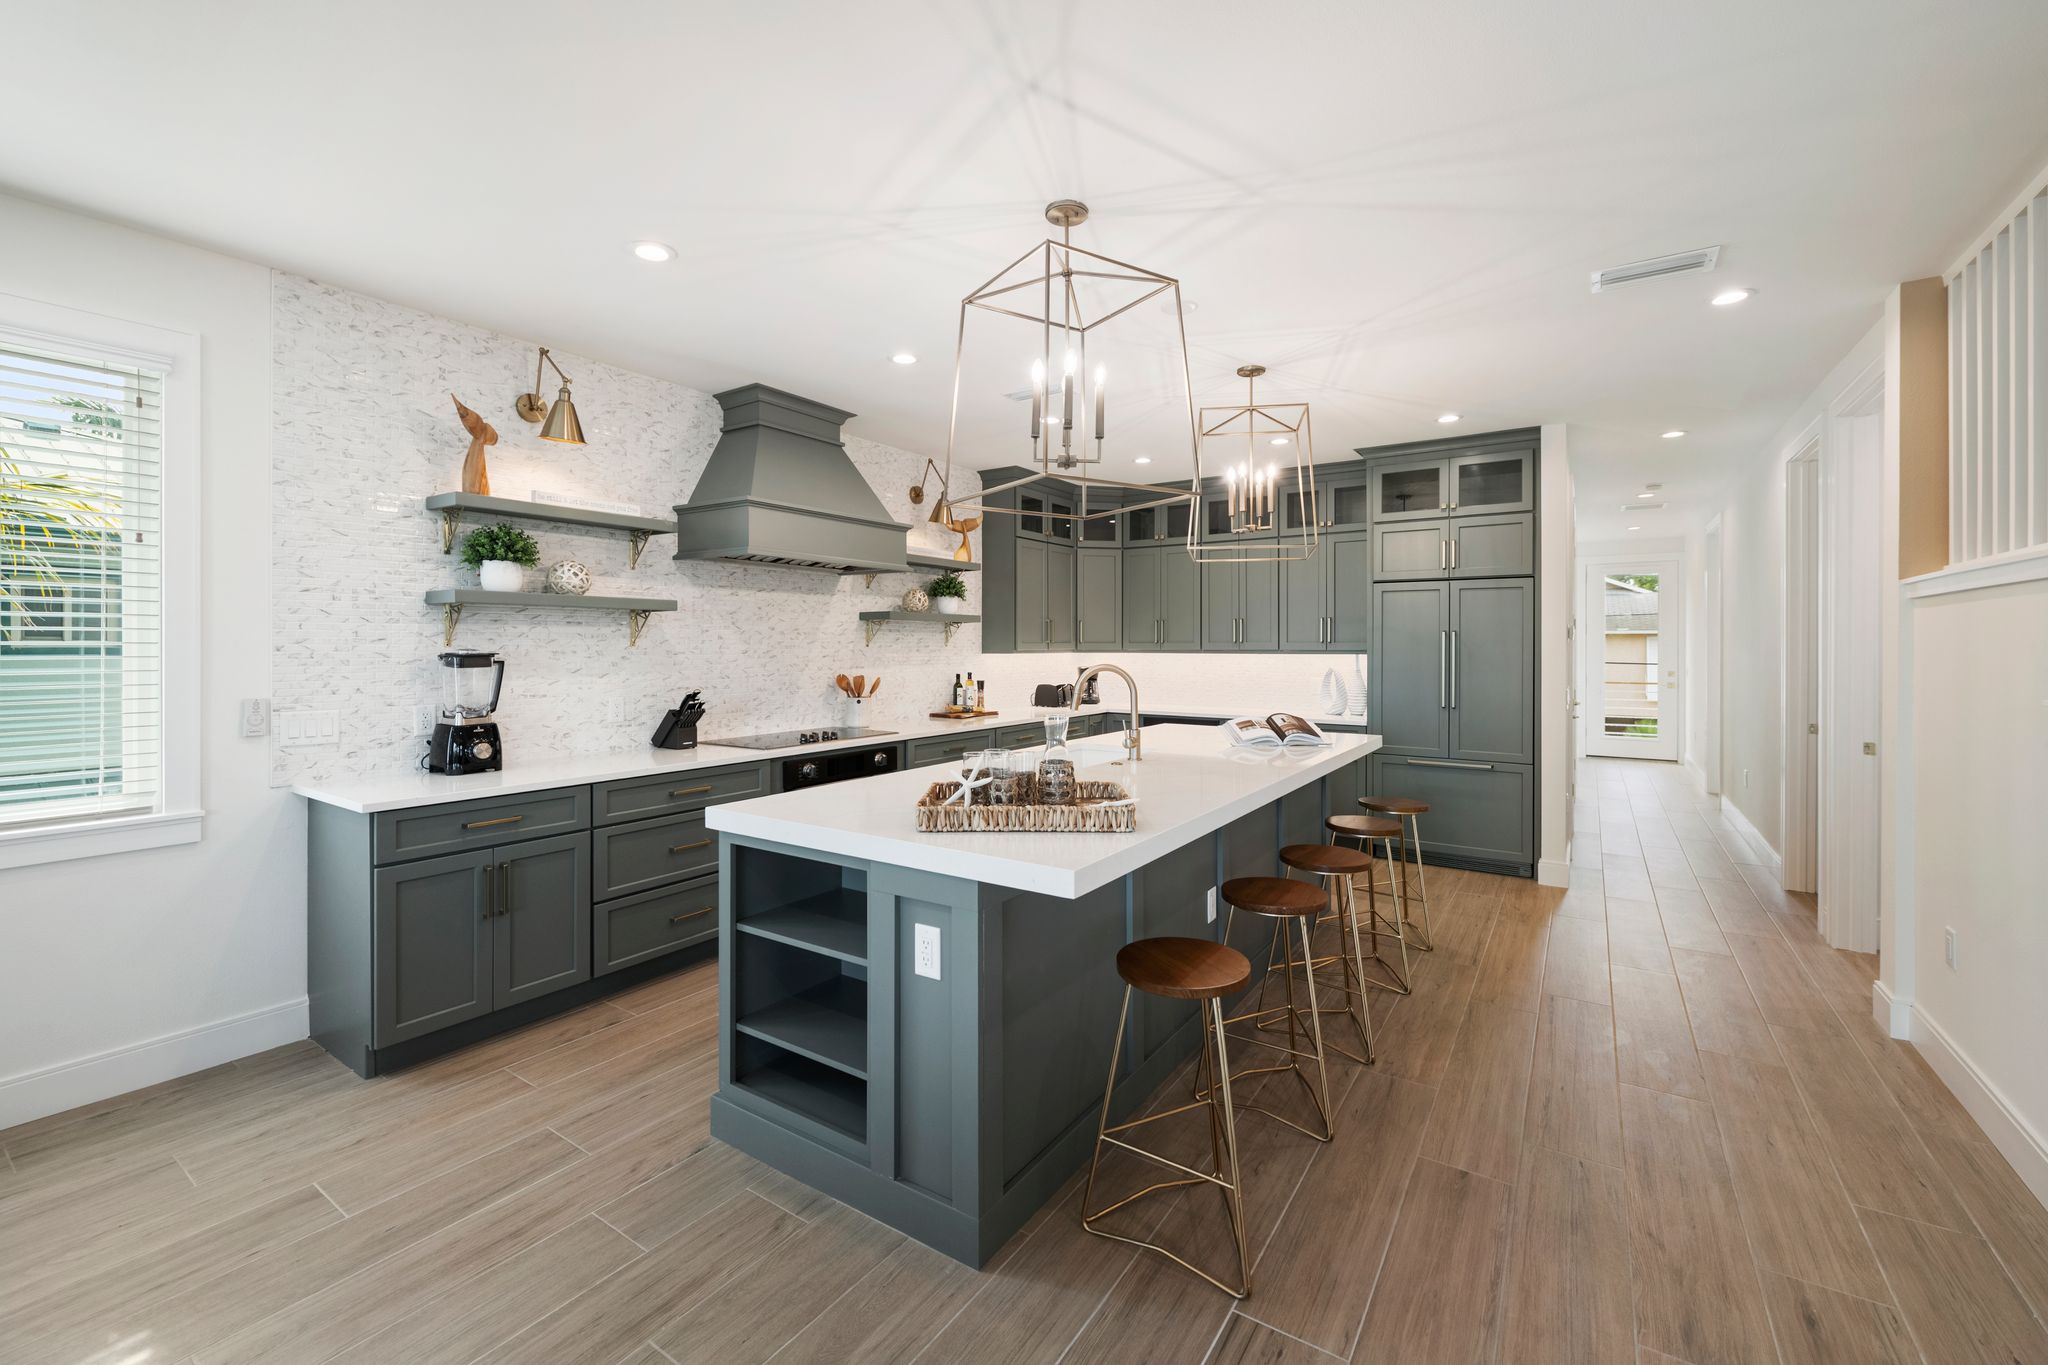
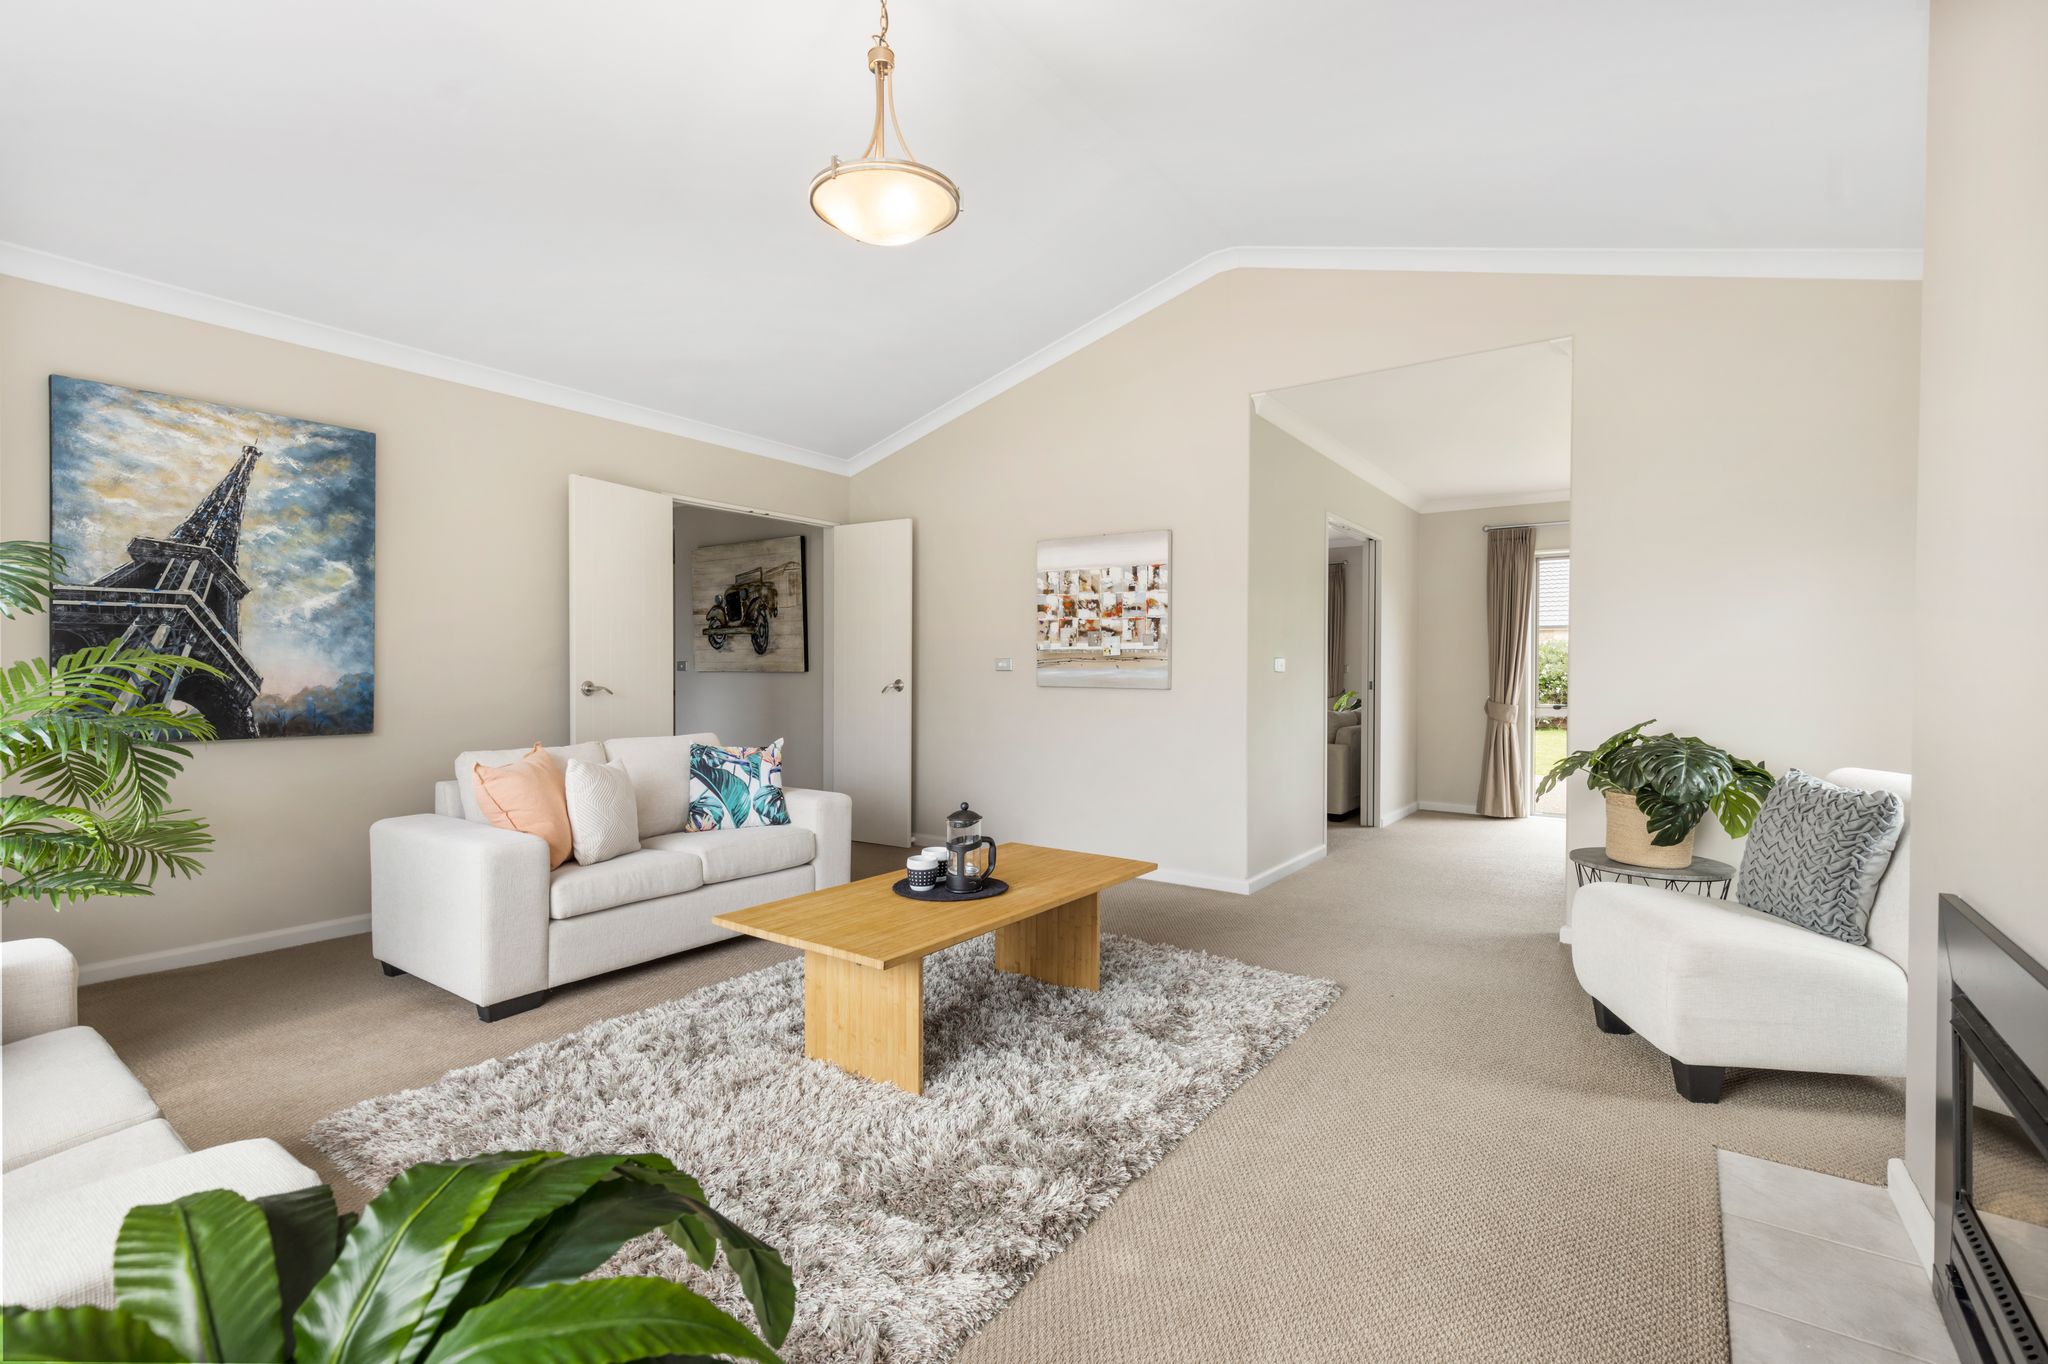
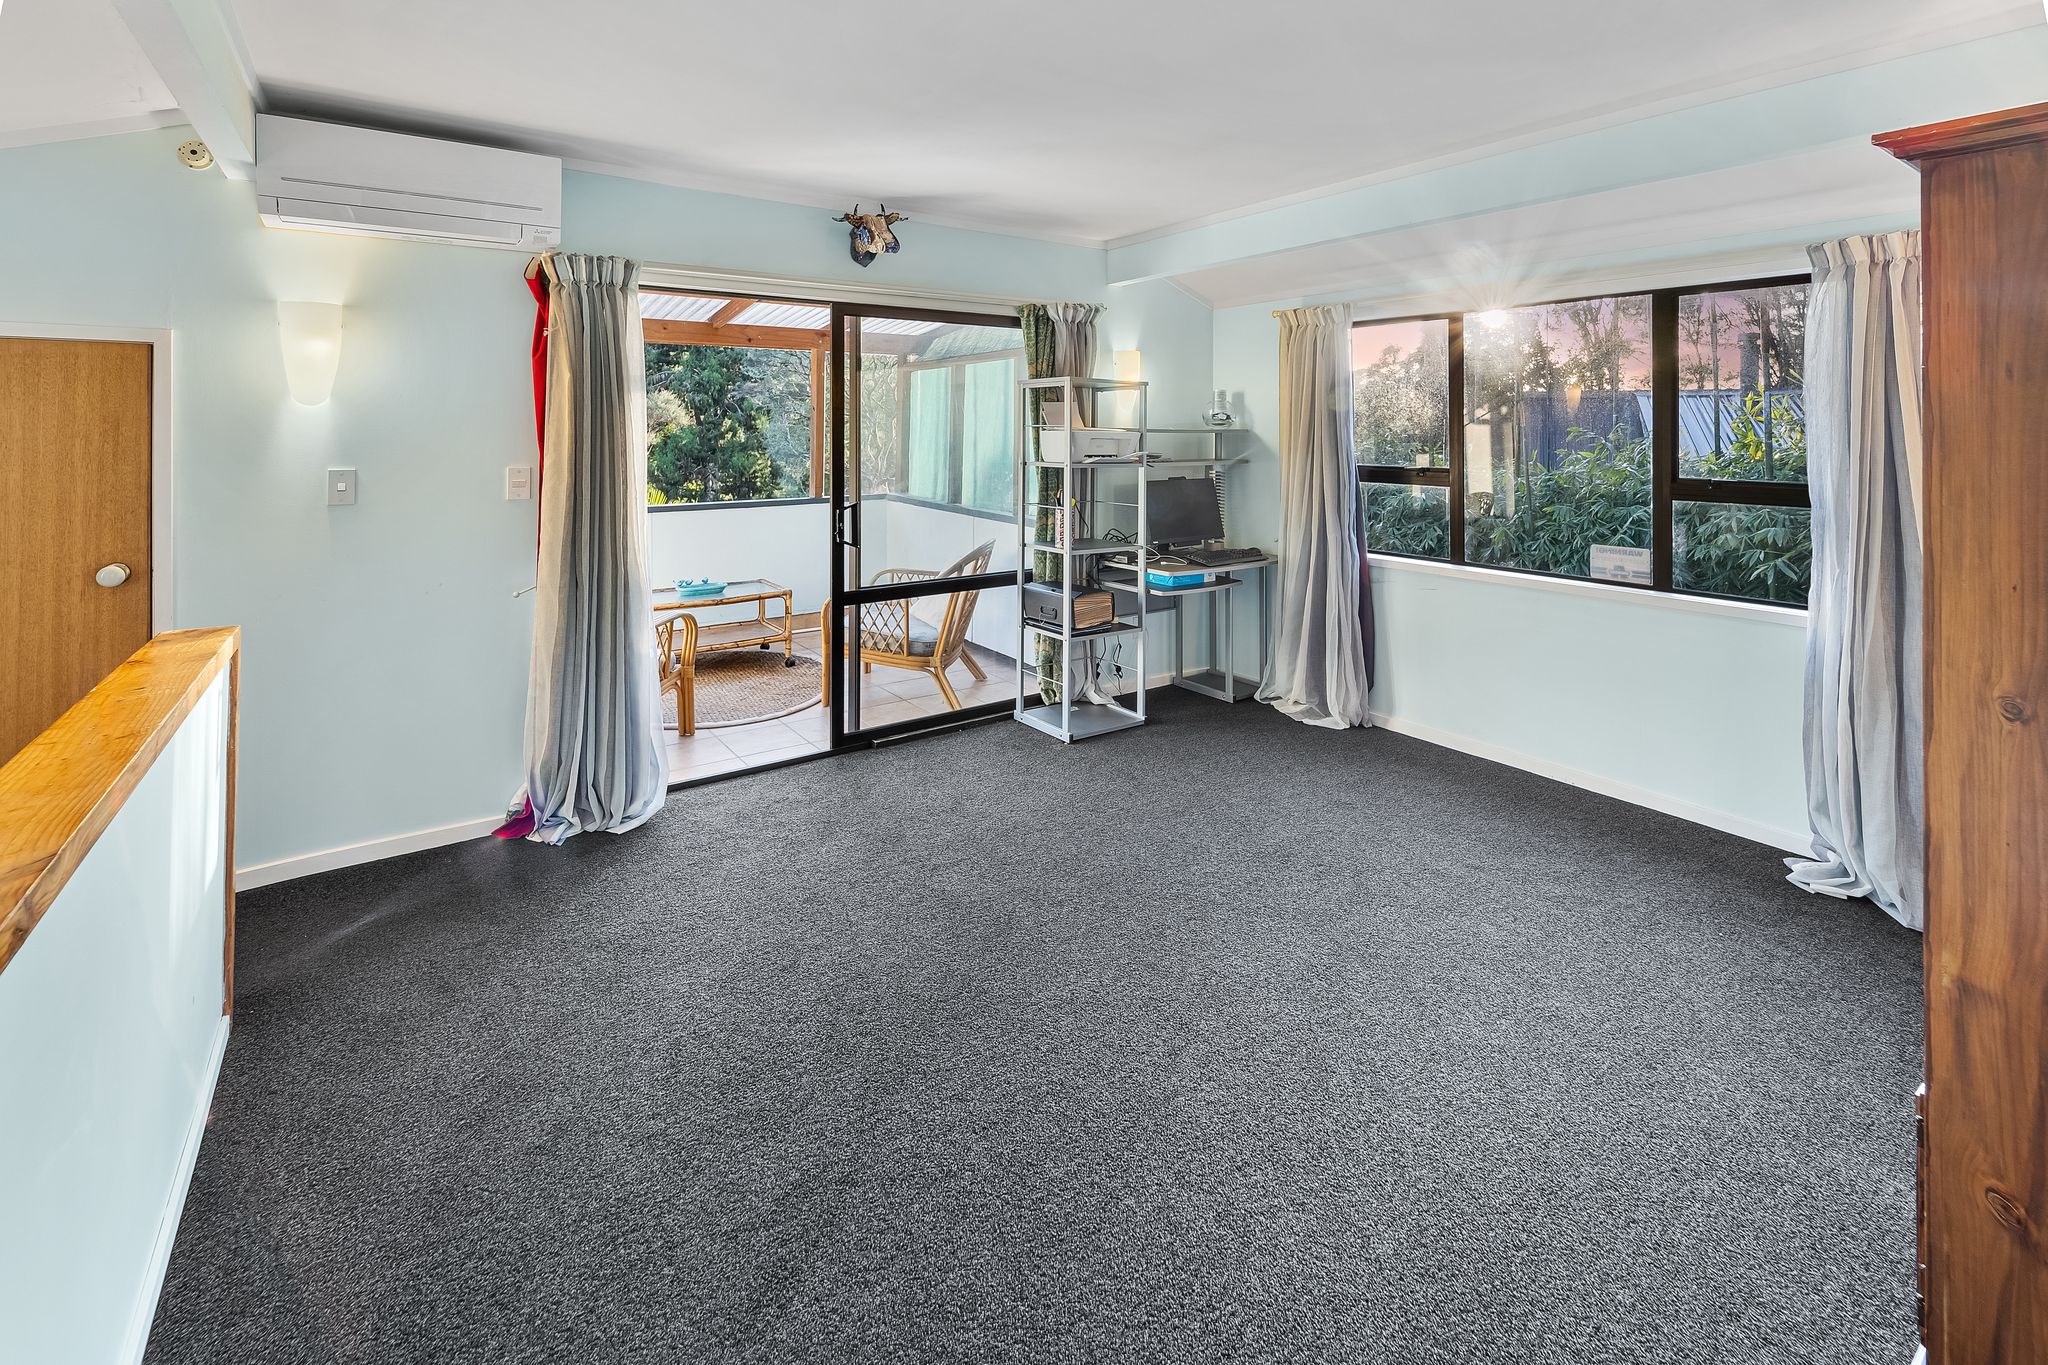
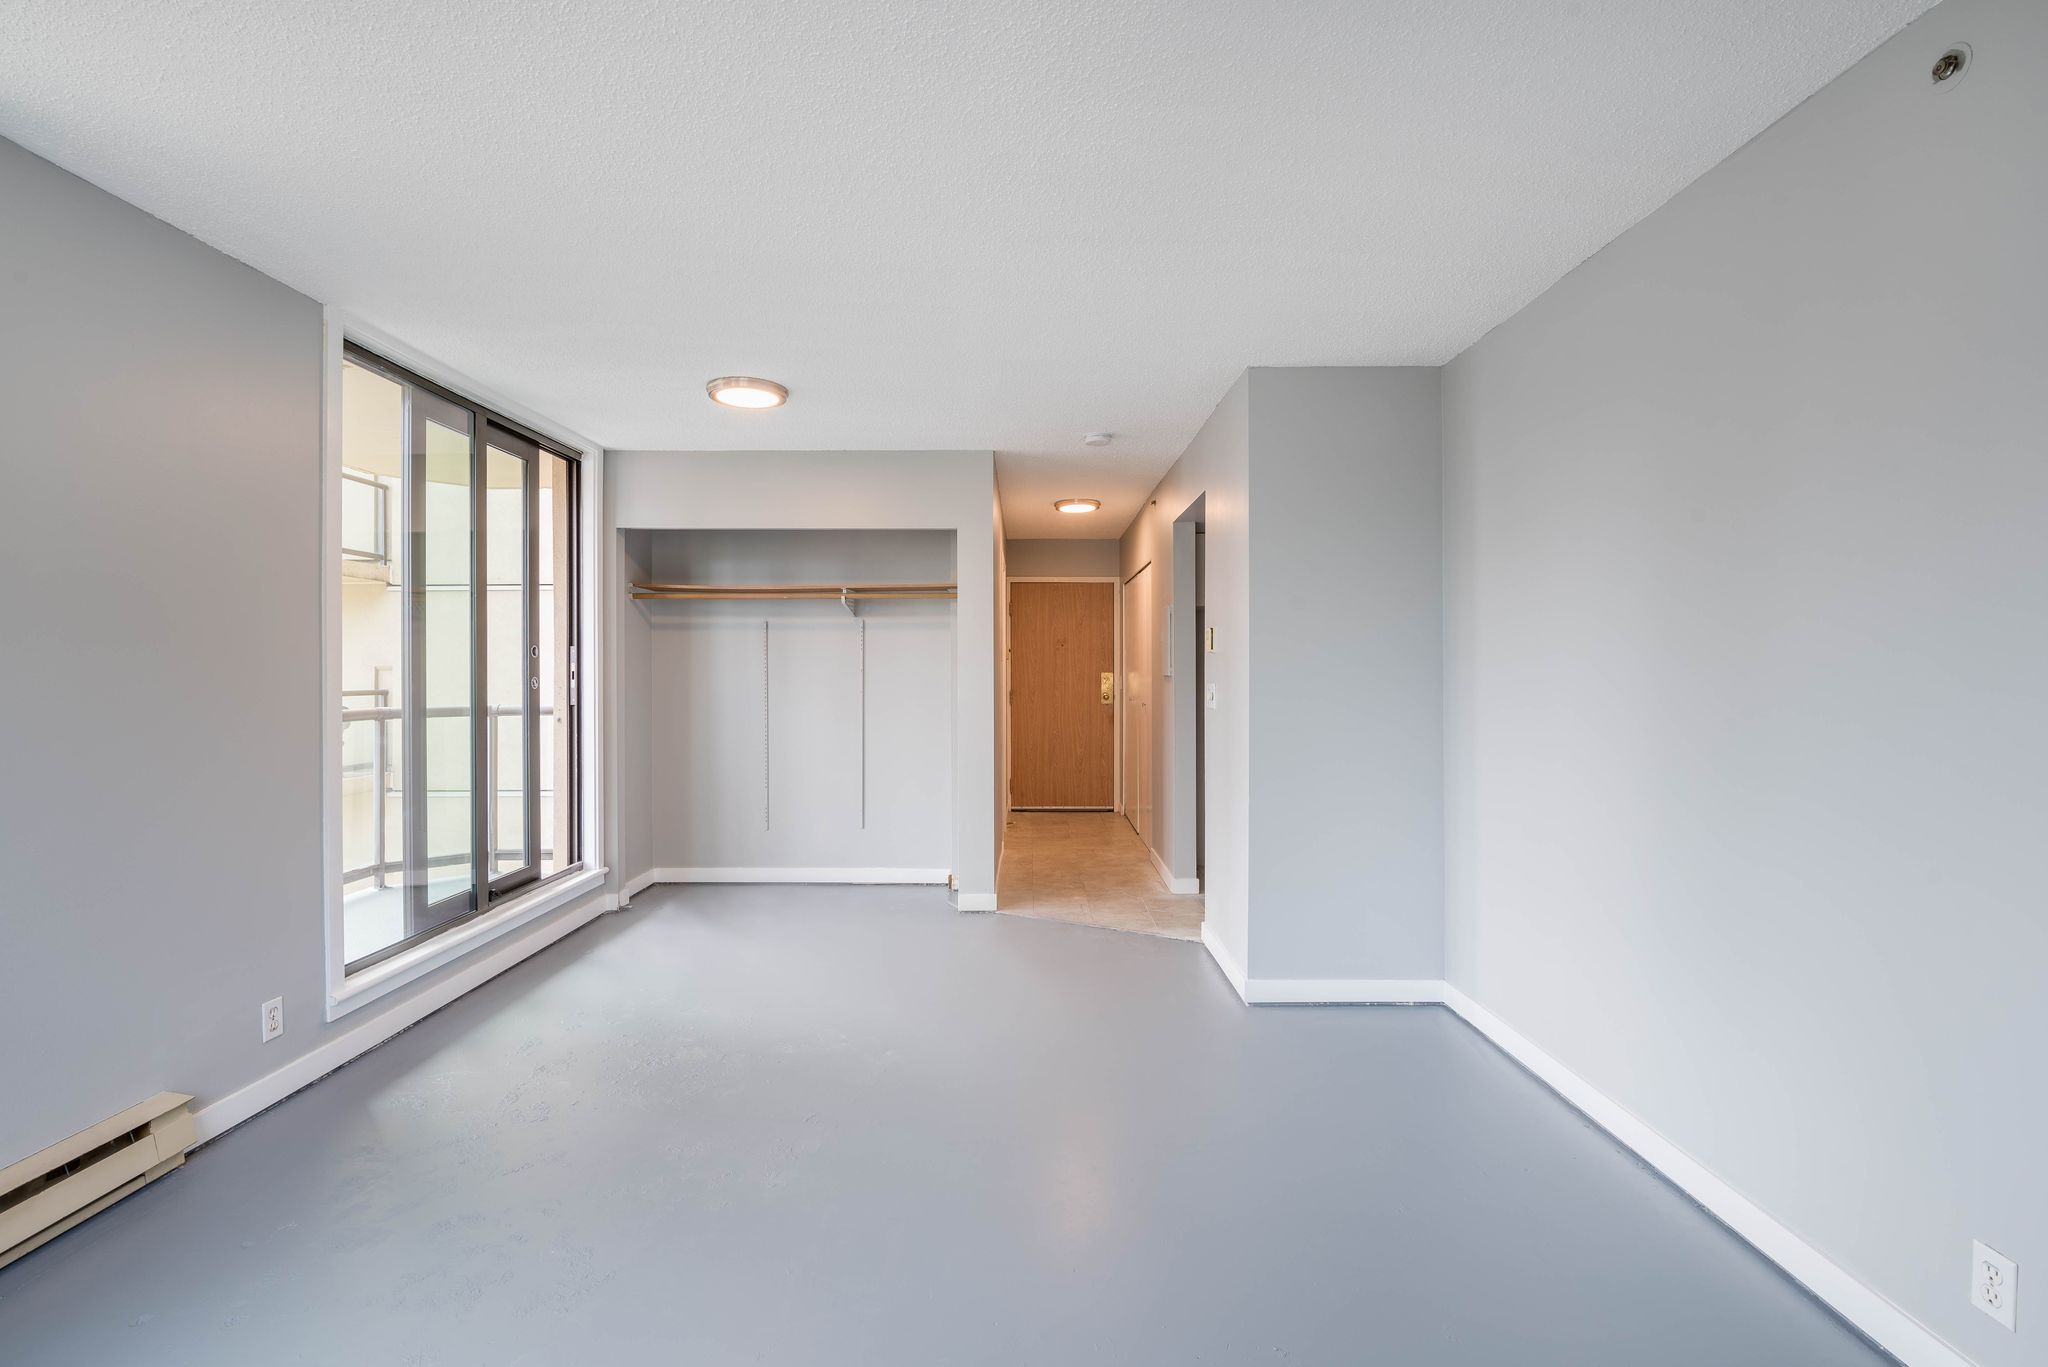
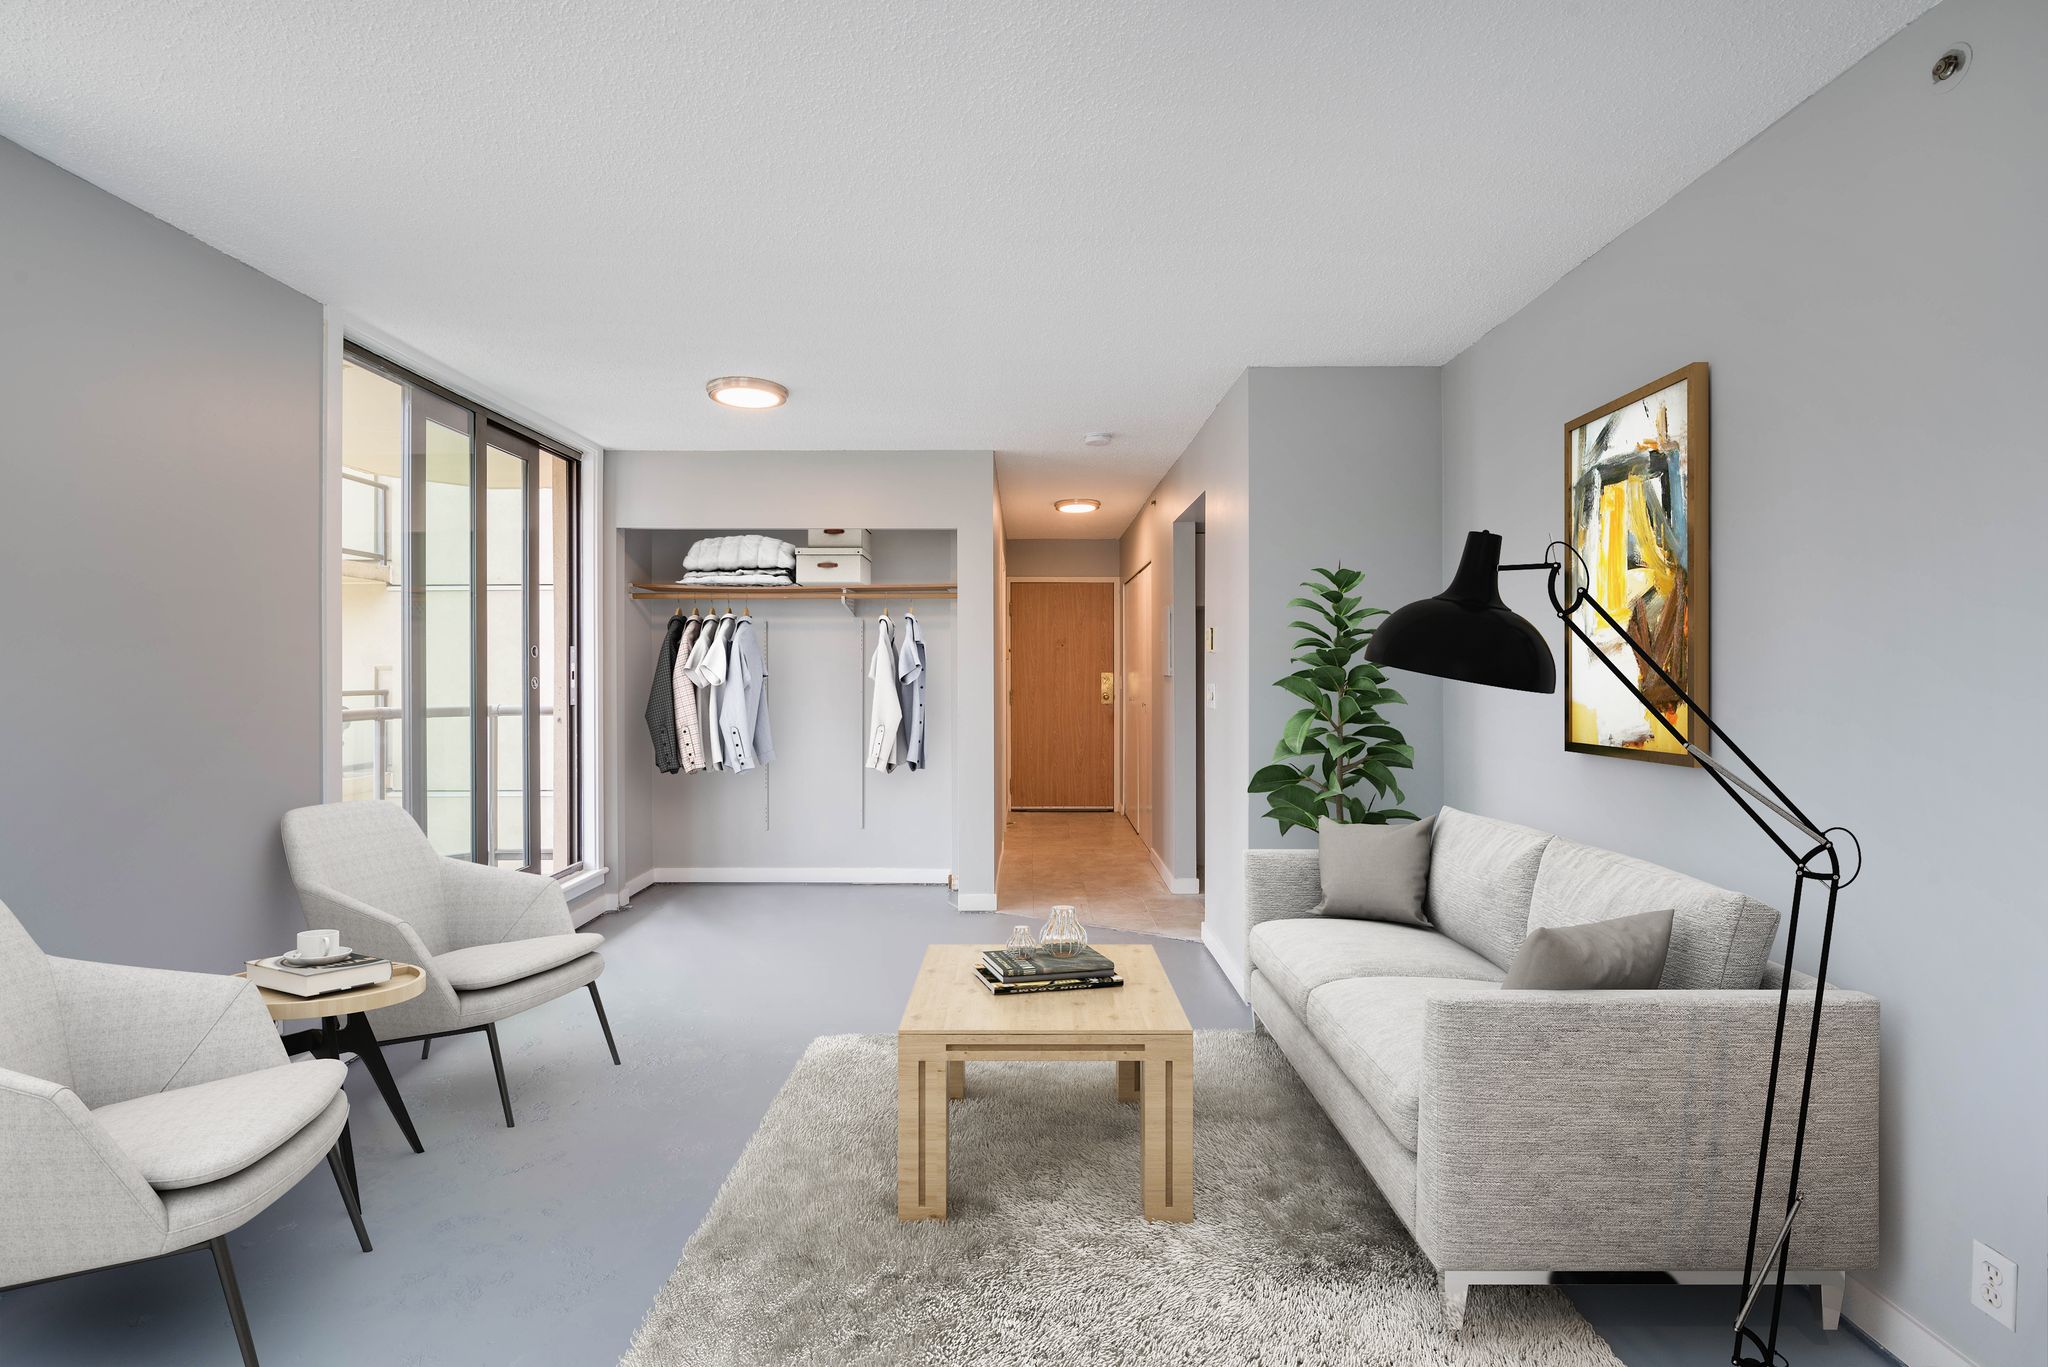
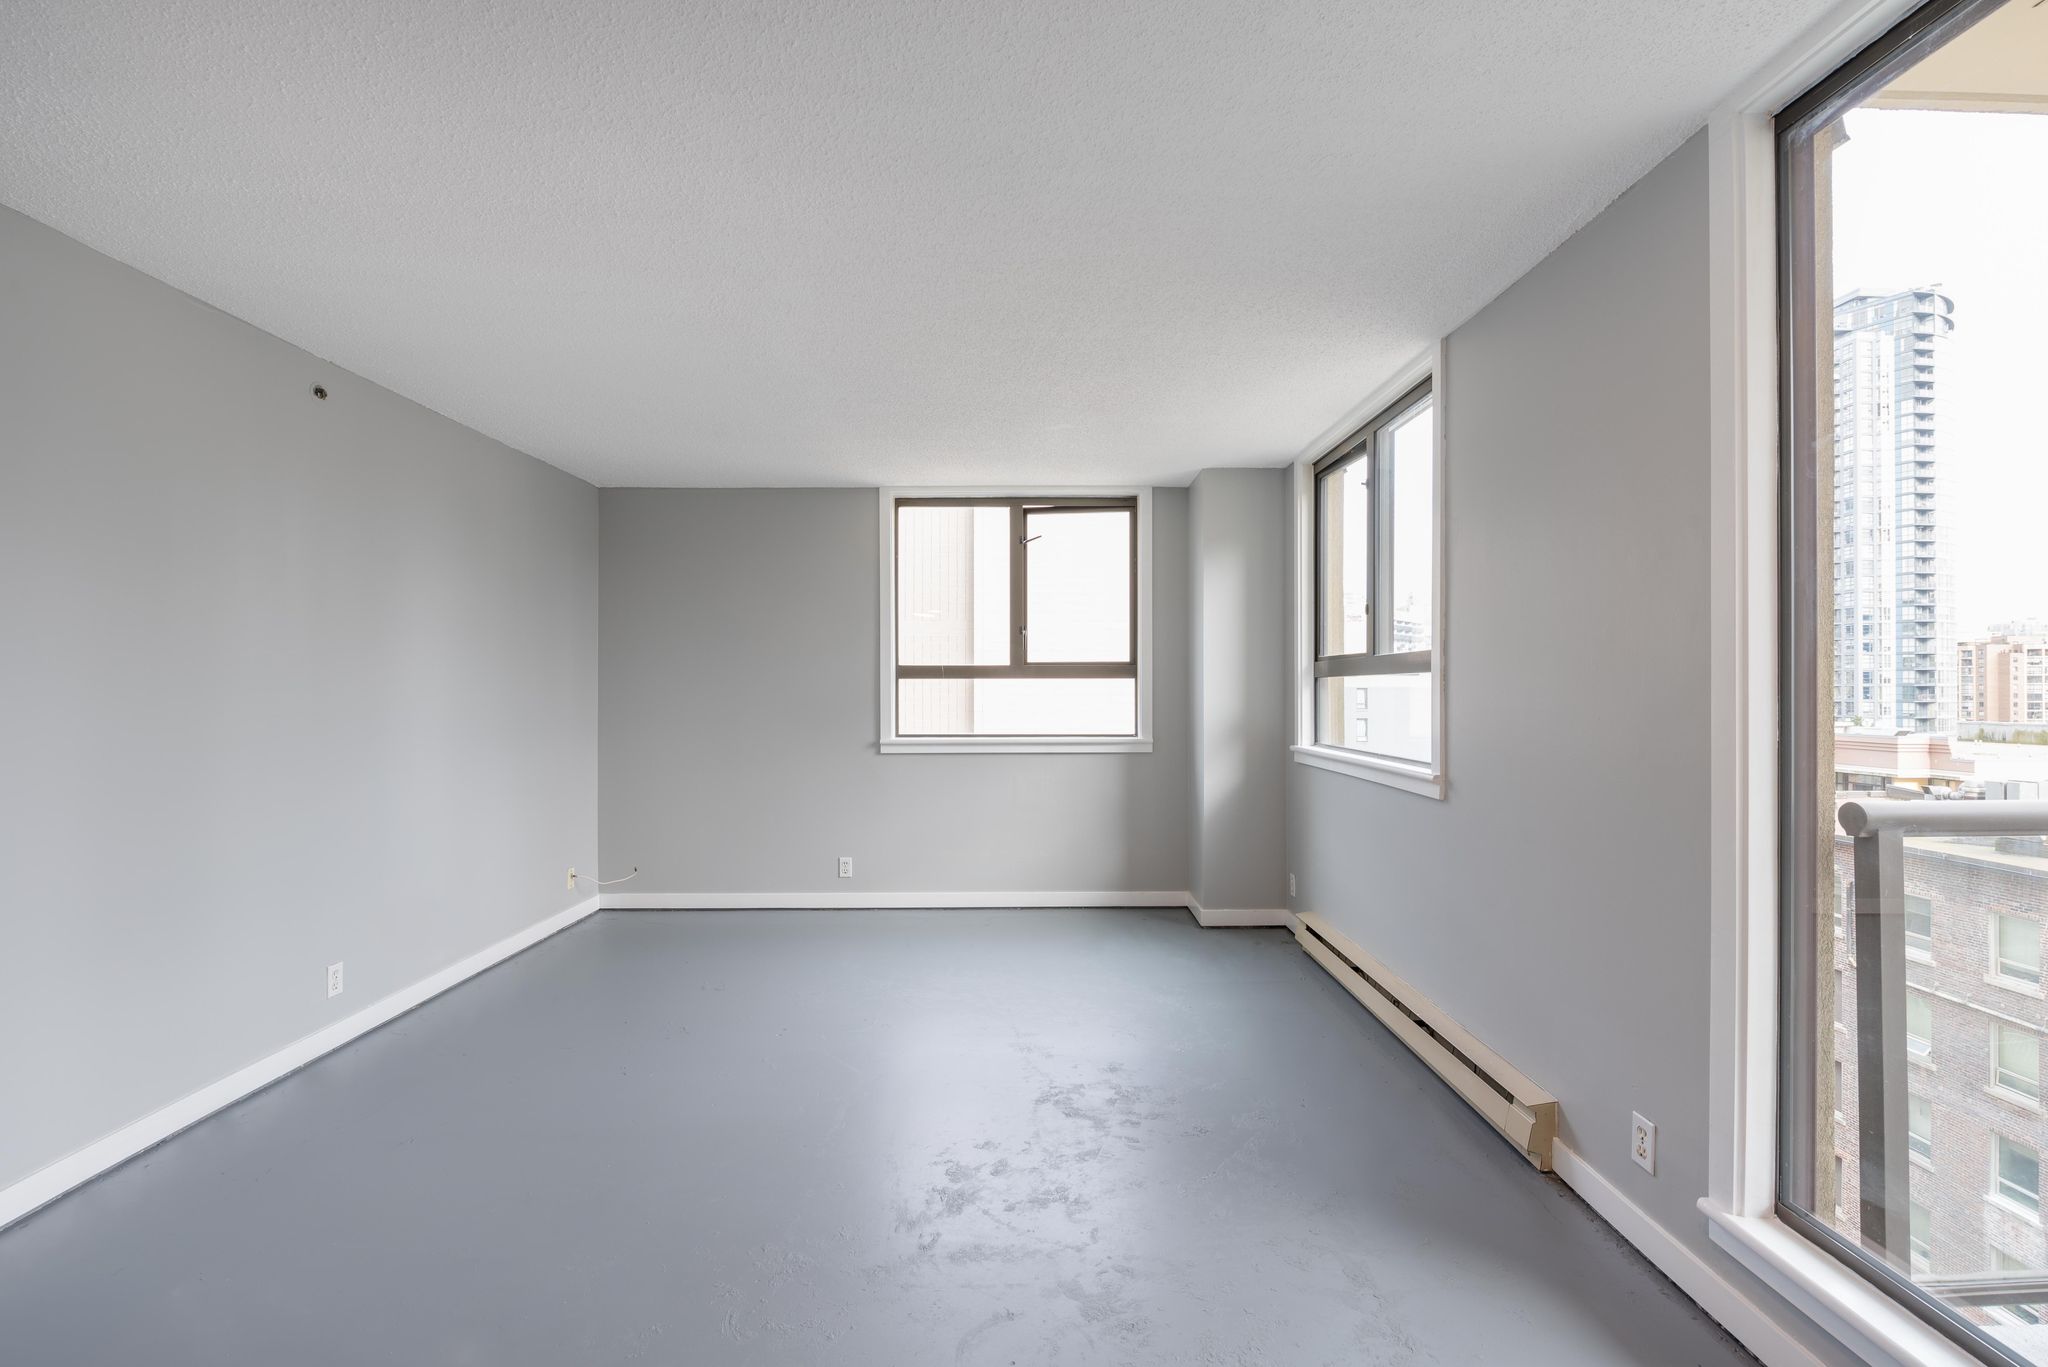
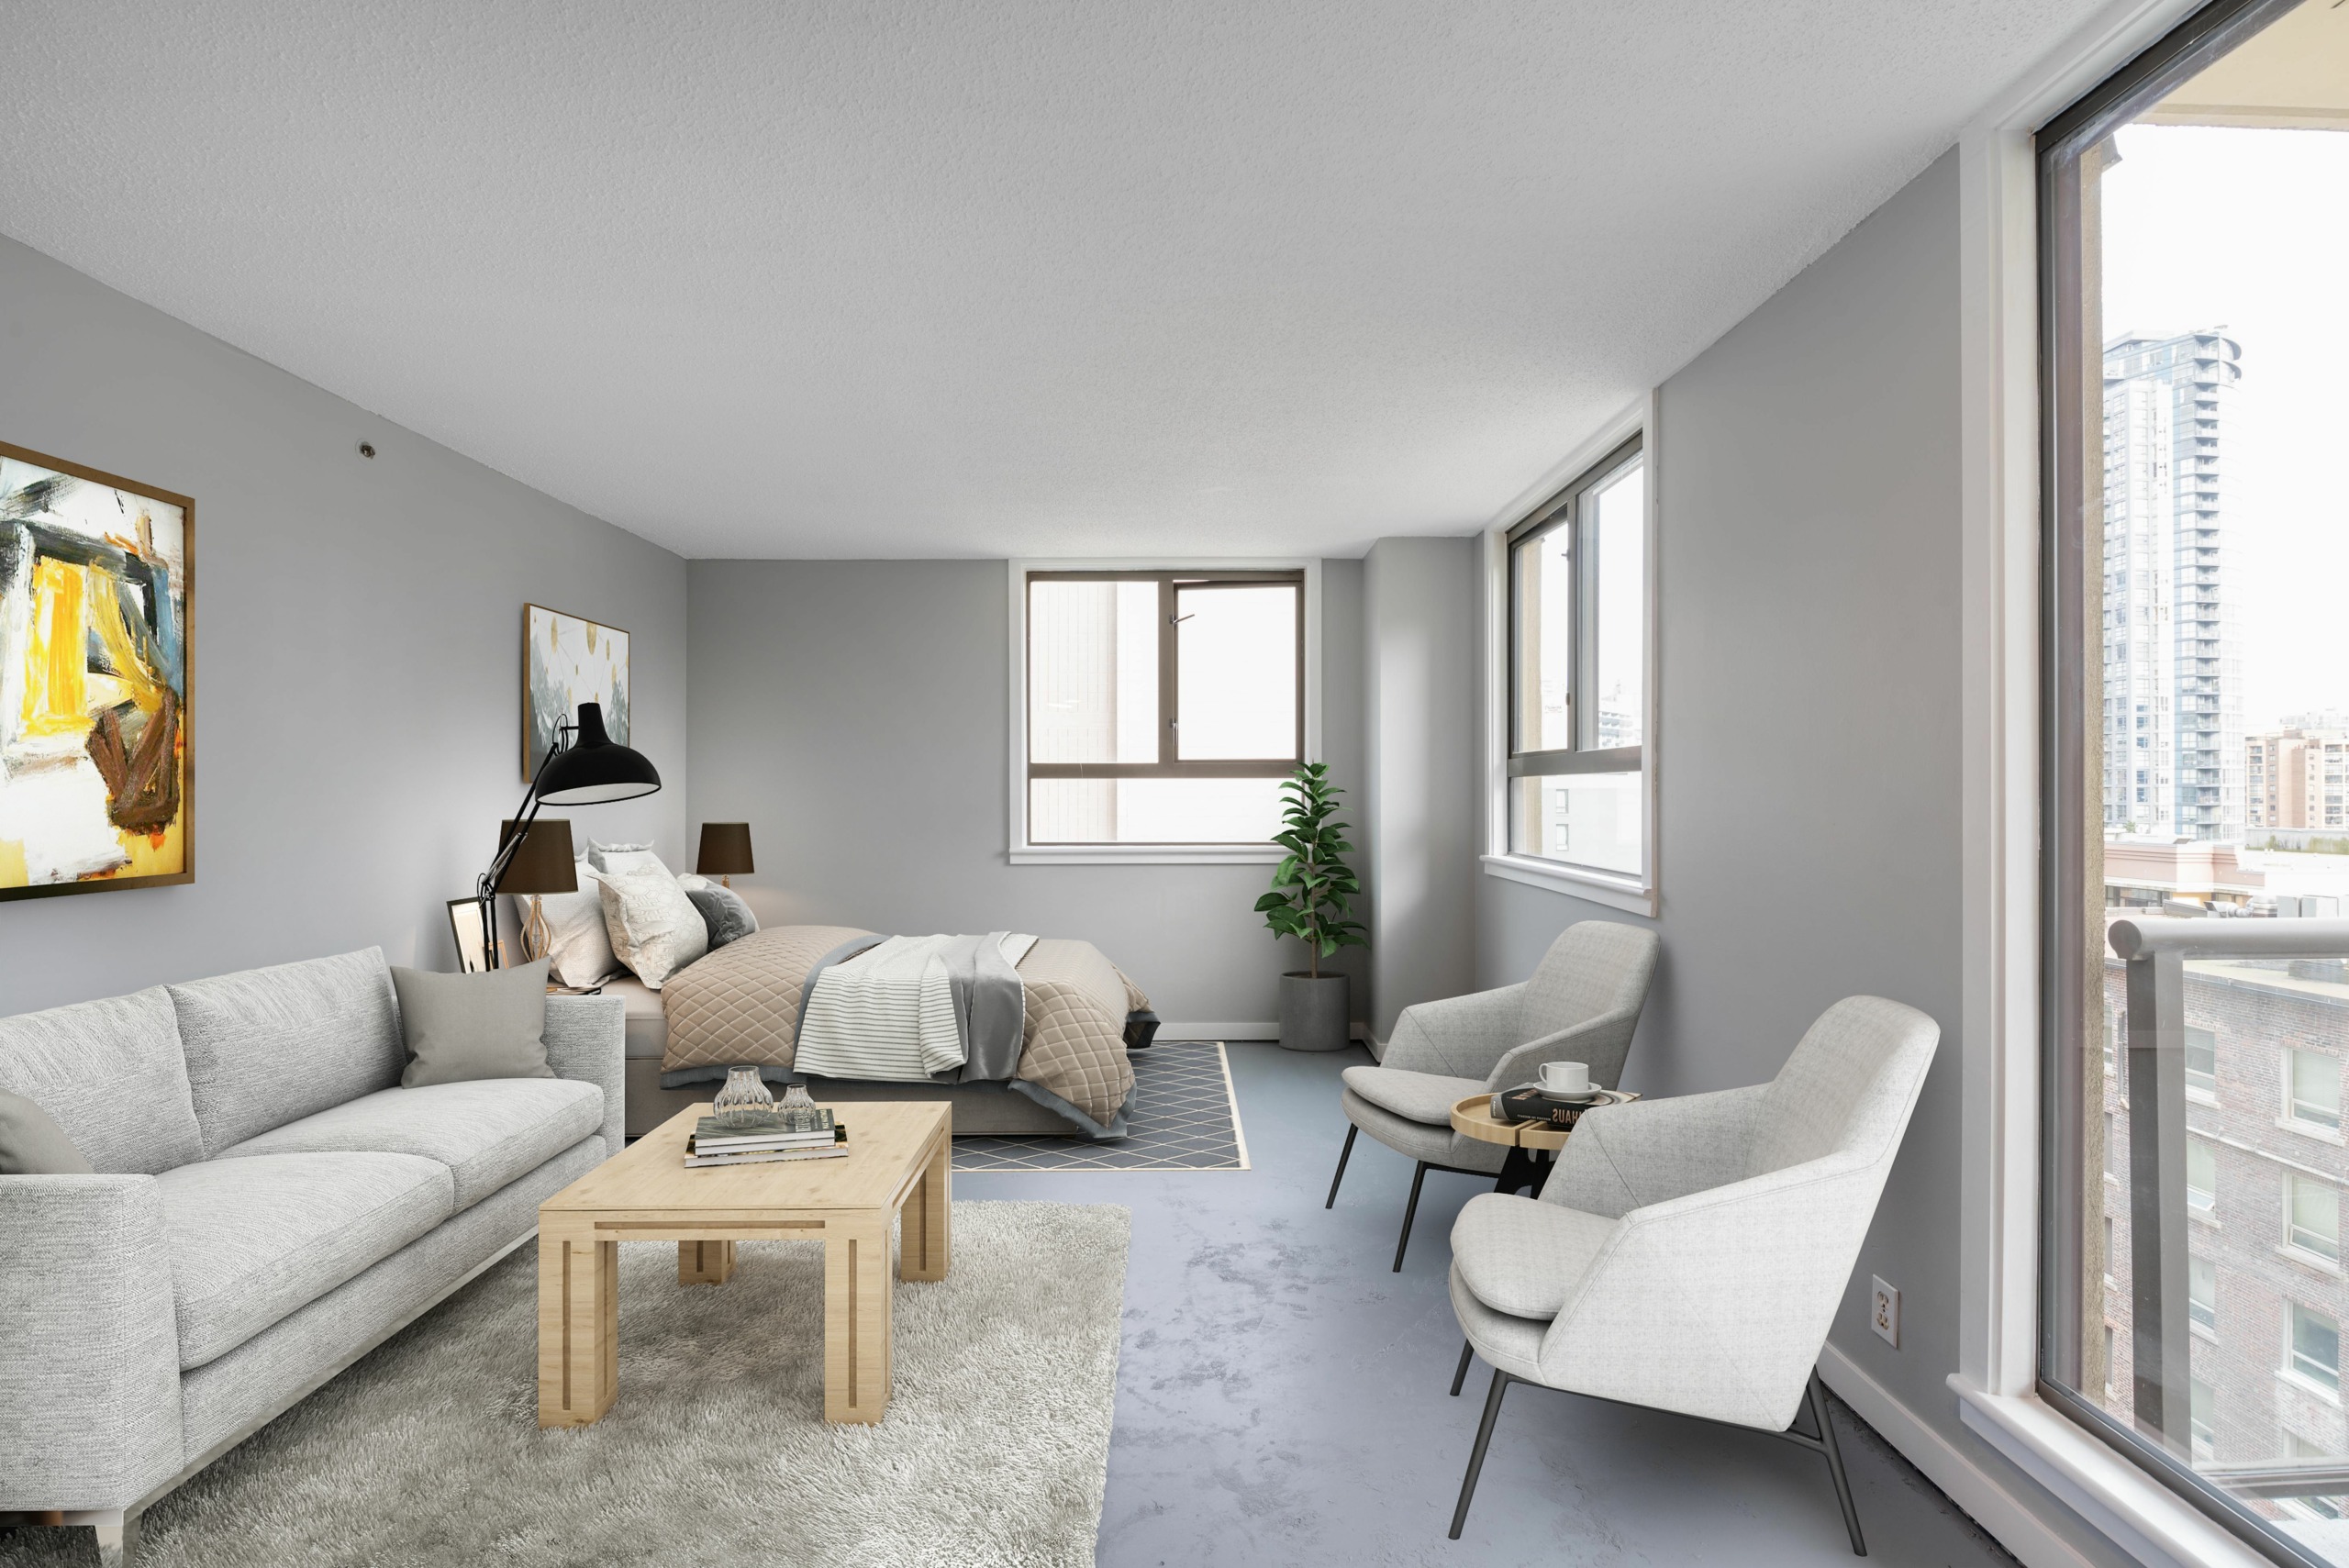
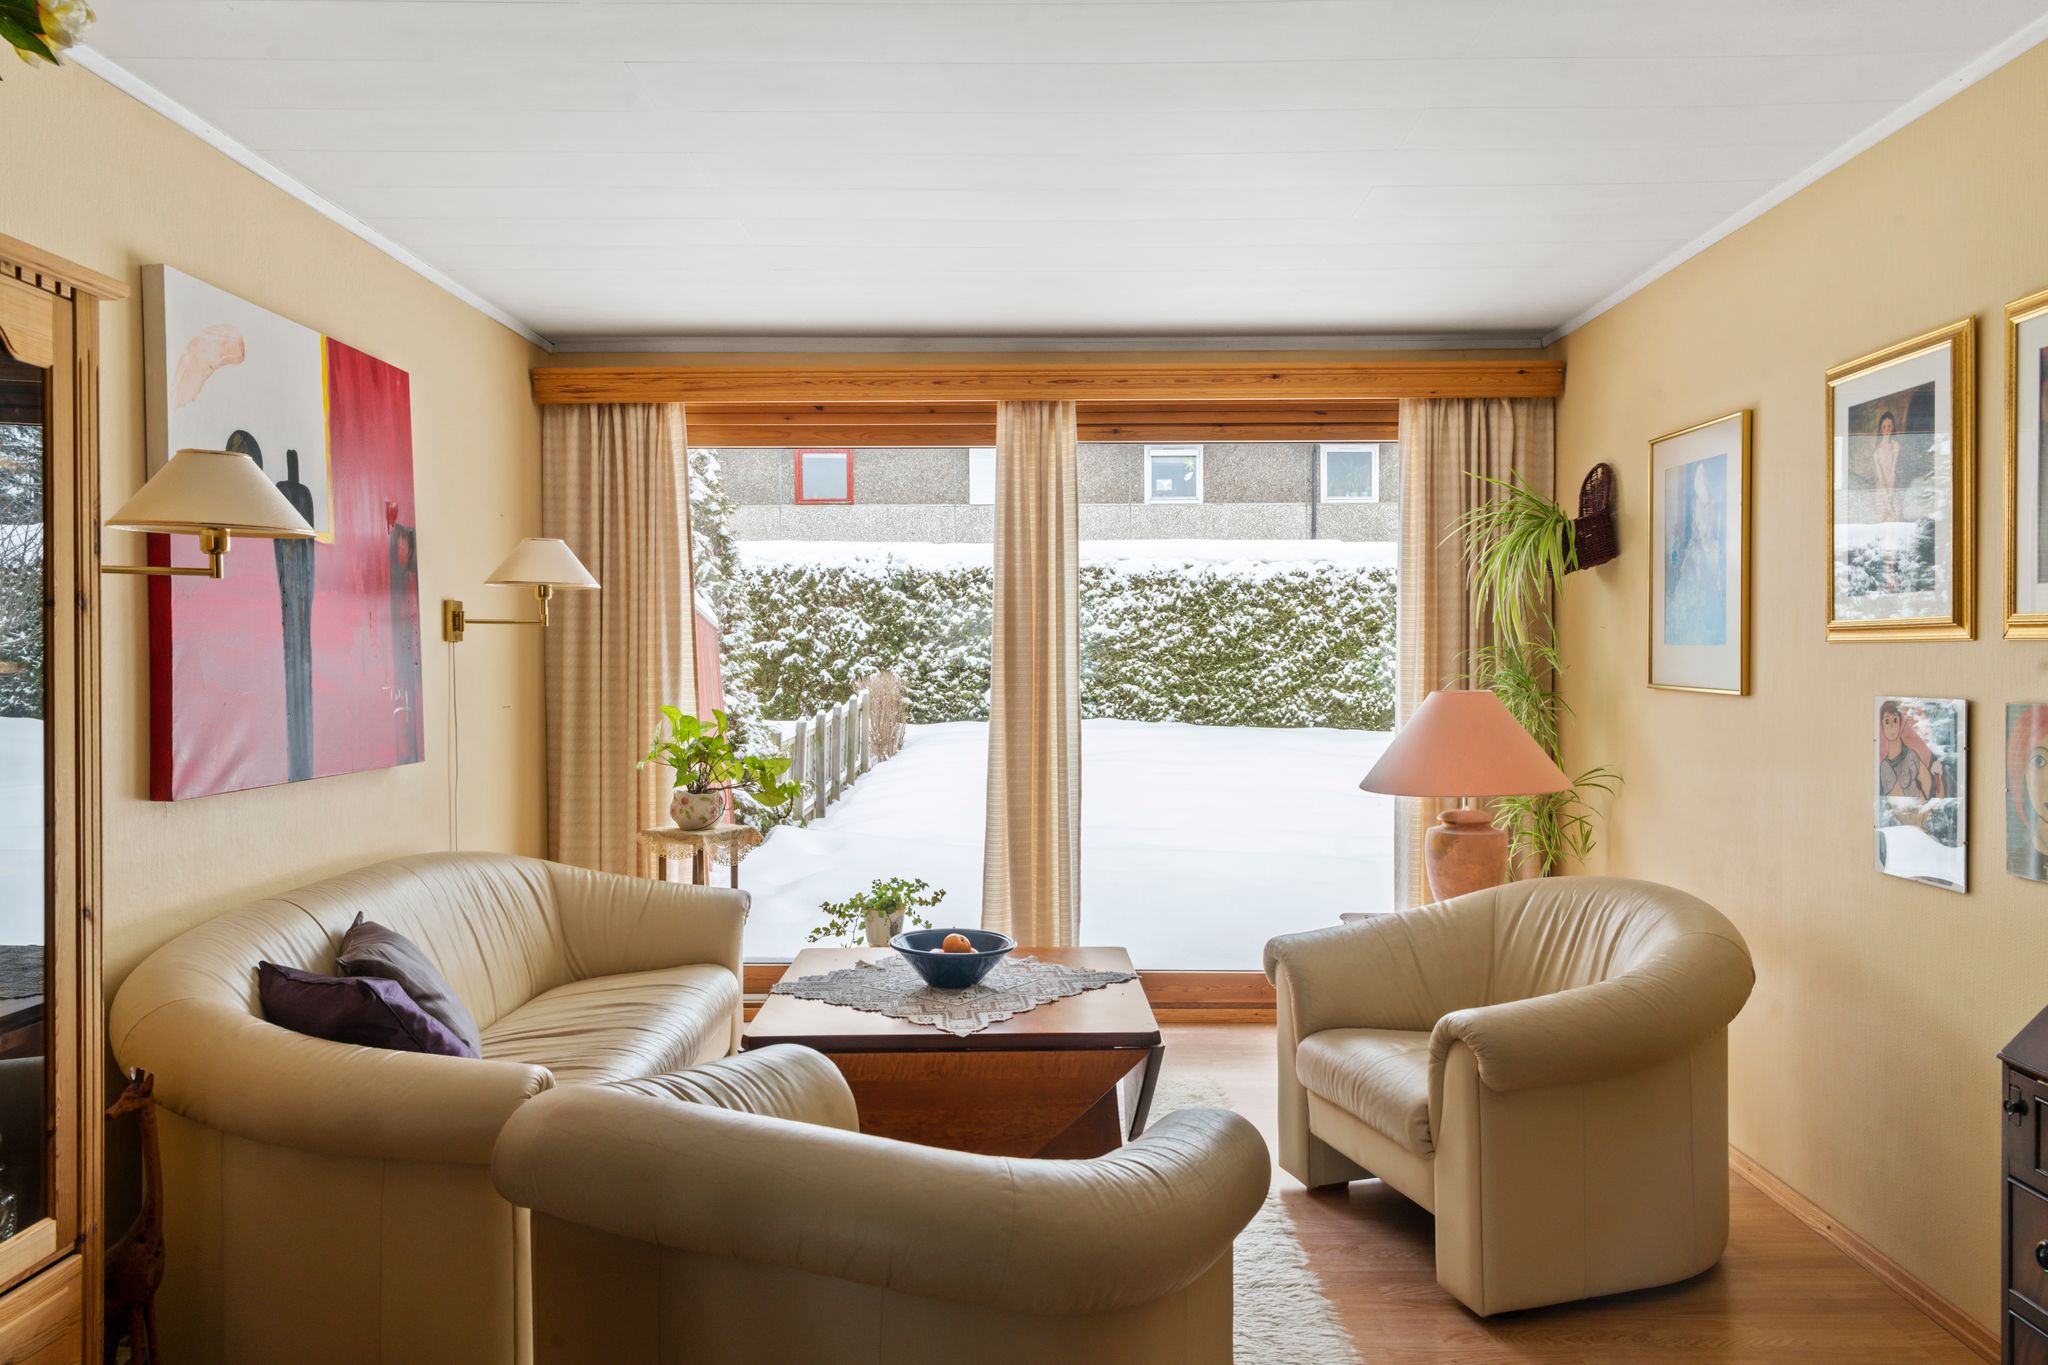
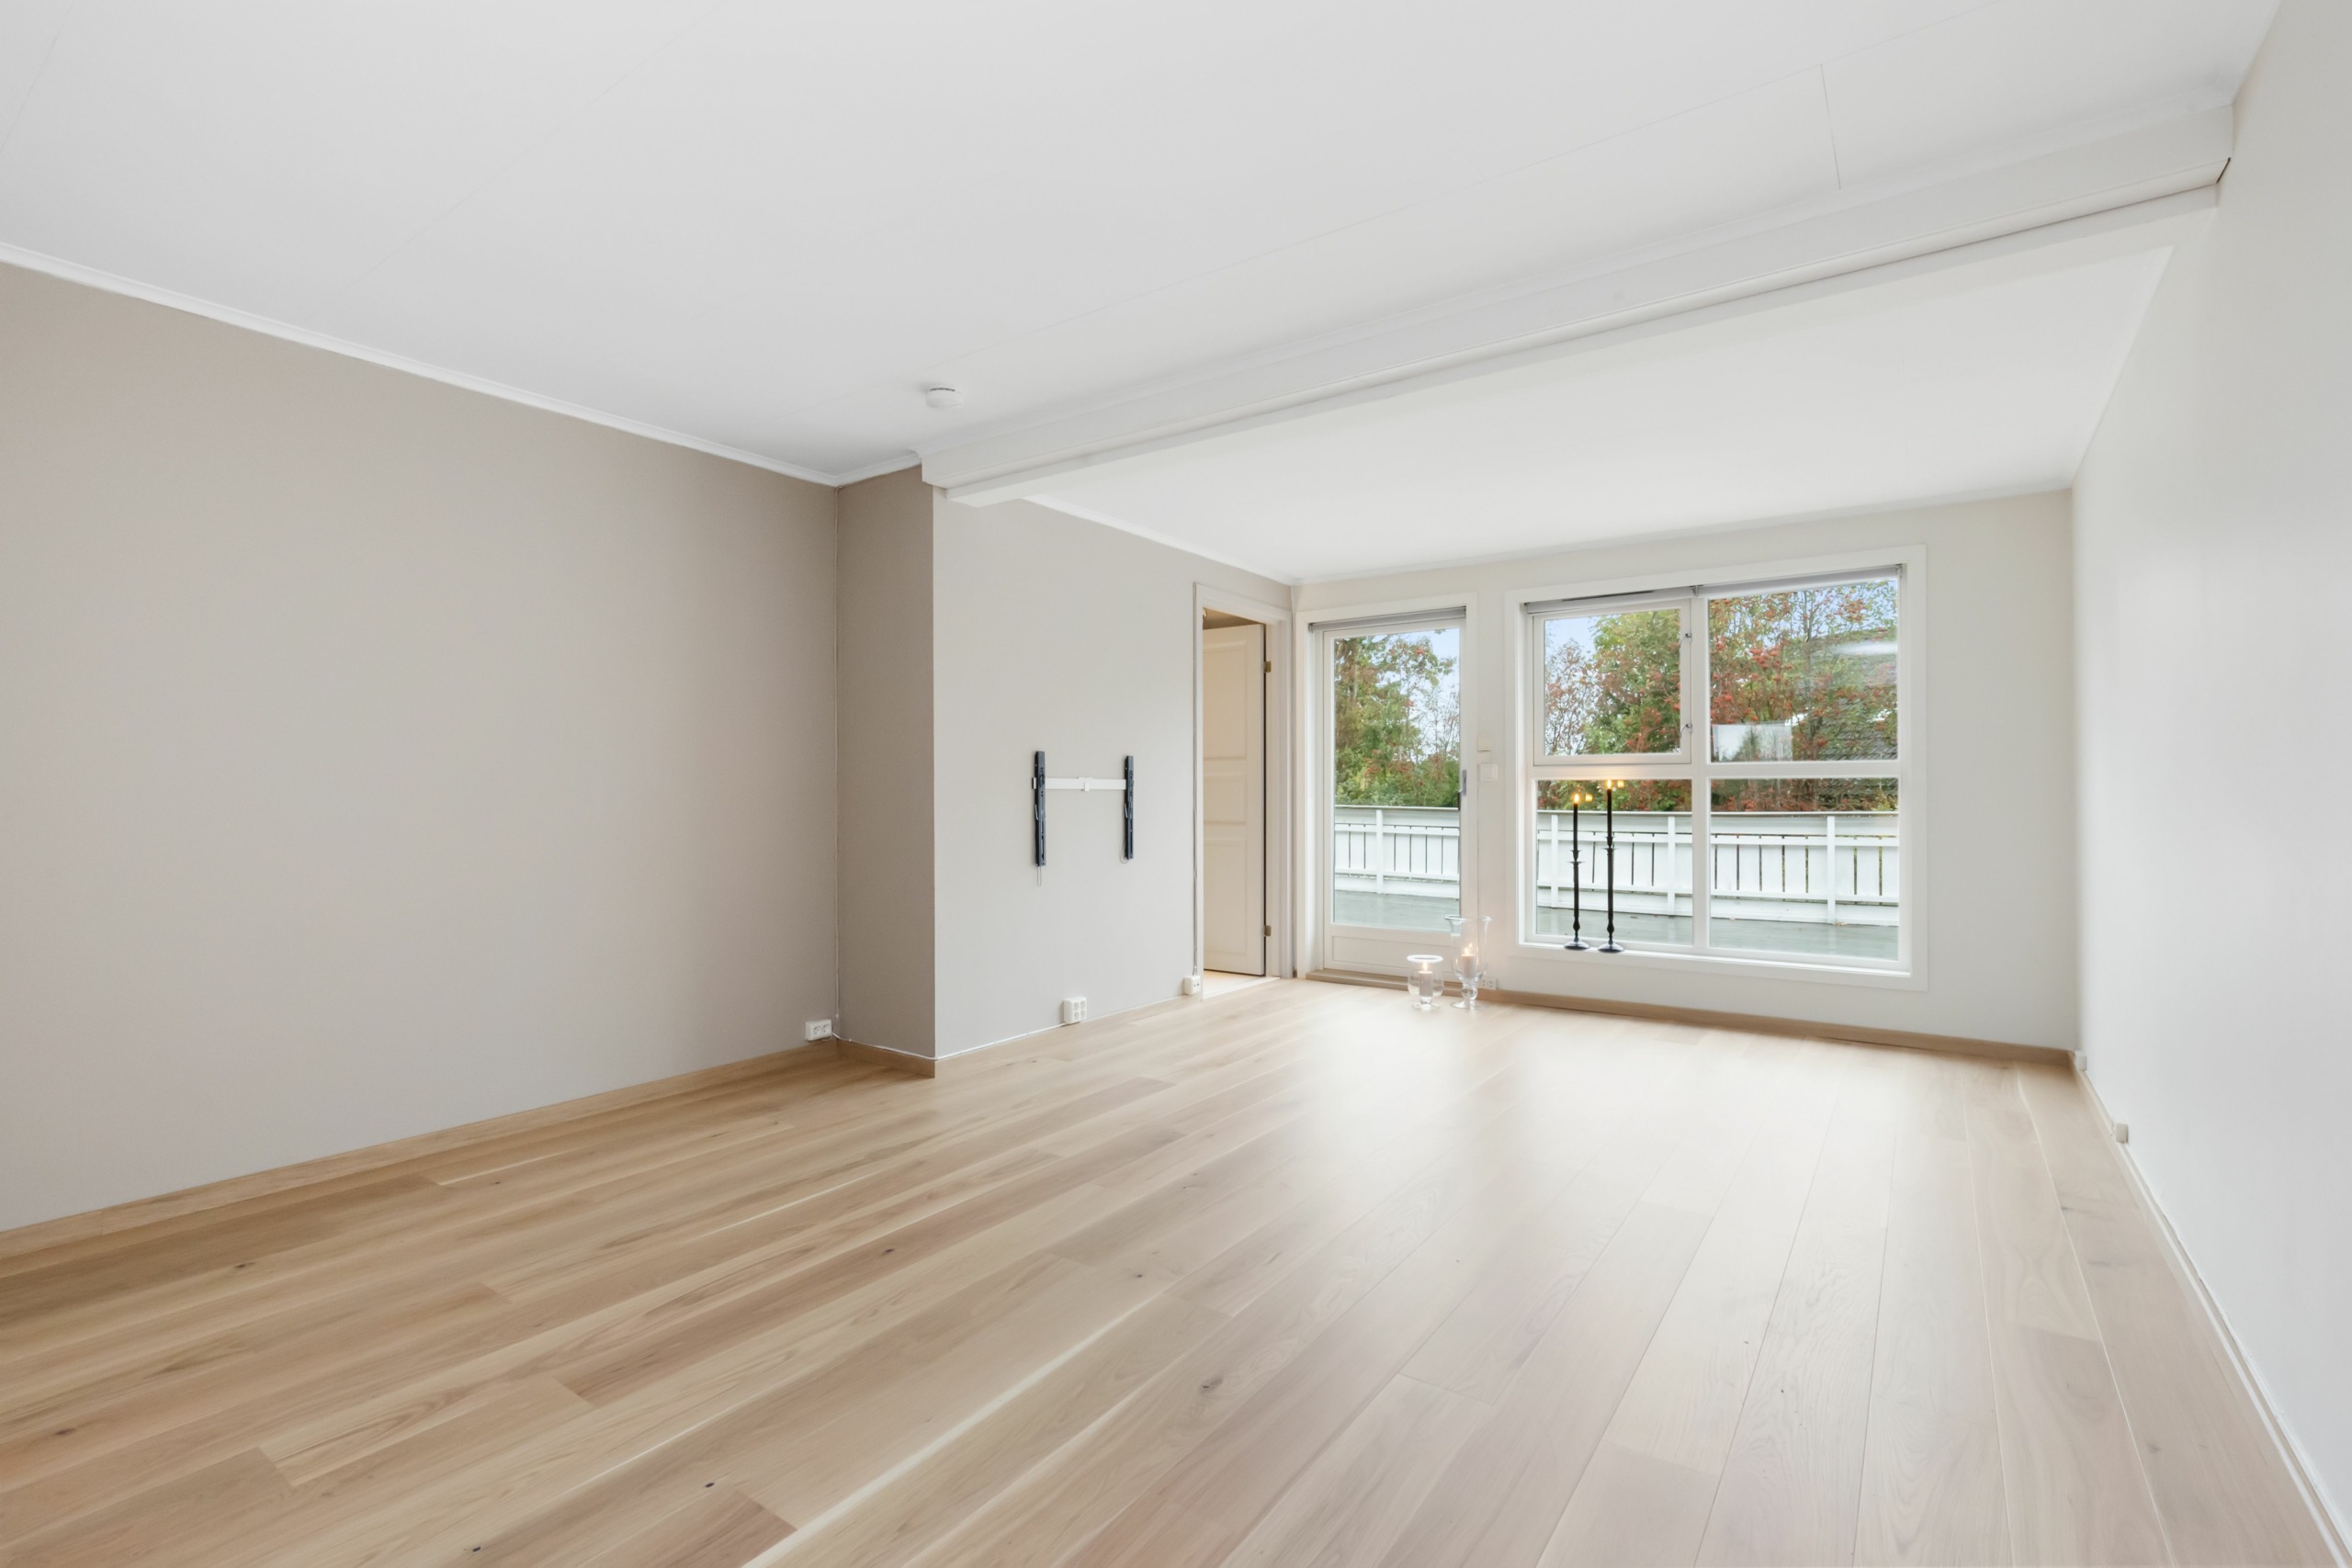
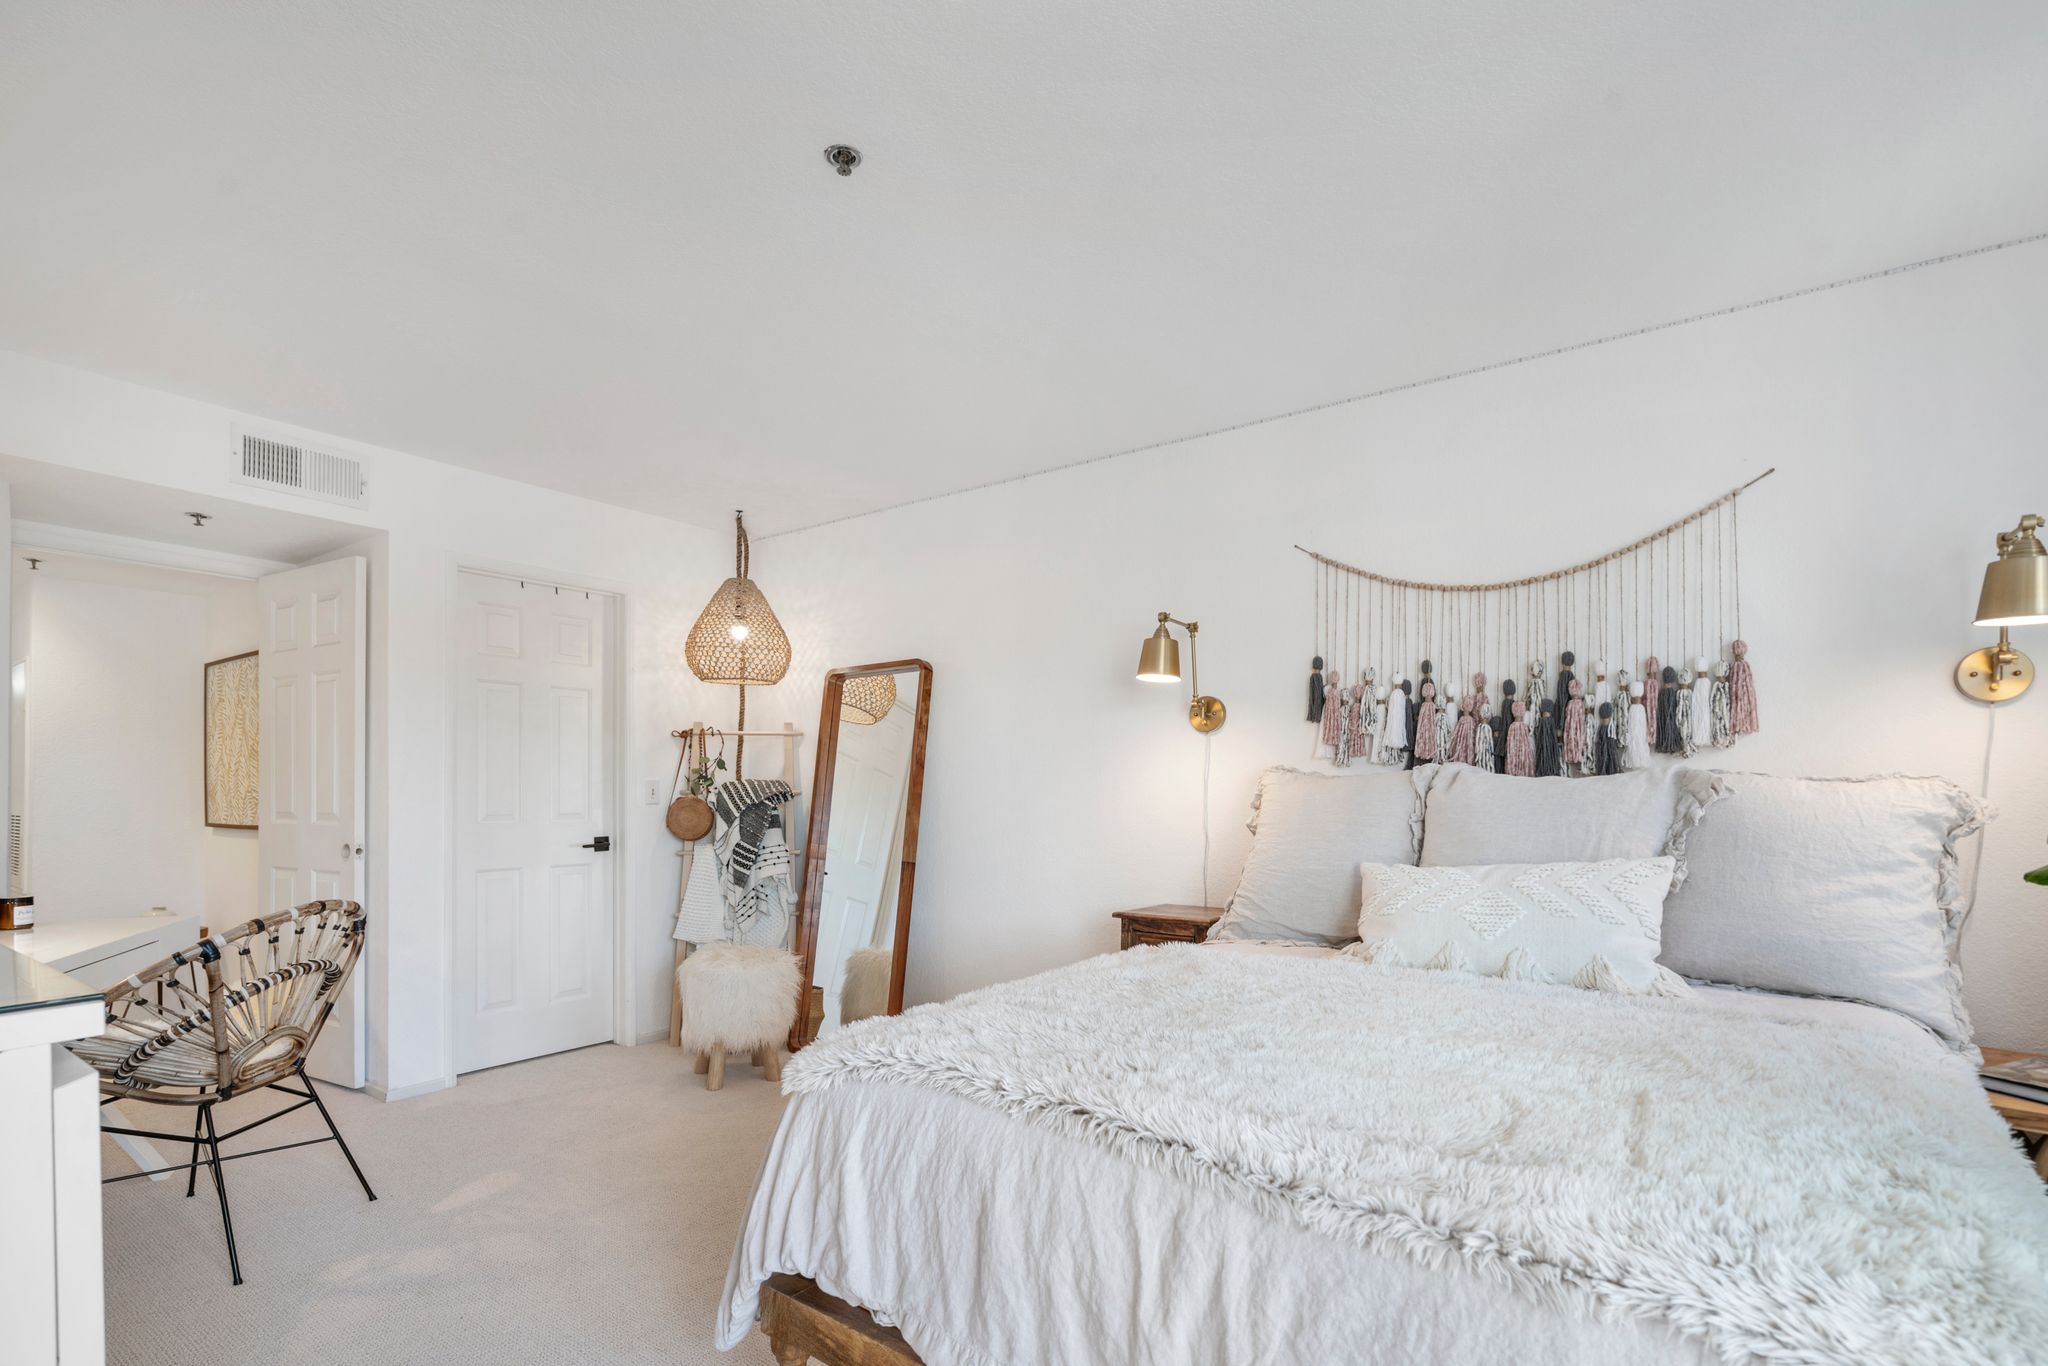
Photo retouching services online can be used to improve the appearance and quality of a photograph. The type of service can be made to remove blemishes, correct skin tones, and remove unwanted objects from an image. Additionally, they can improve the brightness and color of your photos, giving them a more dynamic appearance. If you want to improve the quality of your photos, let’s consider using a photo retouching service online.
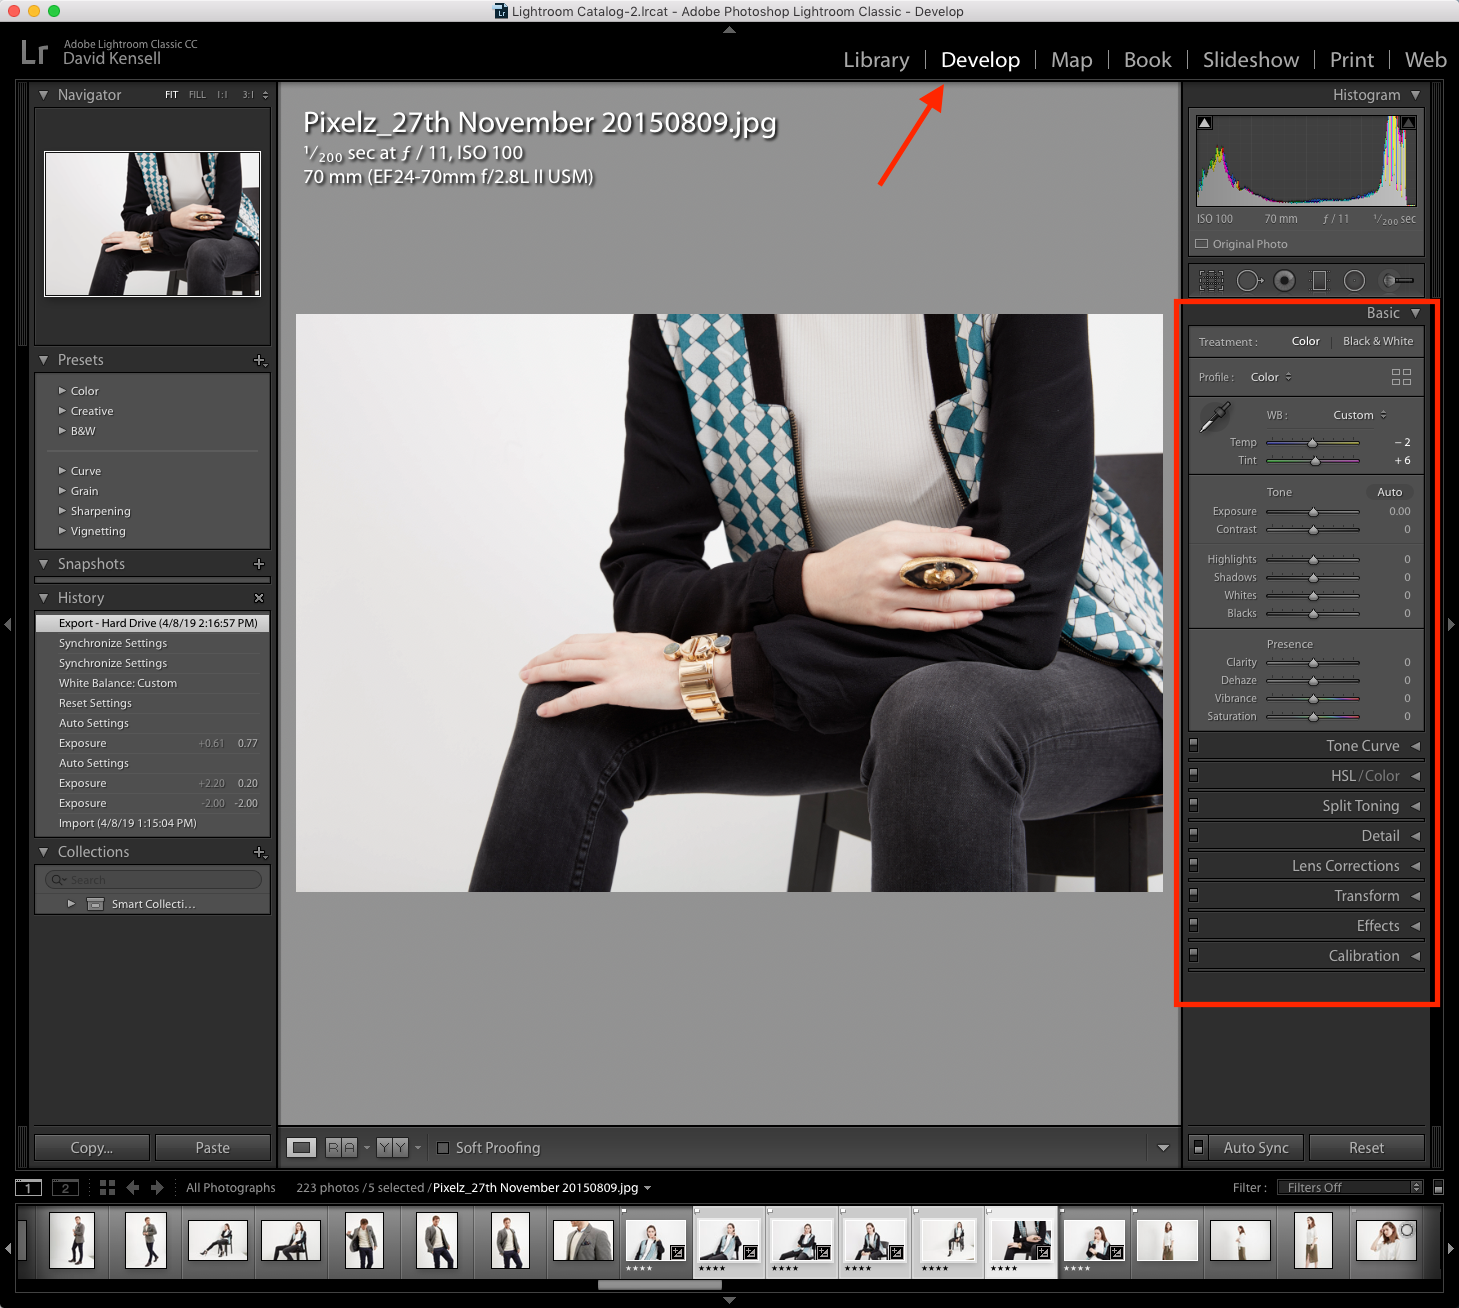
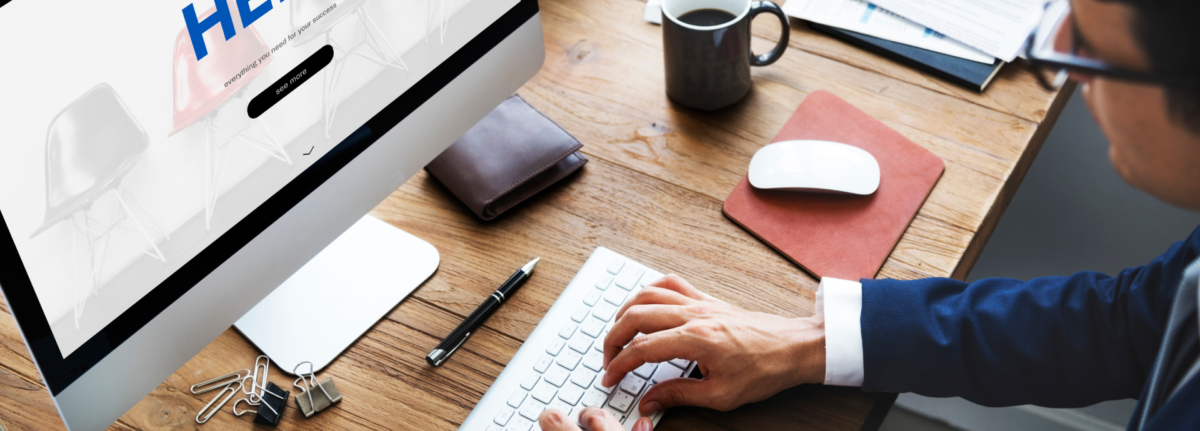
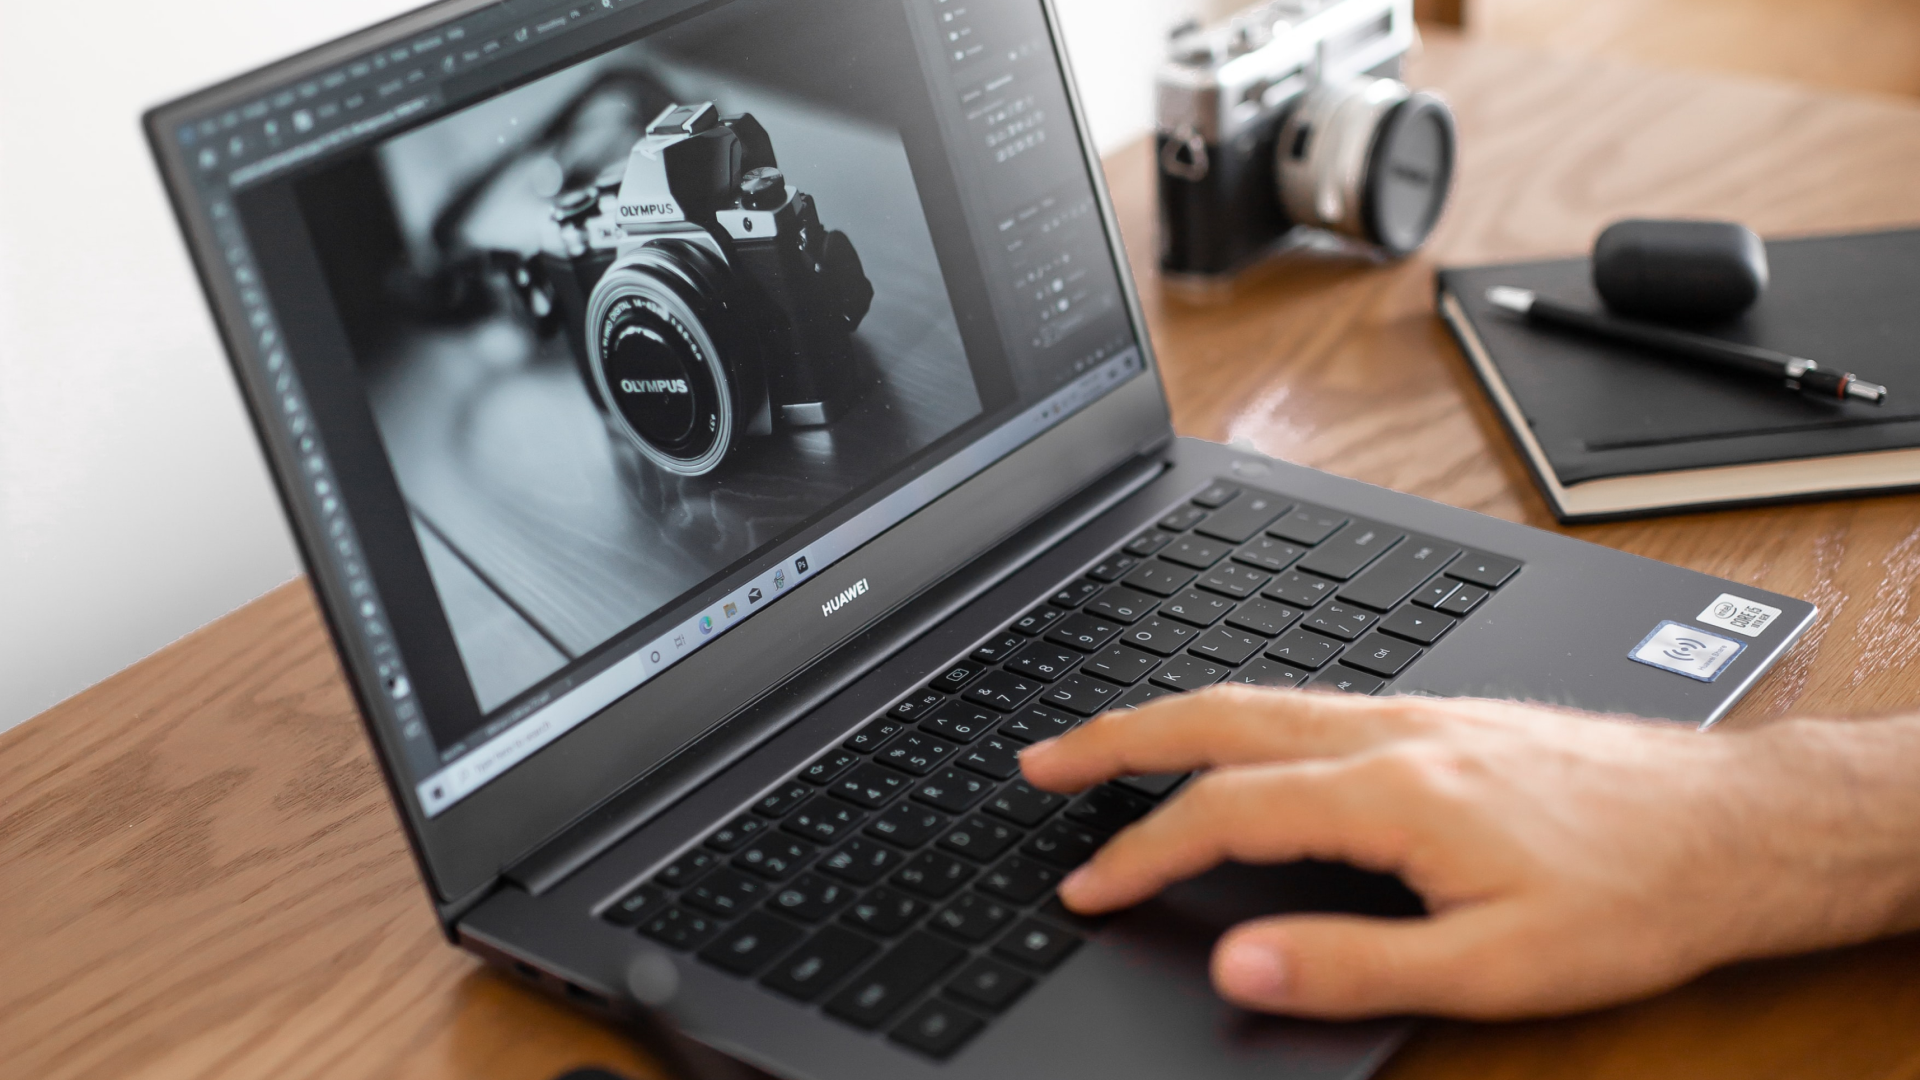
The first step to using photo retouching services online, you must upload your photos to the service’s website. When the photograph is uploaded, the user is provided with a variety of tools and options that can be made to improve the appearance of the image. The user can then download the enhanced image.
The methods used for picture retouching vary based on the sort of image that is being altered. When you are looking for photo retouching service, you need to consider some factors such as: the quality of their work, the pricing options, and the turnaround time.
Why you should use online retouching services ?
- Going online may be more practical than physically visiting a place.
- Compared to local businesses, online services could provide more features and possibilities.
- People could believe that even an online service will provide better outcomes than a local one.
- They are quick and easy to use. The majority of internet photo editing tools are relatively simple to use. You may only choose your options, submit your photograph, and pay for the service. Your image will appear at its finest in just a few minutes.
- They are inexpensive. Particularly when compared to professional photo retouching services, the majority of internet photo editing services are relatively affordable. Without investing a lot of money, you can achieve outstanding outcomes.
- They’re versatile. Online photo retouching services can do everything, from removing blemishes to adjusting lighting levels.
Advantages when you are choosing professional photo retouching services online
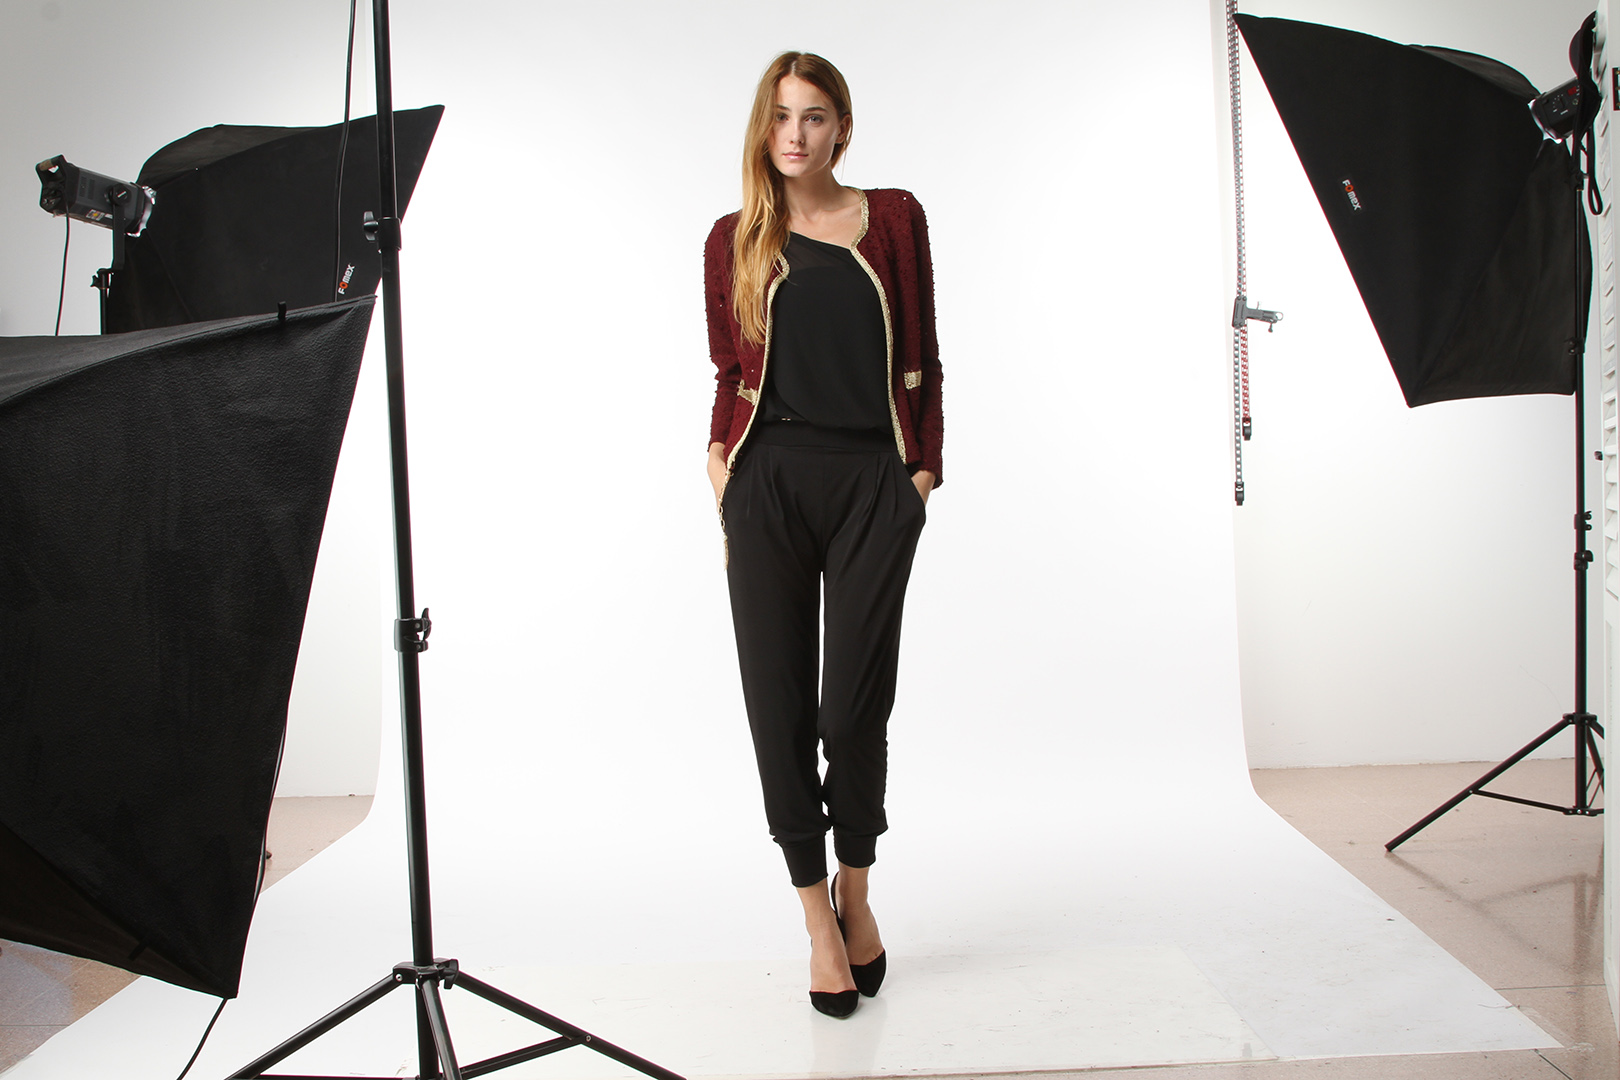
High-quality images
Businesses may save money and guarantee the greatest quality of their photos by outsourcing their image retouching. It is because skilled and knowledgeable professional retouches can provide top hits. Whether it’s removing blemishes, adjusting colors, or smoothing out wrinkles, these editors know how to make your photos shine.
If you’re looking for beautiful, high-quality photos that will impress your clients, professional photo retouching services online will be the best choice.
Save Money and Time
You can save money on software by working with a pro. Many professional editing services already have software that is expensive and difficult to learn how to use. Also, applying professional photo retouching services will help you solve this issue
A professional can also help you save time. If you are unfamiliar with photo editing software, it can be very hard to learn how to use it. It implies that the editing of your images can take longer than you would want.
Boots Your Brand’s Images
Professional photo retouching can enhance sales by making a company’s goods and services appear more enticing to potential clients. Furthermore, professionally altered images can make a company’s website stand out from the competitors and seem more credible. A cost-effective strategy to achieve excellent results that might aid in the expansion of your business is to outsource photo editing.
Customization of your images
To help you achieve the exact appearance you desire, the majority of professional picture editing services provide a wide range of customization choices. Usually, you may select from a wide range of filters, frames, and textures to use on your images. To add captions or titles, you can choose from the variety of text possibilities. With this degree of personalization, it is simple to produce distinctive, individualized images that stand out from the competition.
Fotosolution company will be one of the best choices for you.
Visit Fotosolution company, you get:
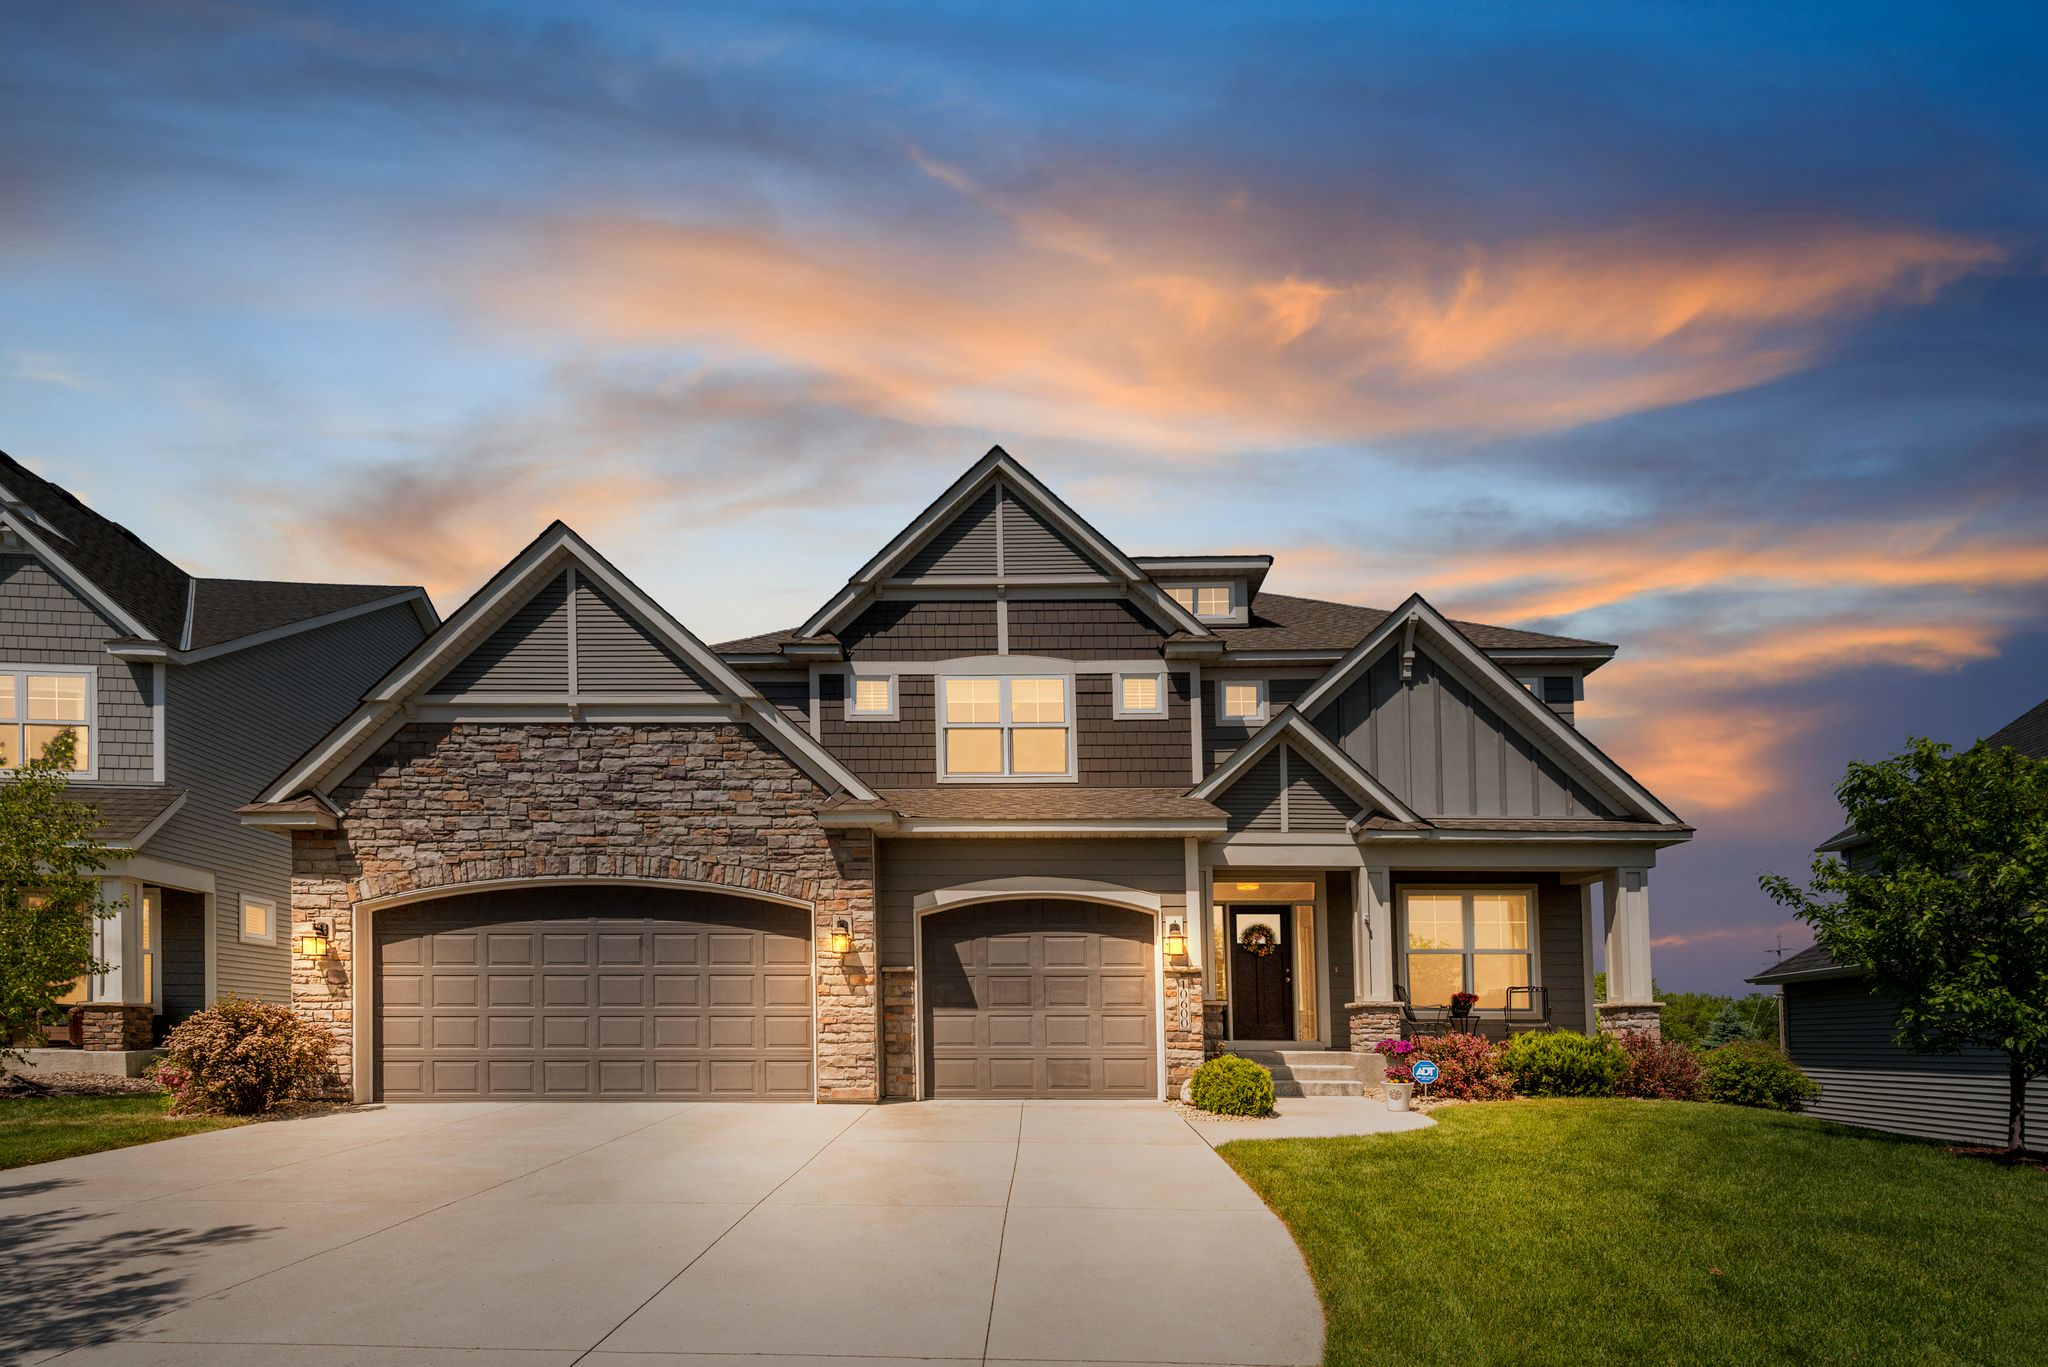
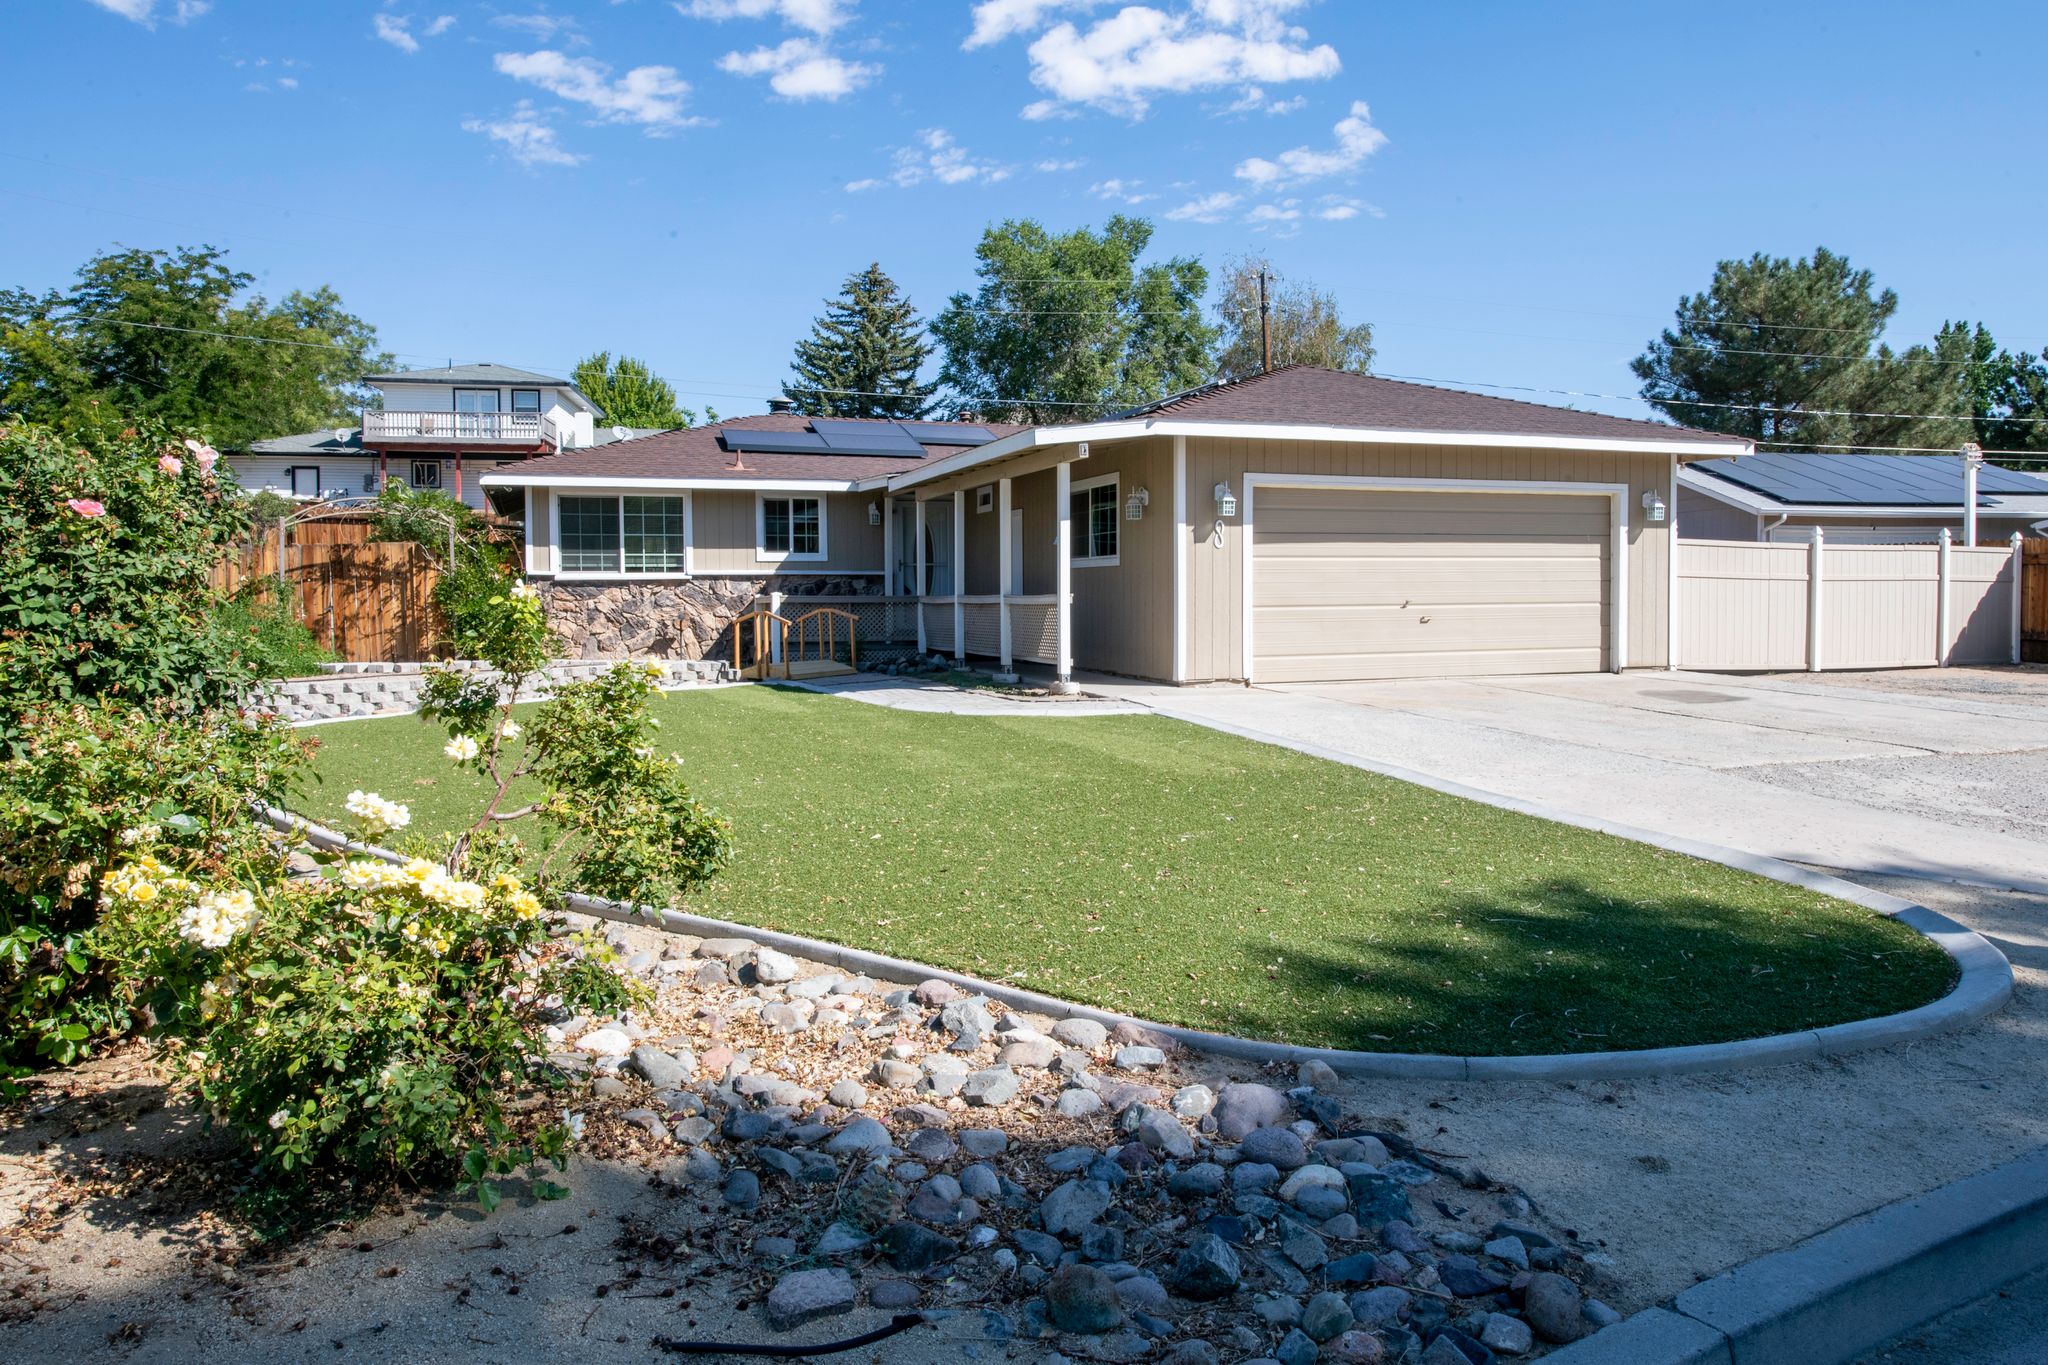
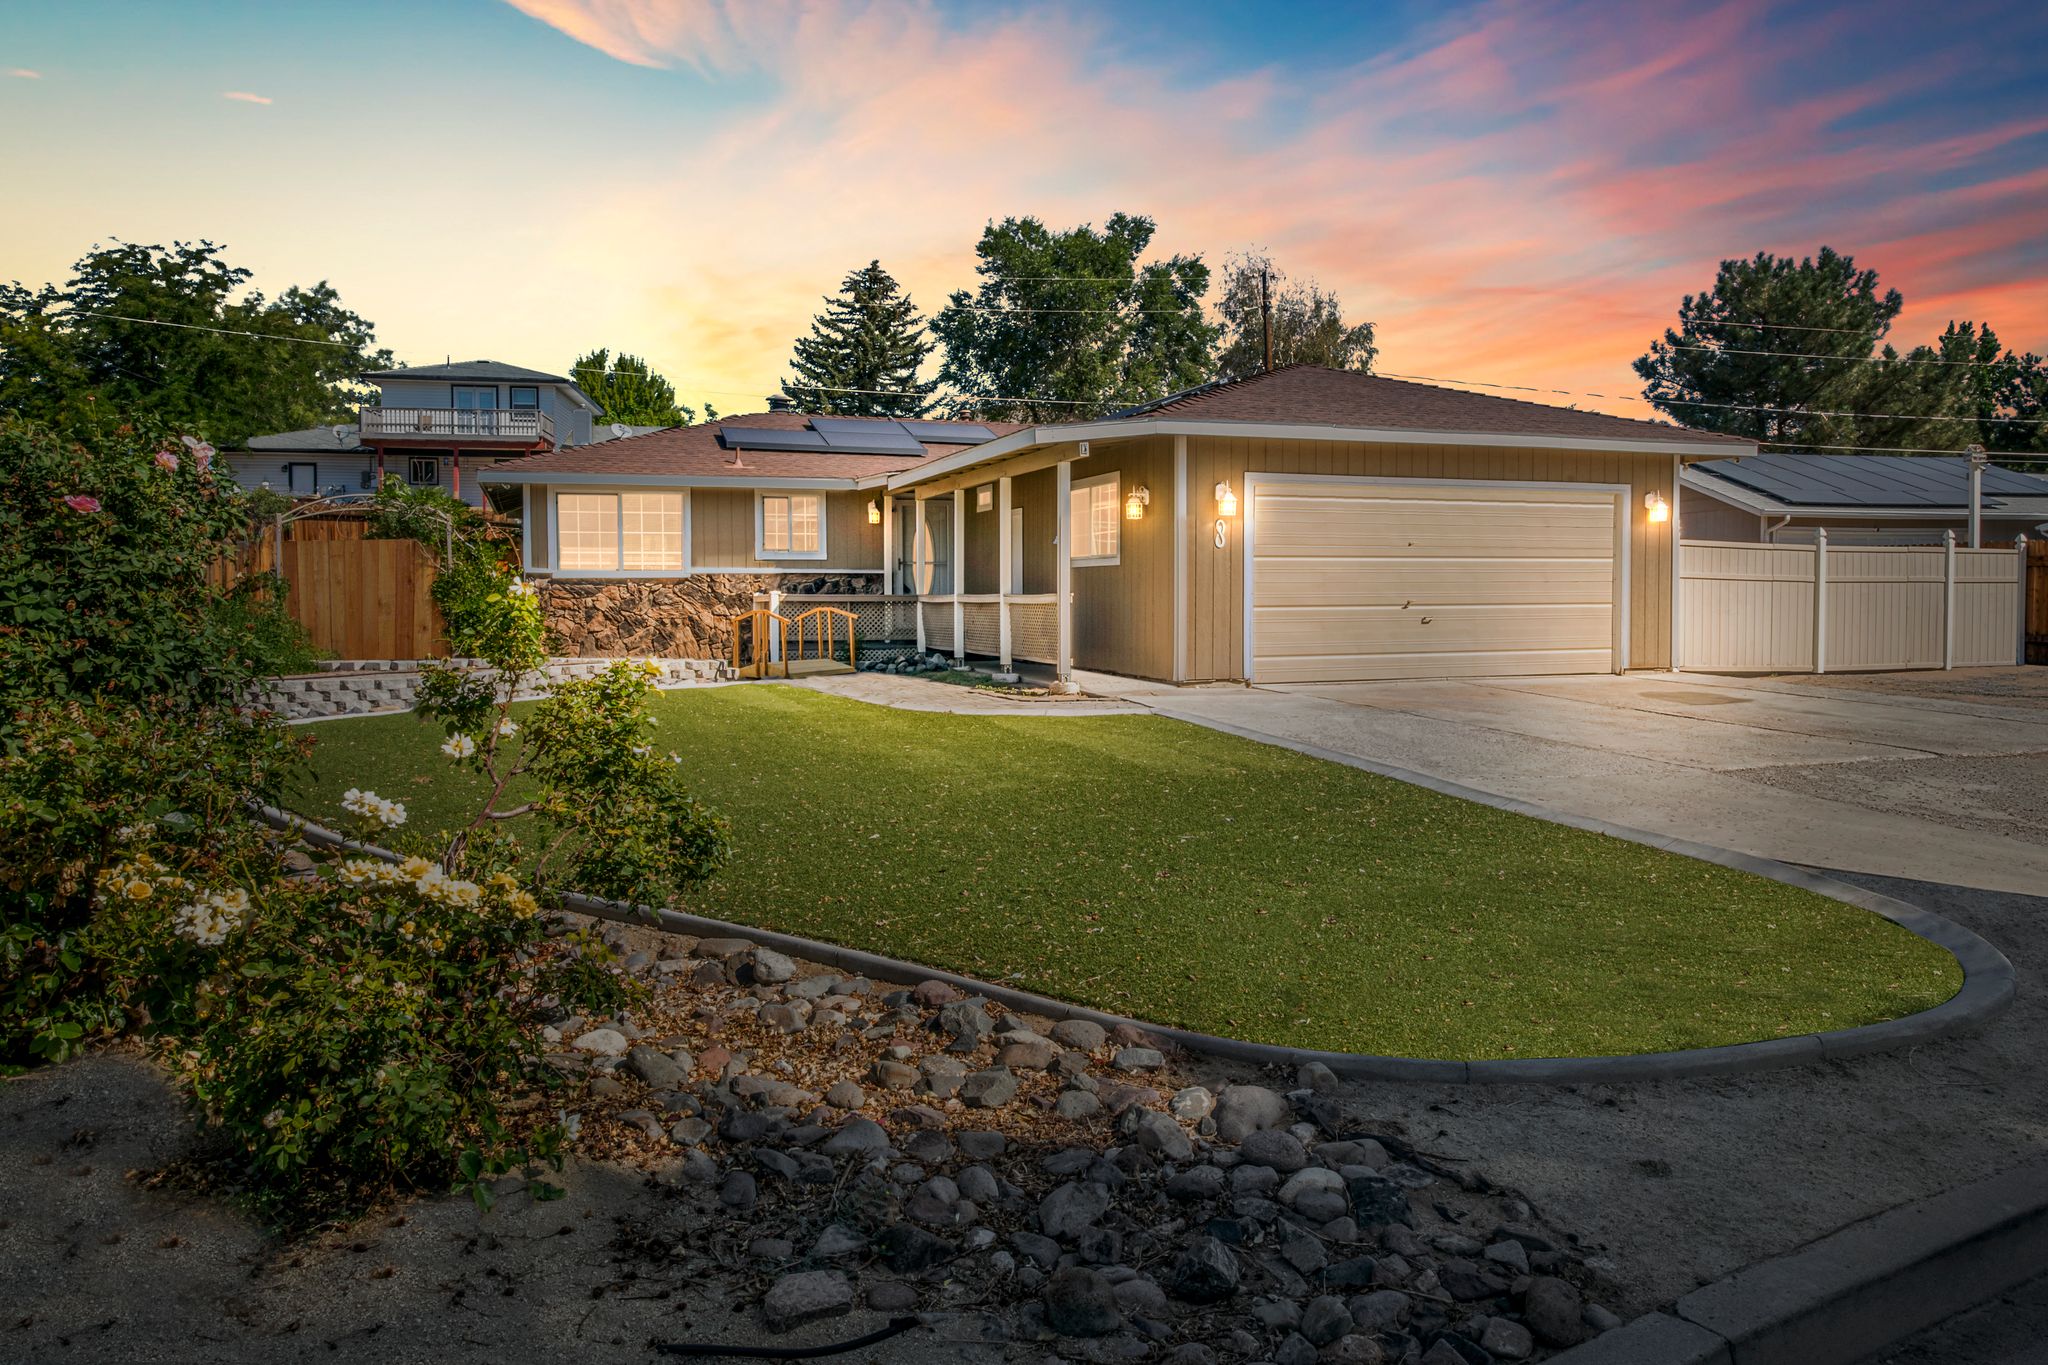
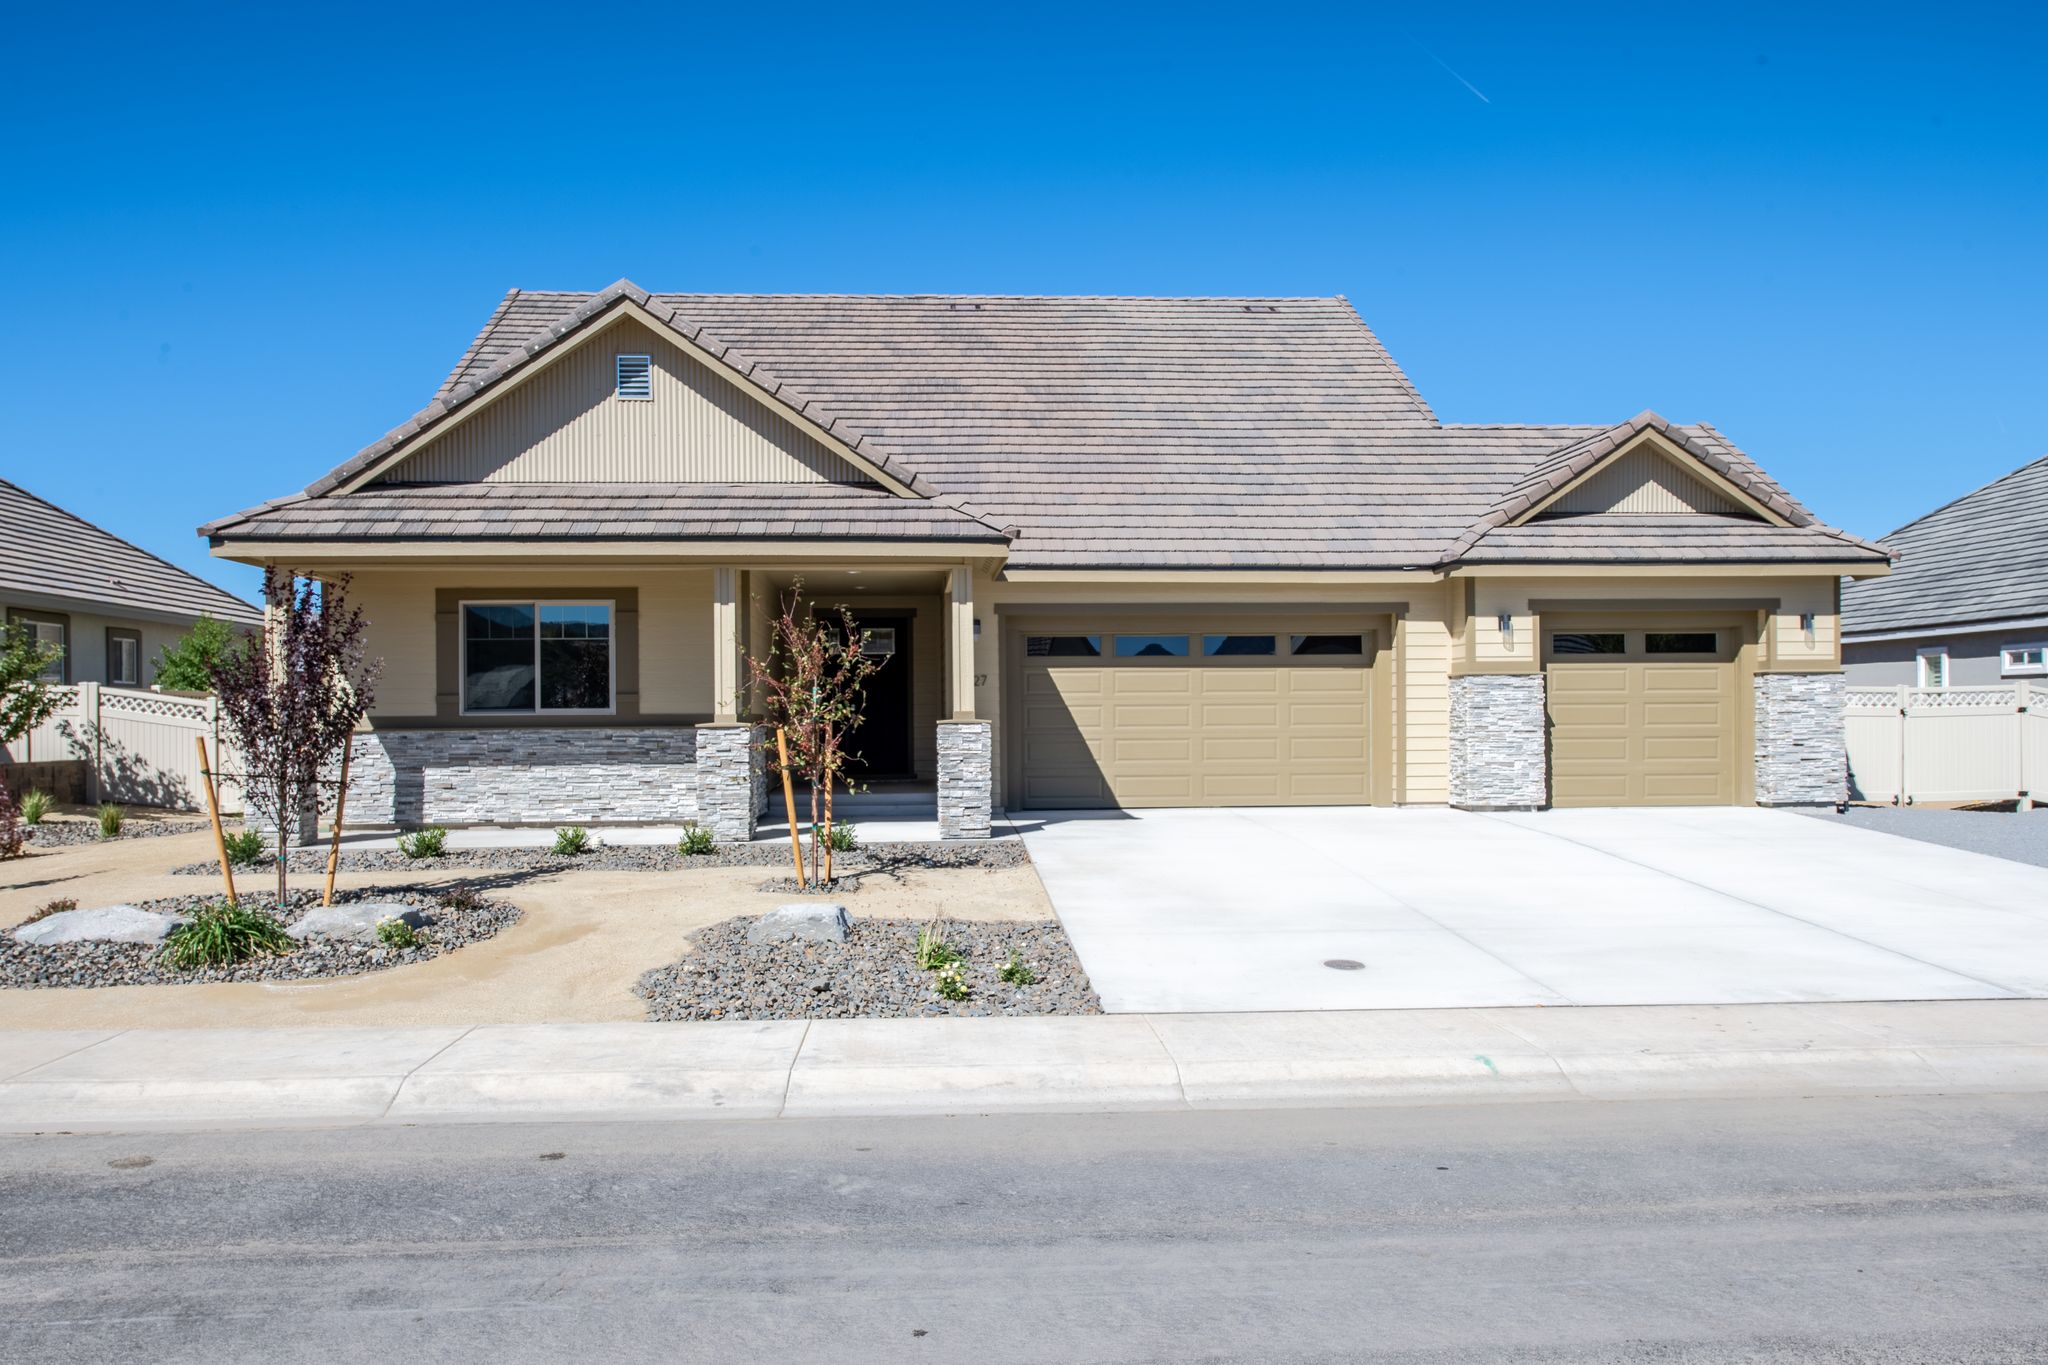
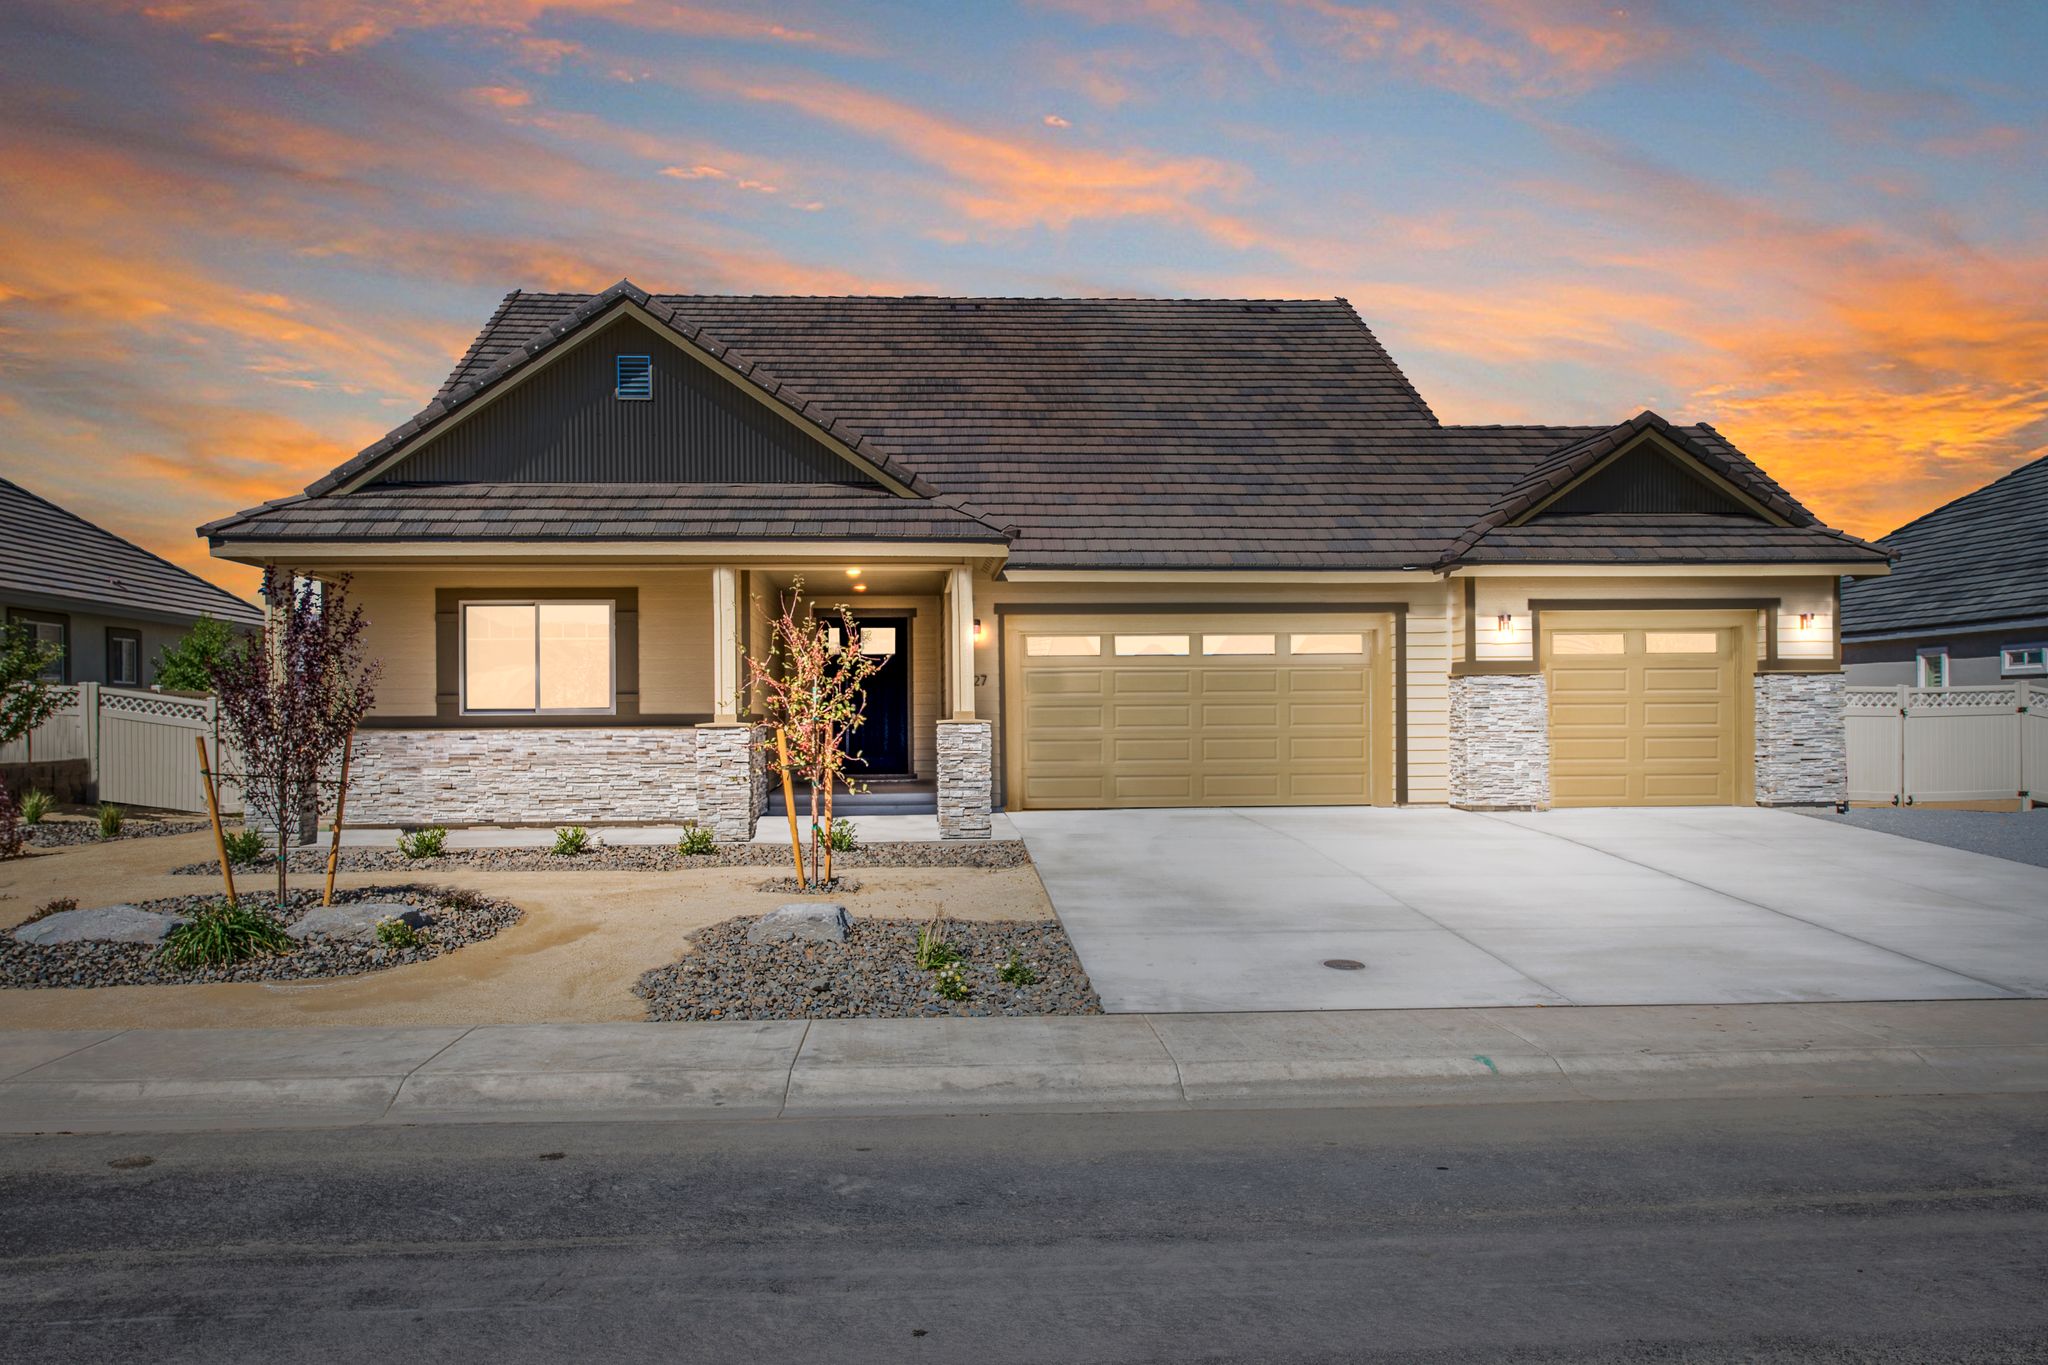
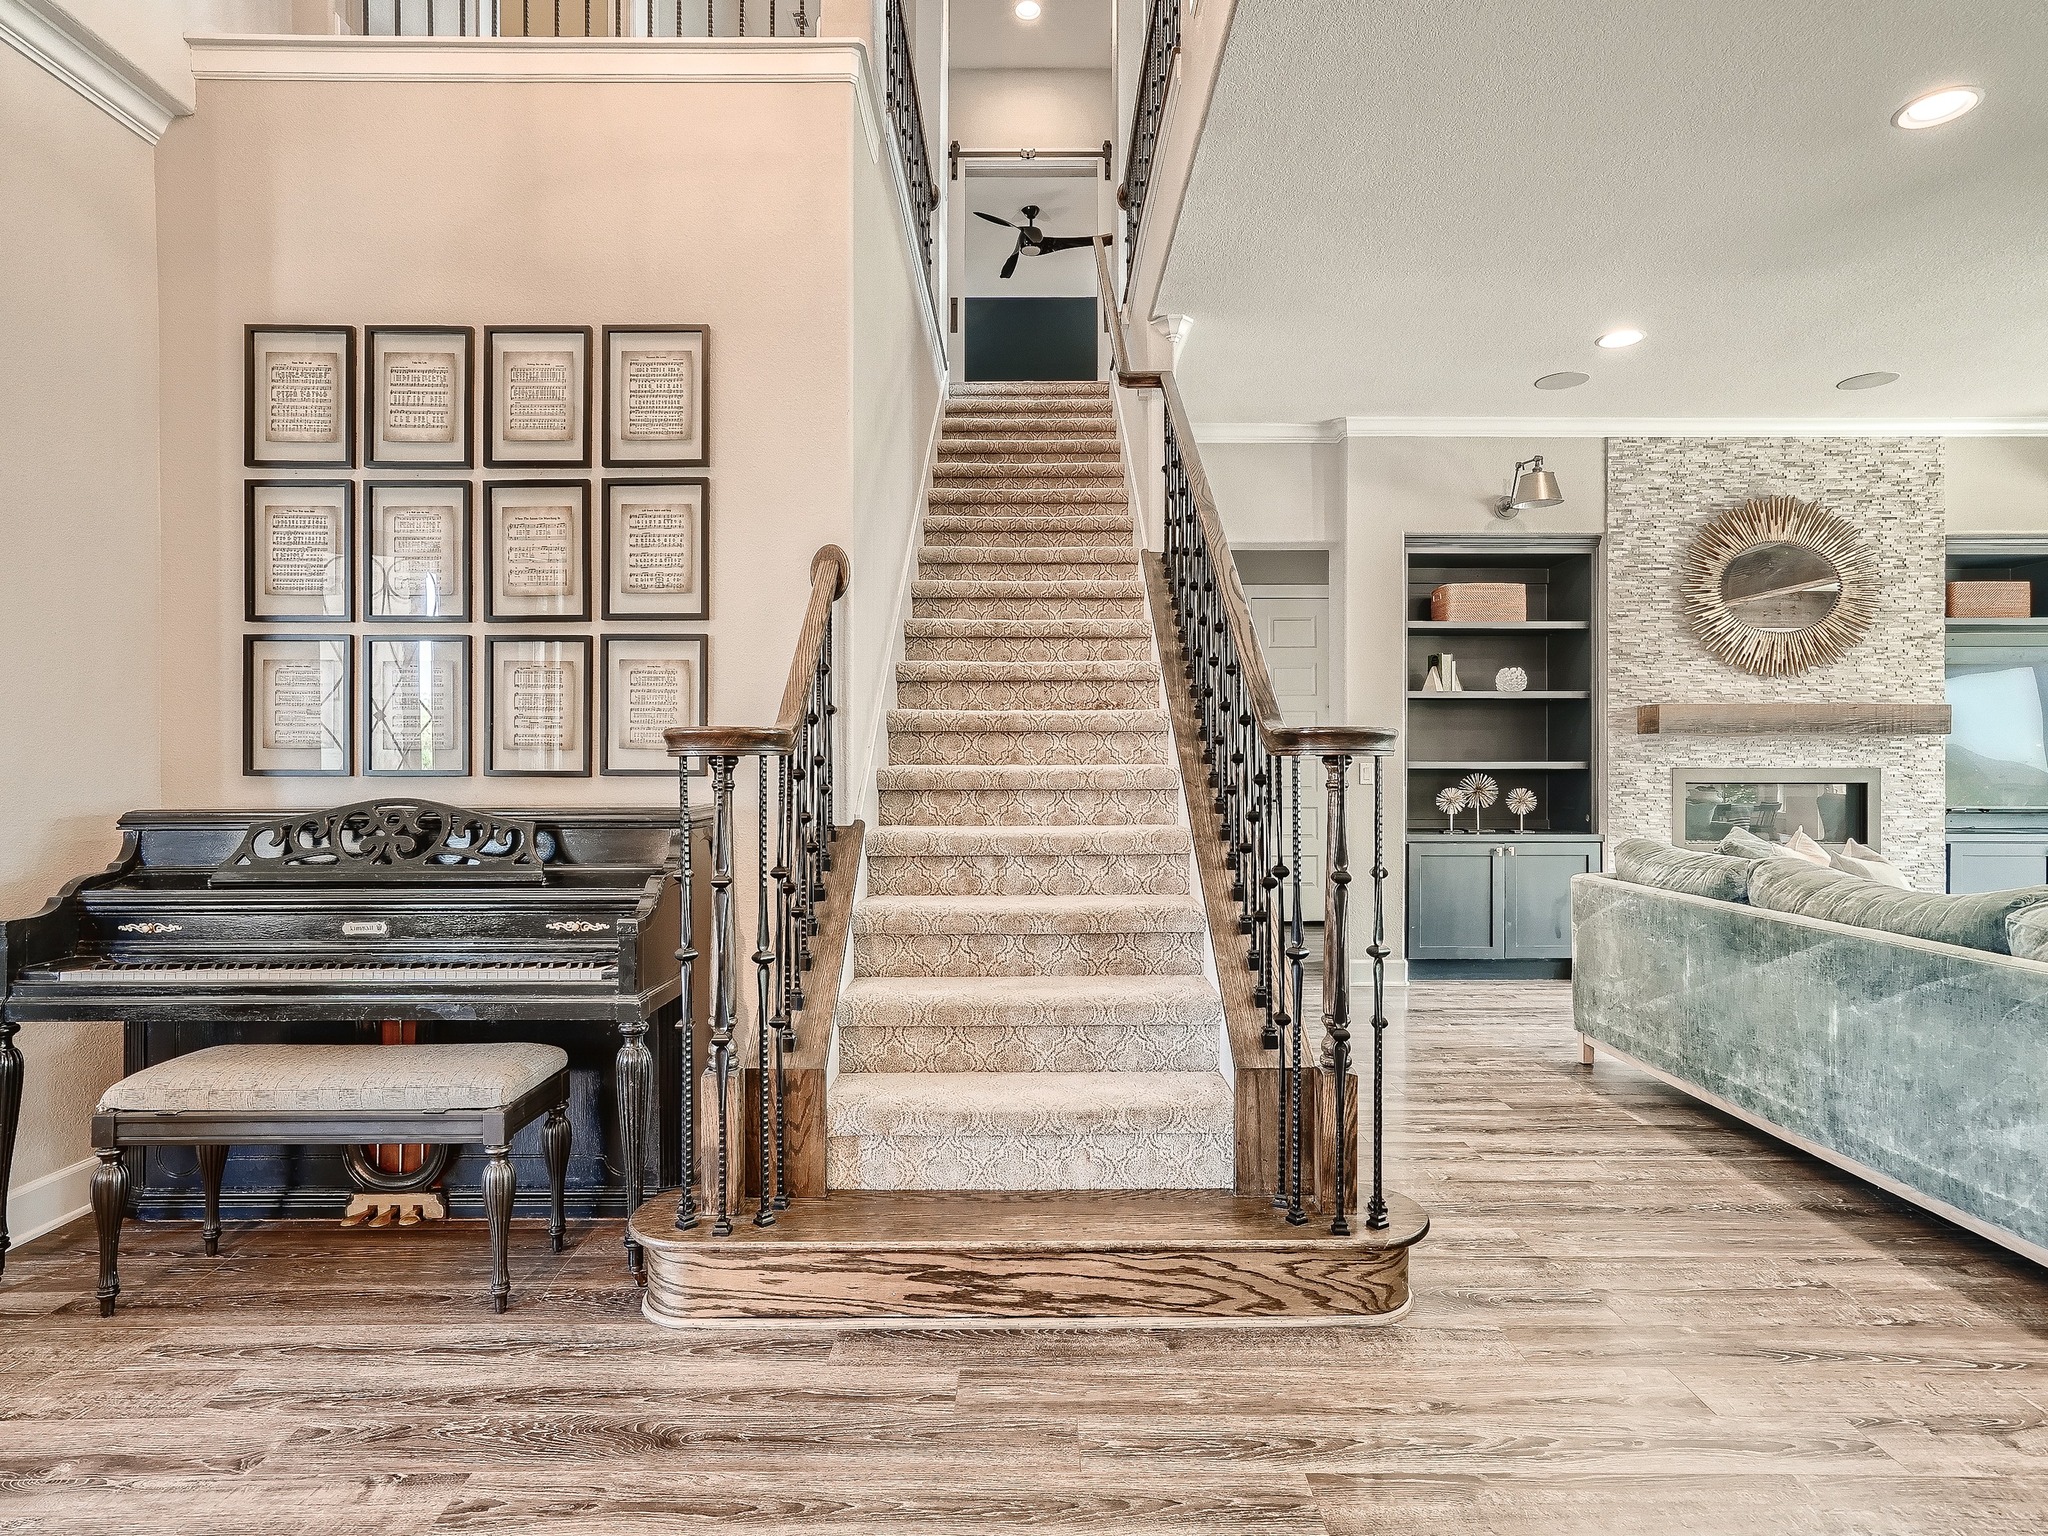
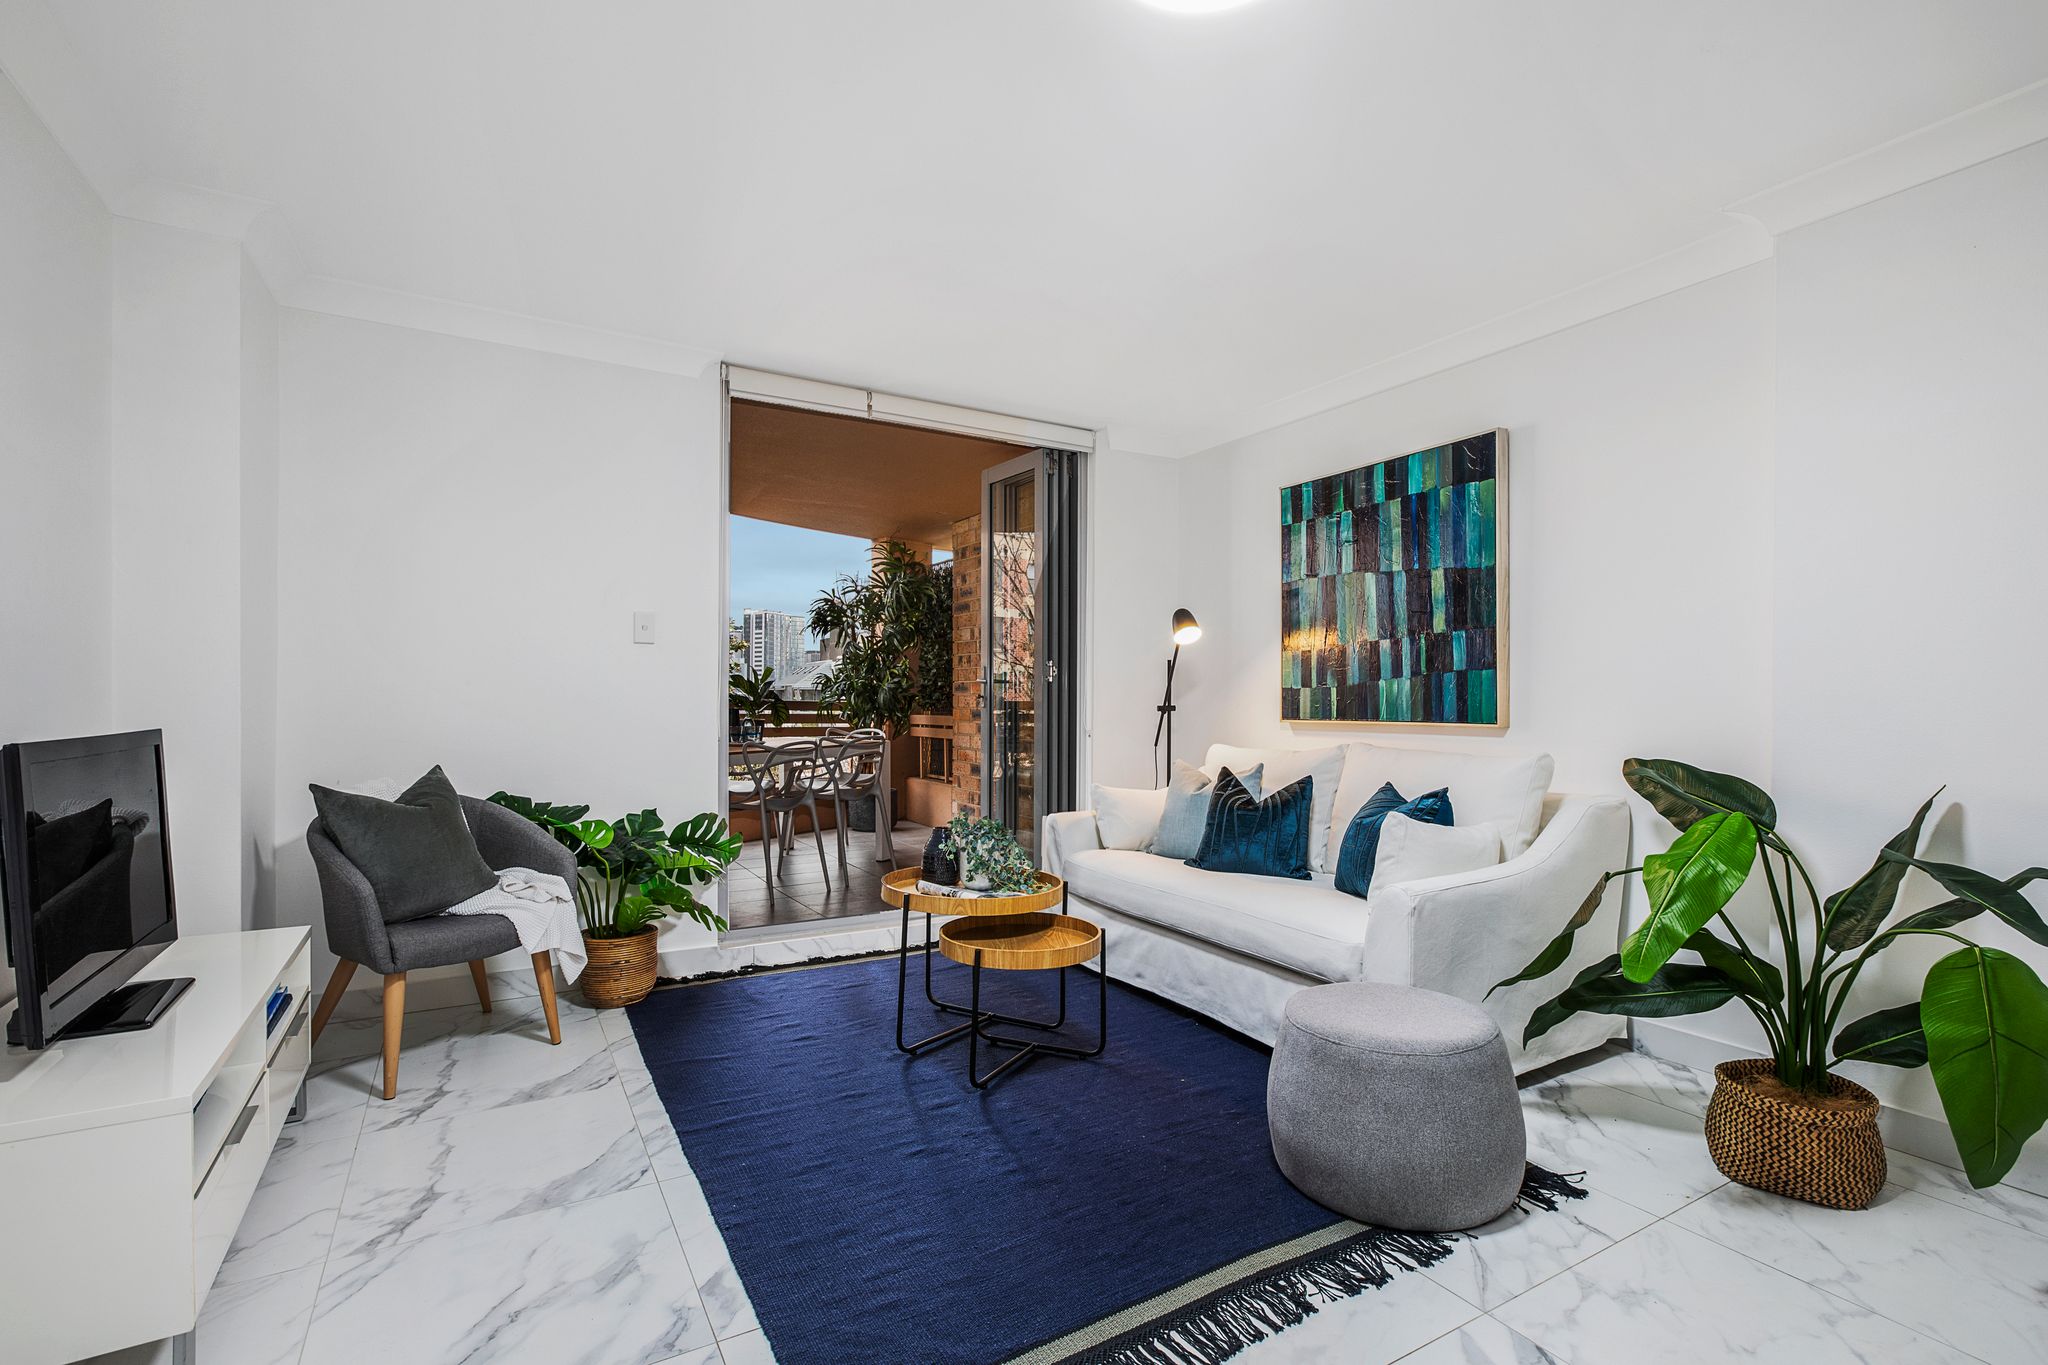
Fotosolution have successfully provided real estate image editing and image post processing services to numerous real estate agencies, advertisers, and real estate photographers.
- You can save your time with the short turnaround time thank benefit of the time zone ( from 8-12 hours).
- We are available 24/7 to find a solution for your photos as quickly as possible.
- Your photos will not be published by any third party without your permission.
- We offer 3-5 photos edited for trial without any fee
- We use the latest image editing software such as Adobe Illustrator, Adobe Photoshop CS6 and CoreIDraw to give you the most attractive photos
If you are looking for the best image retouching services, Fotosolution is the best option. Our services can help you improve the appearance of your photos, making them look more polished and professional.. Contact us ( sales@fotosolution.com) today to get started!


 [/twentytwenty]