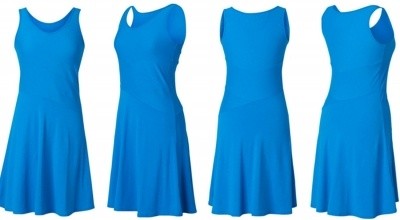
Beautiful image is an important factor to decide the success of effective sales. But to pass these, it is not easy as we think. Today, we will present you one of useful tips and show you a simple way to a use light tent for soft. If you just own normal product photograph, it is difficult to receive the good result especially when you want to sell online, we should require the high quality product photos. Such product photography may seem simple to take, but this technical type of photography is much harder to do well than you might think. That’s why there are professional photographers making good money shooting top-quality product photography.
A good picture will help sell your product photograph more easily. There are many ways to handle image but one of the easiest is to use a light tent. so, what is light tent?.
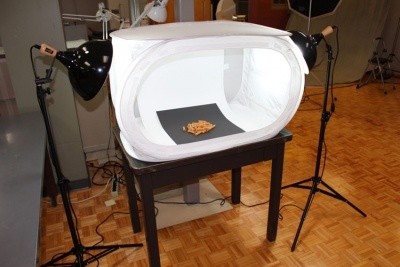
A light tent or light box is a contraption with translucent sides that diffuses light coming from different sources. This makes your image nearly shadow-less lighting against a simple and solid background. You can choose and purchase a light ten to build and handle your own product photograph. However, before using light ten for image, you should know when to use light tent?.
The light tent is one of familiar items what amateur and professional photographer always use when shooting product. Using the light tents photography will help them take professional digital photos of products and items easier. Moreover, it will support them filter the light from the source, creating a very even, almost shadow-free light across objects inside the tent. The light tents photography helps to decrease harsh shadows and reflections on shiny objects, such as metal or glass, and gives a clean, crisp backdrop to all items. Its special nylon fabric diffuses the external light, softens shadow, and reduces glare to create the perfect result.
For example, if you want to shoot a shiny items, you should use light tents photography because it will help you eliminate lots of bright reflections. Thus, light ten is useful way help you handle image and the light’s quality of image.
Next, we will present you how to use light tents for small product photograph or how to use effectively the light tents photography?.
Firstly, you should prepare and erect your tents carefully, then place your items inside your tents and in the exact center. Place the lights so the illumination is even. You can try to get a look you want before shooting seriously. For instants, you can also experiment with pointing the lights slightly at an angle, rather than straight on at the tent. You need to pay attention to move carefully subject because directing forward or backward will be affect and change the light and the shadow. Be sure to leave space between your subject and the walls, so that you can zoom in or position your camera to see only the backdrop and not any edges.

In addition, the ambient lighting can affect directly when shooting. You need to choose the exact time because when shooting midday in diffused indoor light and shooting at night with only the lights themselves for light, it can happen many differences. Let’s avoid direct sunlight shining in or at your tent, as it will be difficult to balance such a powerful light source.
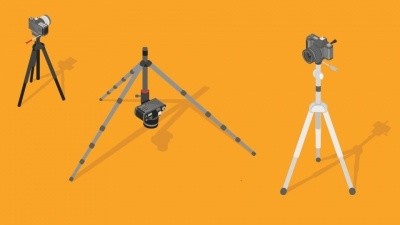
You should use a tripod because this allows you use a low ISO and small aperture. Moreover, it will help you get sharp and detailed pictures.
Secondly, you learn way to set up the camera. It is best to use manual exposure and set an exposure that is approximately one stop brighter than the meter suggests to allow for the large expanse of white in the background. In fact, photographs often utilize wide apertures and selective blur to make them look more appealing, while product shots of crafts and handmade goods look best with a narrow aperture to keep the entire item into focus. Thus, you can set up the camera securely on the tripod and use either the 2-second timer or a remote shutter release to ensure that you tripod remains steady.

In shooting process, you can draw some things to consider the exact distance, such as:
– Use white backgrounds, you may get better results around +1;
– Use black backgrounds, you will get better results around -1.
– If a full stop is too dark or too light, try a half or a third of a stop
Thirdly, way to choose best lighting for product photograph. The best results will be obtained by using three external lights with daylight florescent bulbs. However, you can use light with light tent to ensure white balance. If you use a light tent, you should place the two main lights directly on either side of the light tents photography. Besides, you can also set the white balance manually by shooting a white card and calibrating from that image. Finally, use your histogram as a guide when processing and limited use white background to ensure the best quality of pictures. Let’s check the exposure for each setup by taking the shot.
To summary, to get a perfect and consistent white balance with this setup, you should turn off the room lights and draw the shades to eliminate other light sources. This lesson will guide you some way to use a light tent photograph effectively, you can refer. If you have any questions or concerns, please do not hesitate to contact us and comment below this post.
Thanks for reading!