It can be difficult to keep up with all the styles and trends that come and go in the broad and ever-evolving area of interior design. Choosing an interior design style that works for the project and satisfies the demands of the client is crucial whether staging a home or making a virtual house tour. Here are six of the most popular interior design for virtual staging to give you some inspiration.
Modern Style
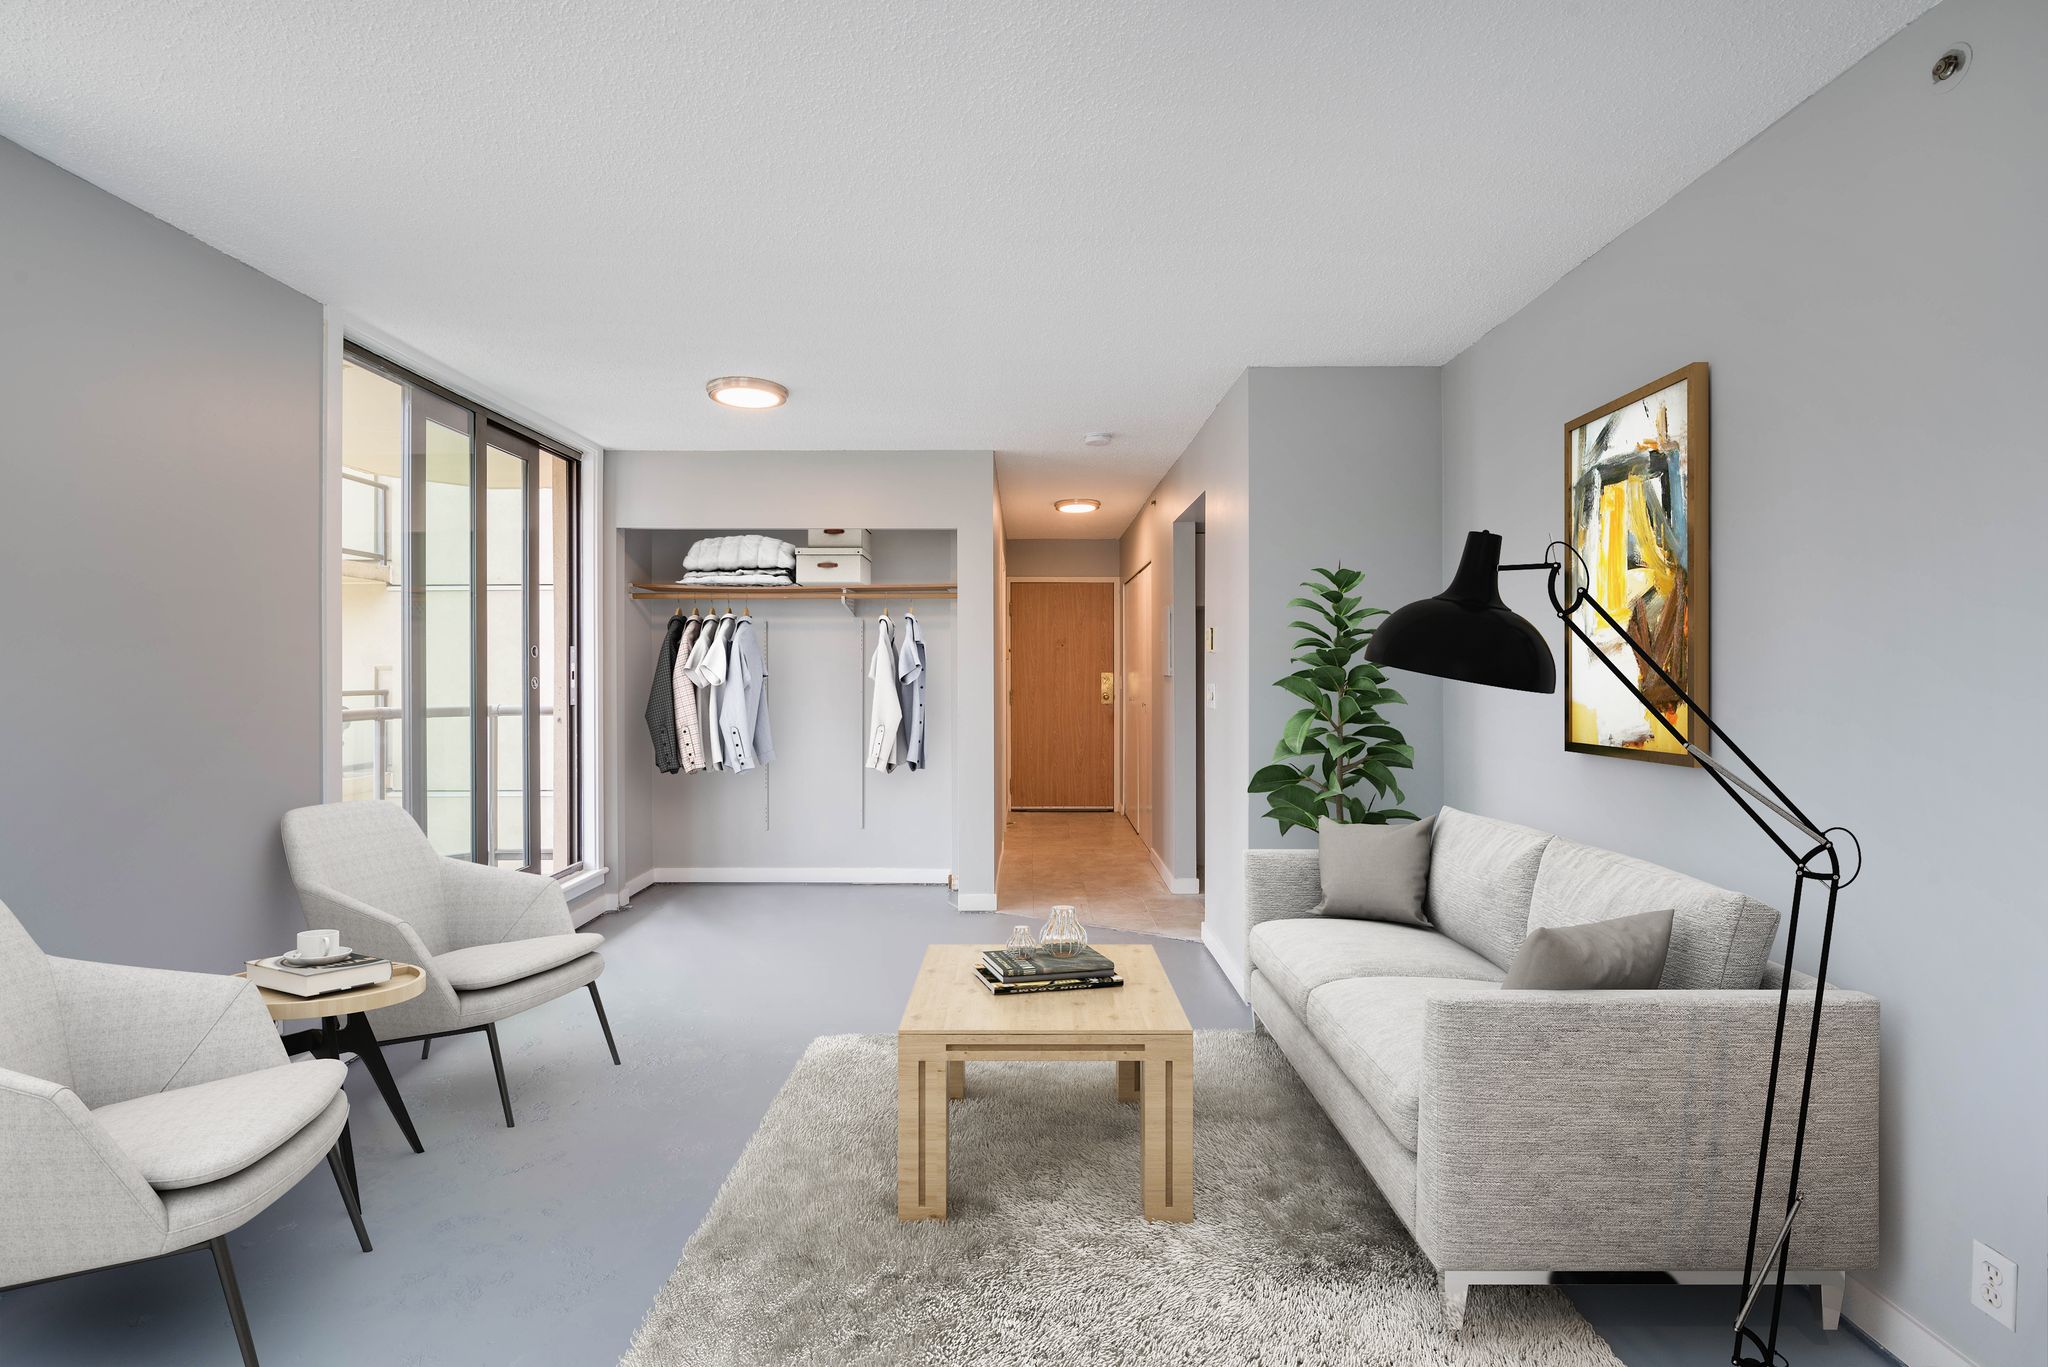
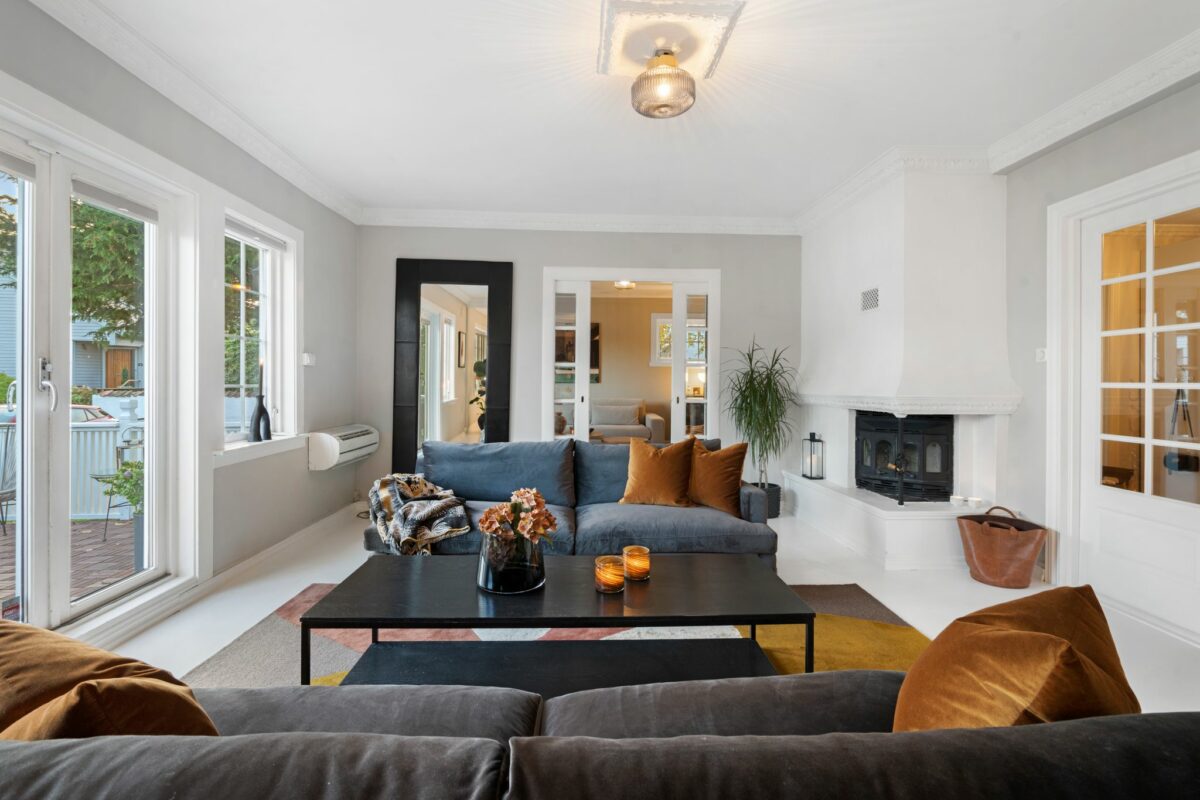
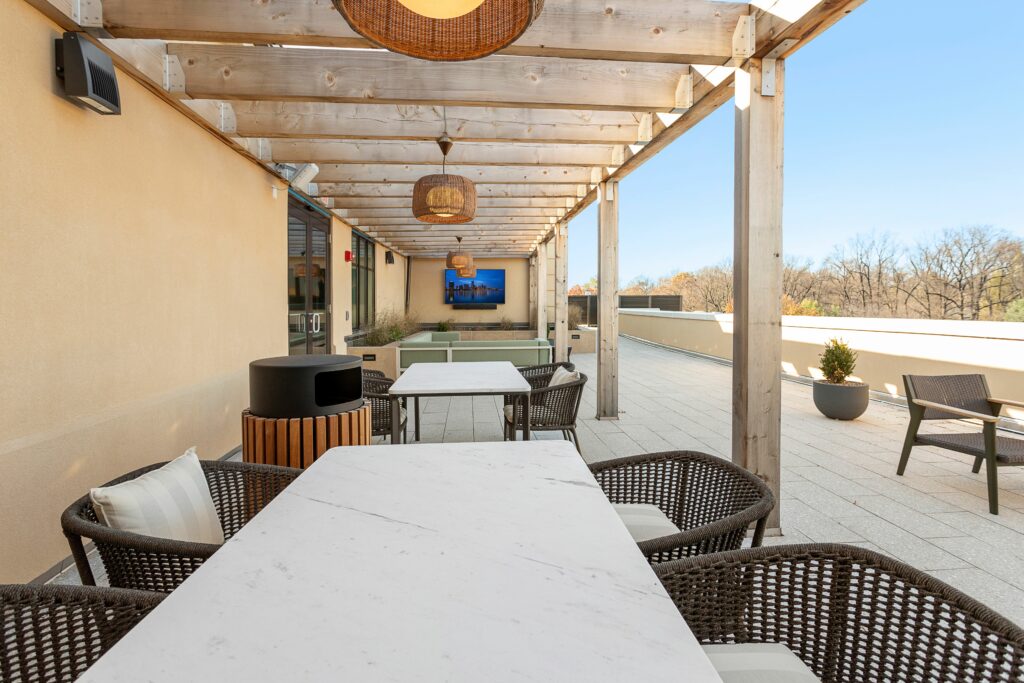
Which interiors of houses can be called modern? Typically, they have simple, natural color palettes with clean, clear lines. These homes are frequently furnished with glass, metal, and steel accessories, and the furniture chosen for them is marked by its simplicity and contemporary appearance. Also, the Modern interior design style is the best option if you prefer minimalism, angular shapes, and neutral hues with a touch of warmth.
Below are some sample of modern style for virtual staging home

Contemporary Style
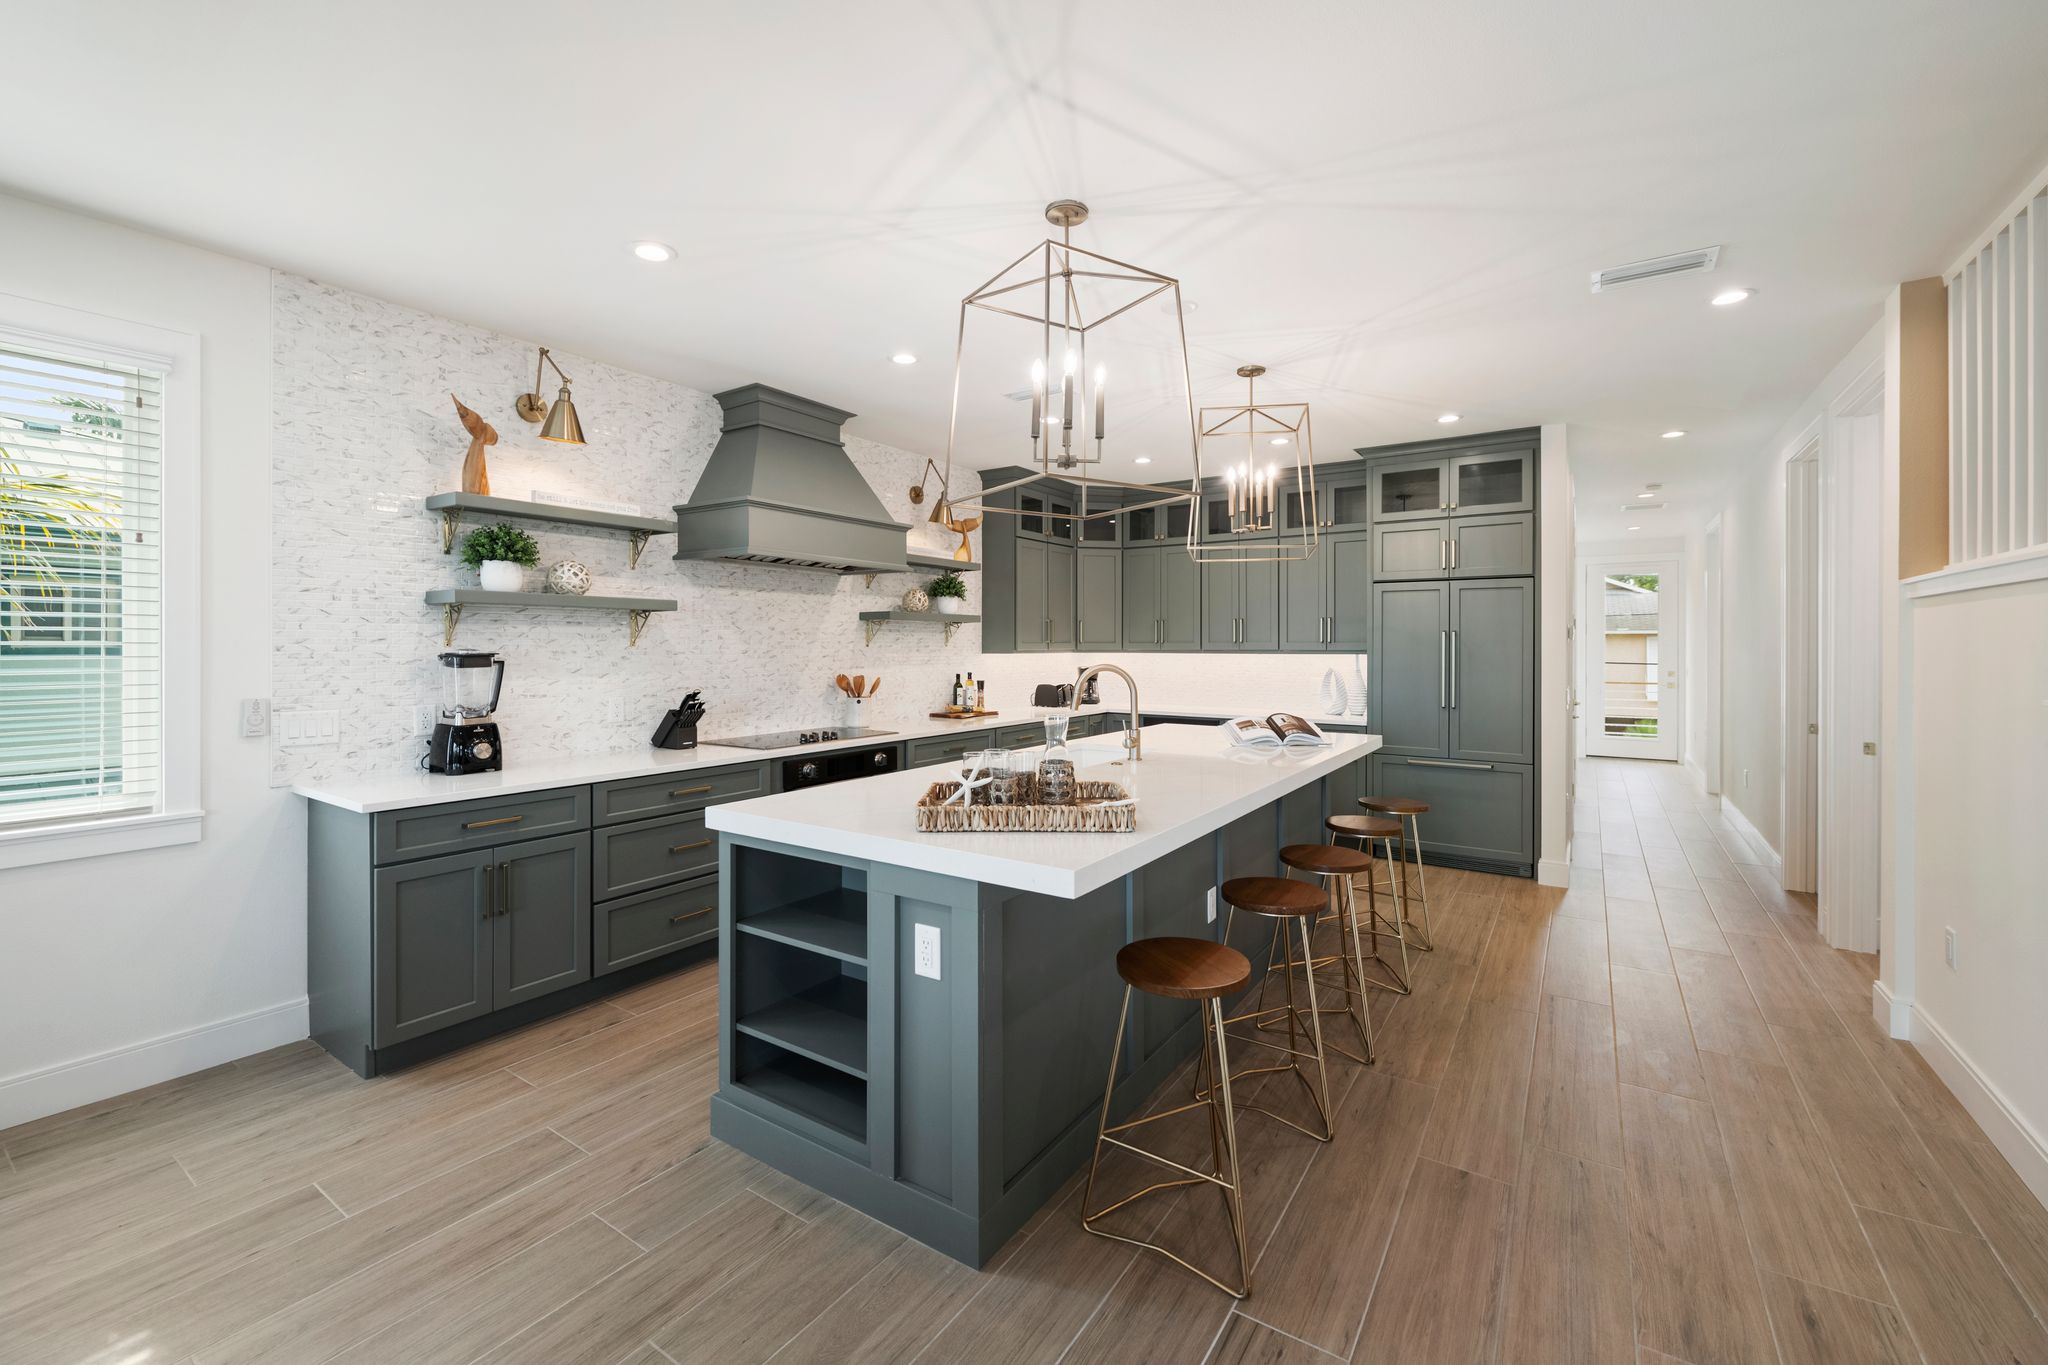
The contemporary art movement of the middle of the 20th century is where the contemporary style originated. Modern and contemporary styles are not the same as many people think they are. Because in fact, contemporary design rides on neutral colors, simplicity, and sleekness. Especially, in contrast to modern style, current style is always evolving to reflect the times. As an alternative, it is a dynamic style that reflects current events.
Below we will detail: color, lighting, furniture, materials, etc.. to help us identify this style
Color
Neutral hues like white, black, and gray are frequently employed in contemporary design. At the same time, we can still take advantage of other colors as bold accents in the design.
Lighting
Light is also a crucial element in contemporary style. Different from modern style, this style has a very clever combination of natural light and artificial light to create a unique building.
Interior furniture
Furniture with straight lines is preferred in contemporary design. But unlike modern design, where only square lines are used, this style prefers curves.
Materials
Metals like chrome, nickel, or stainless steel are frequently used in contemporary interior design. Additionally, it’s common to see contemporary flats with rough walls, cement, concrete, etc.
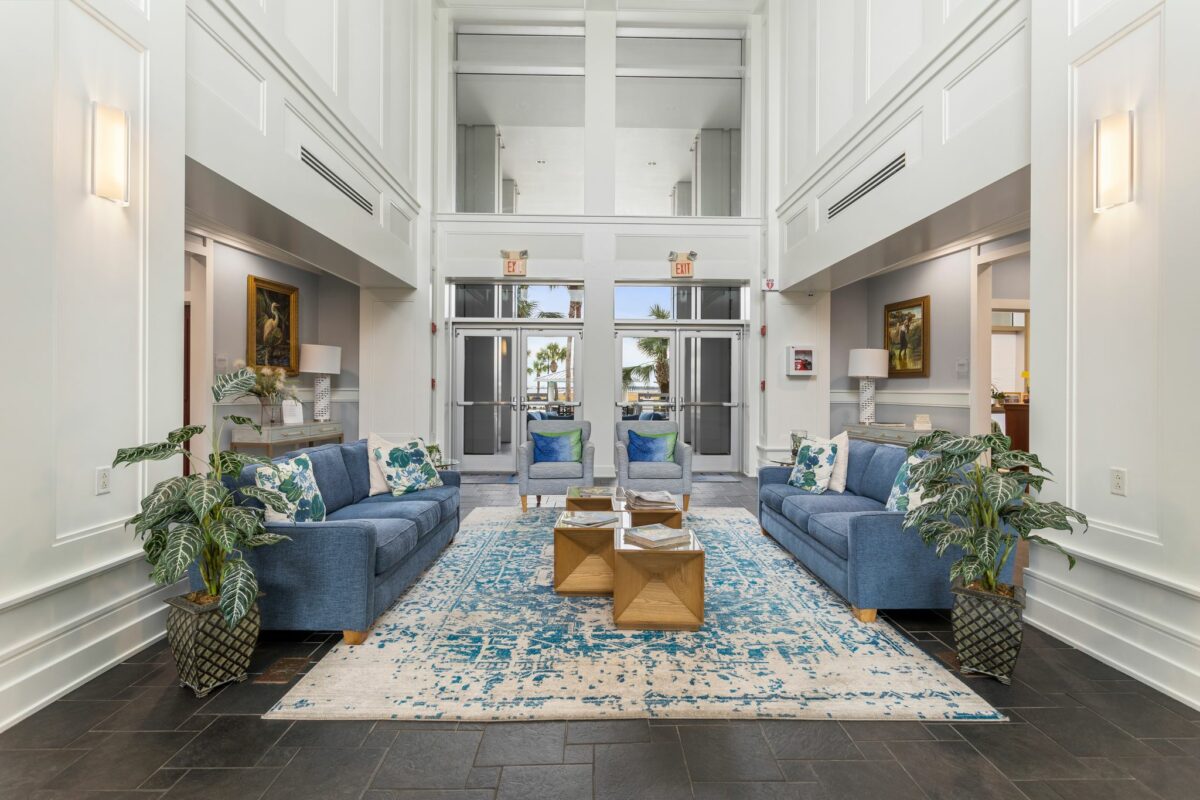
Traditional Style
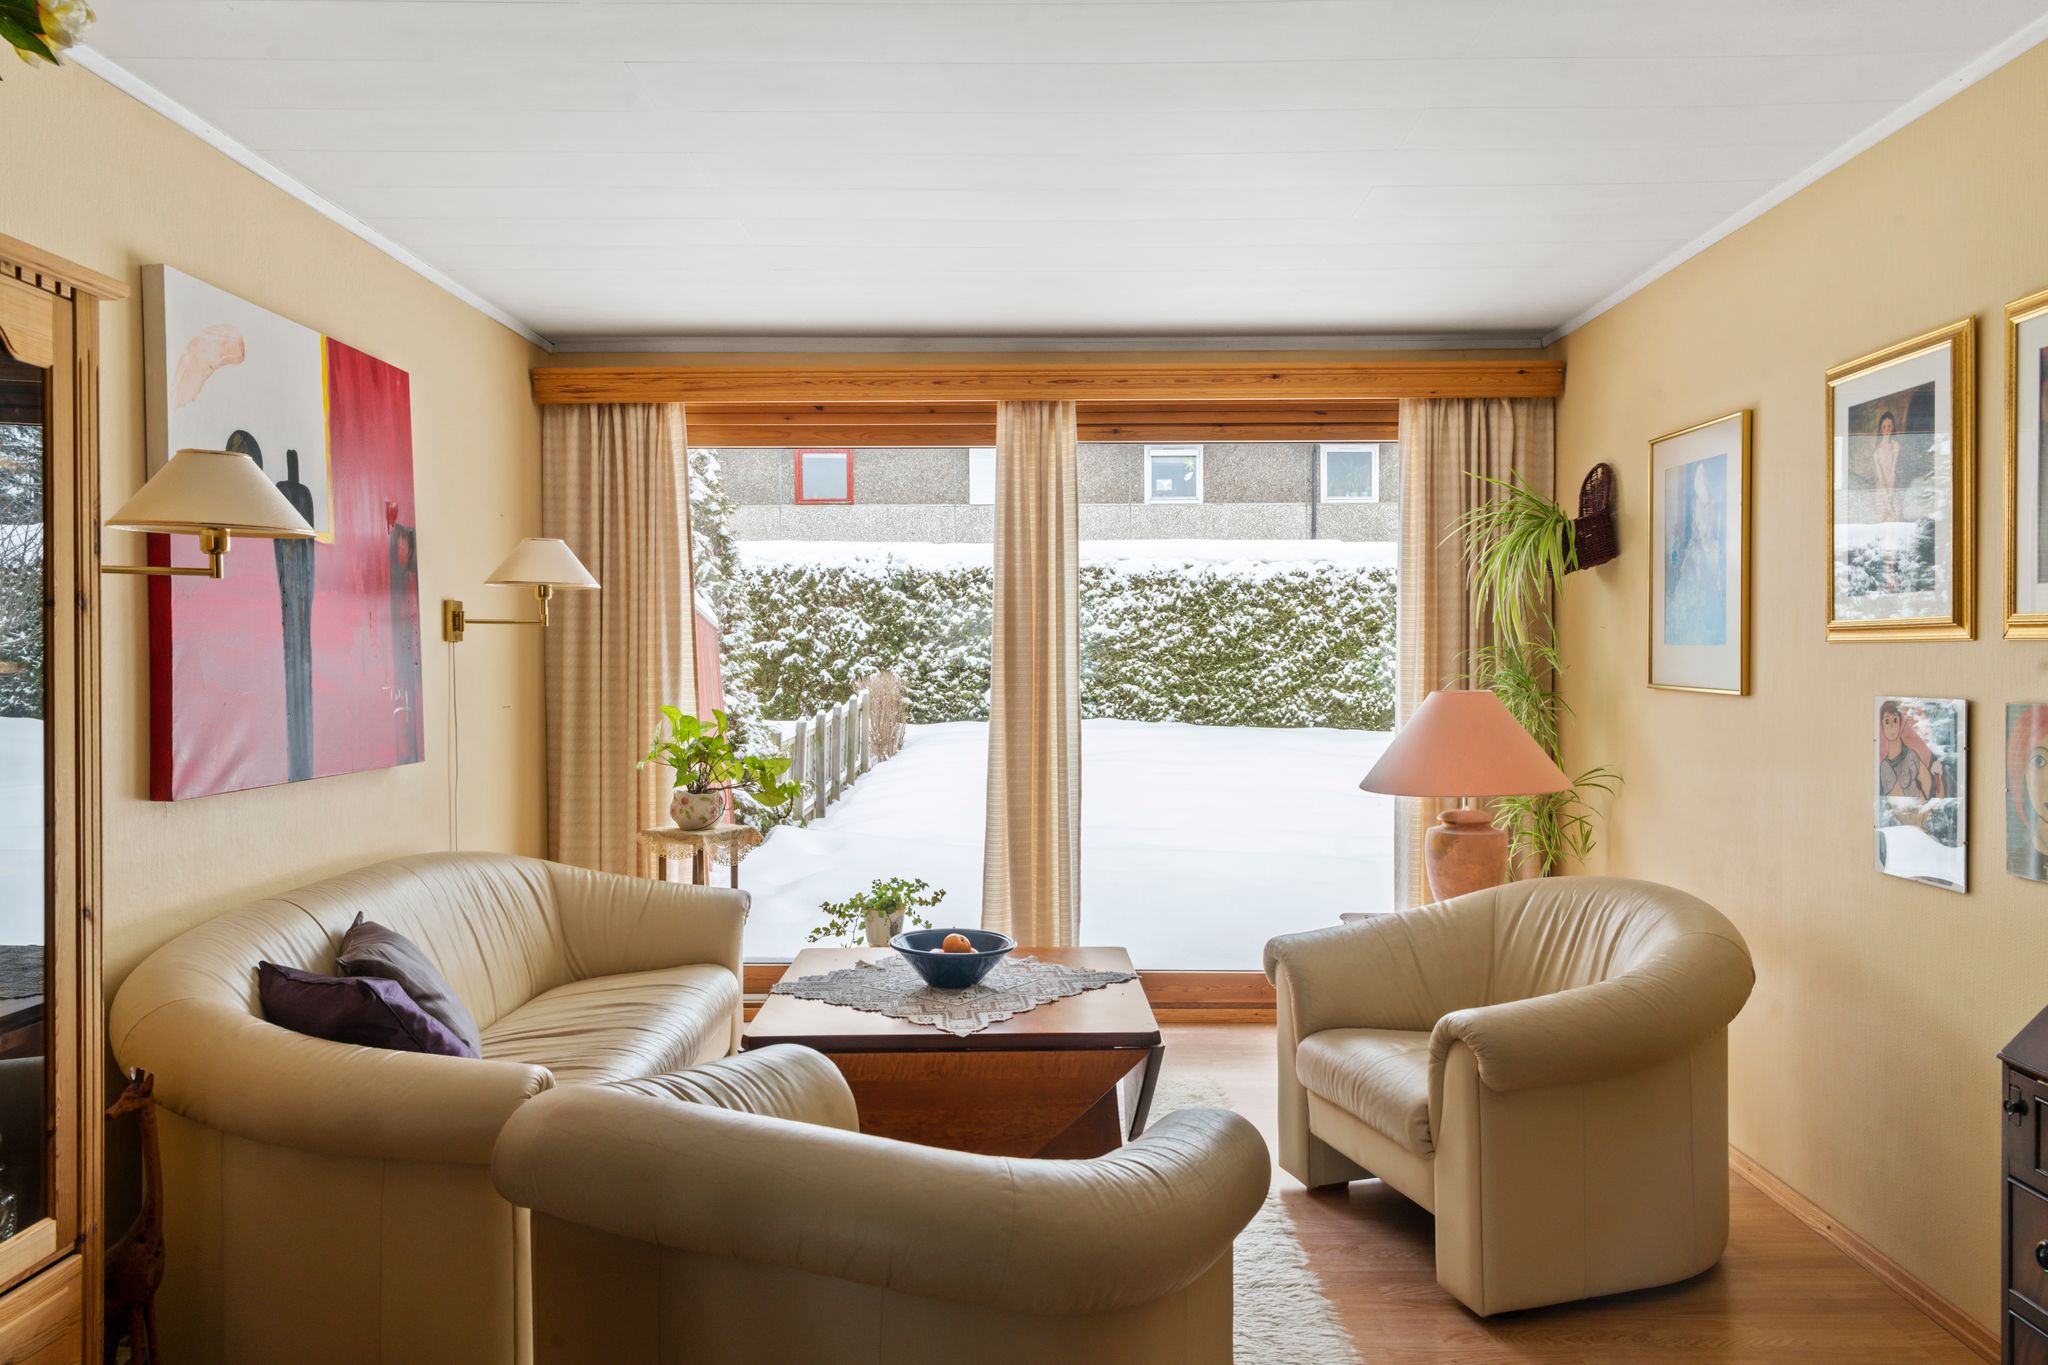
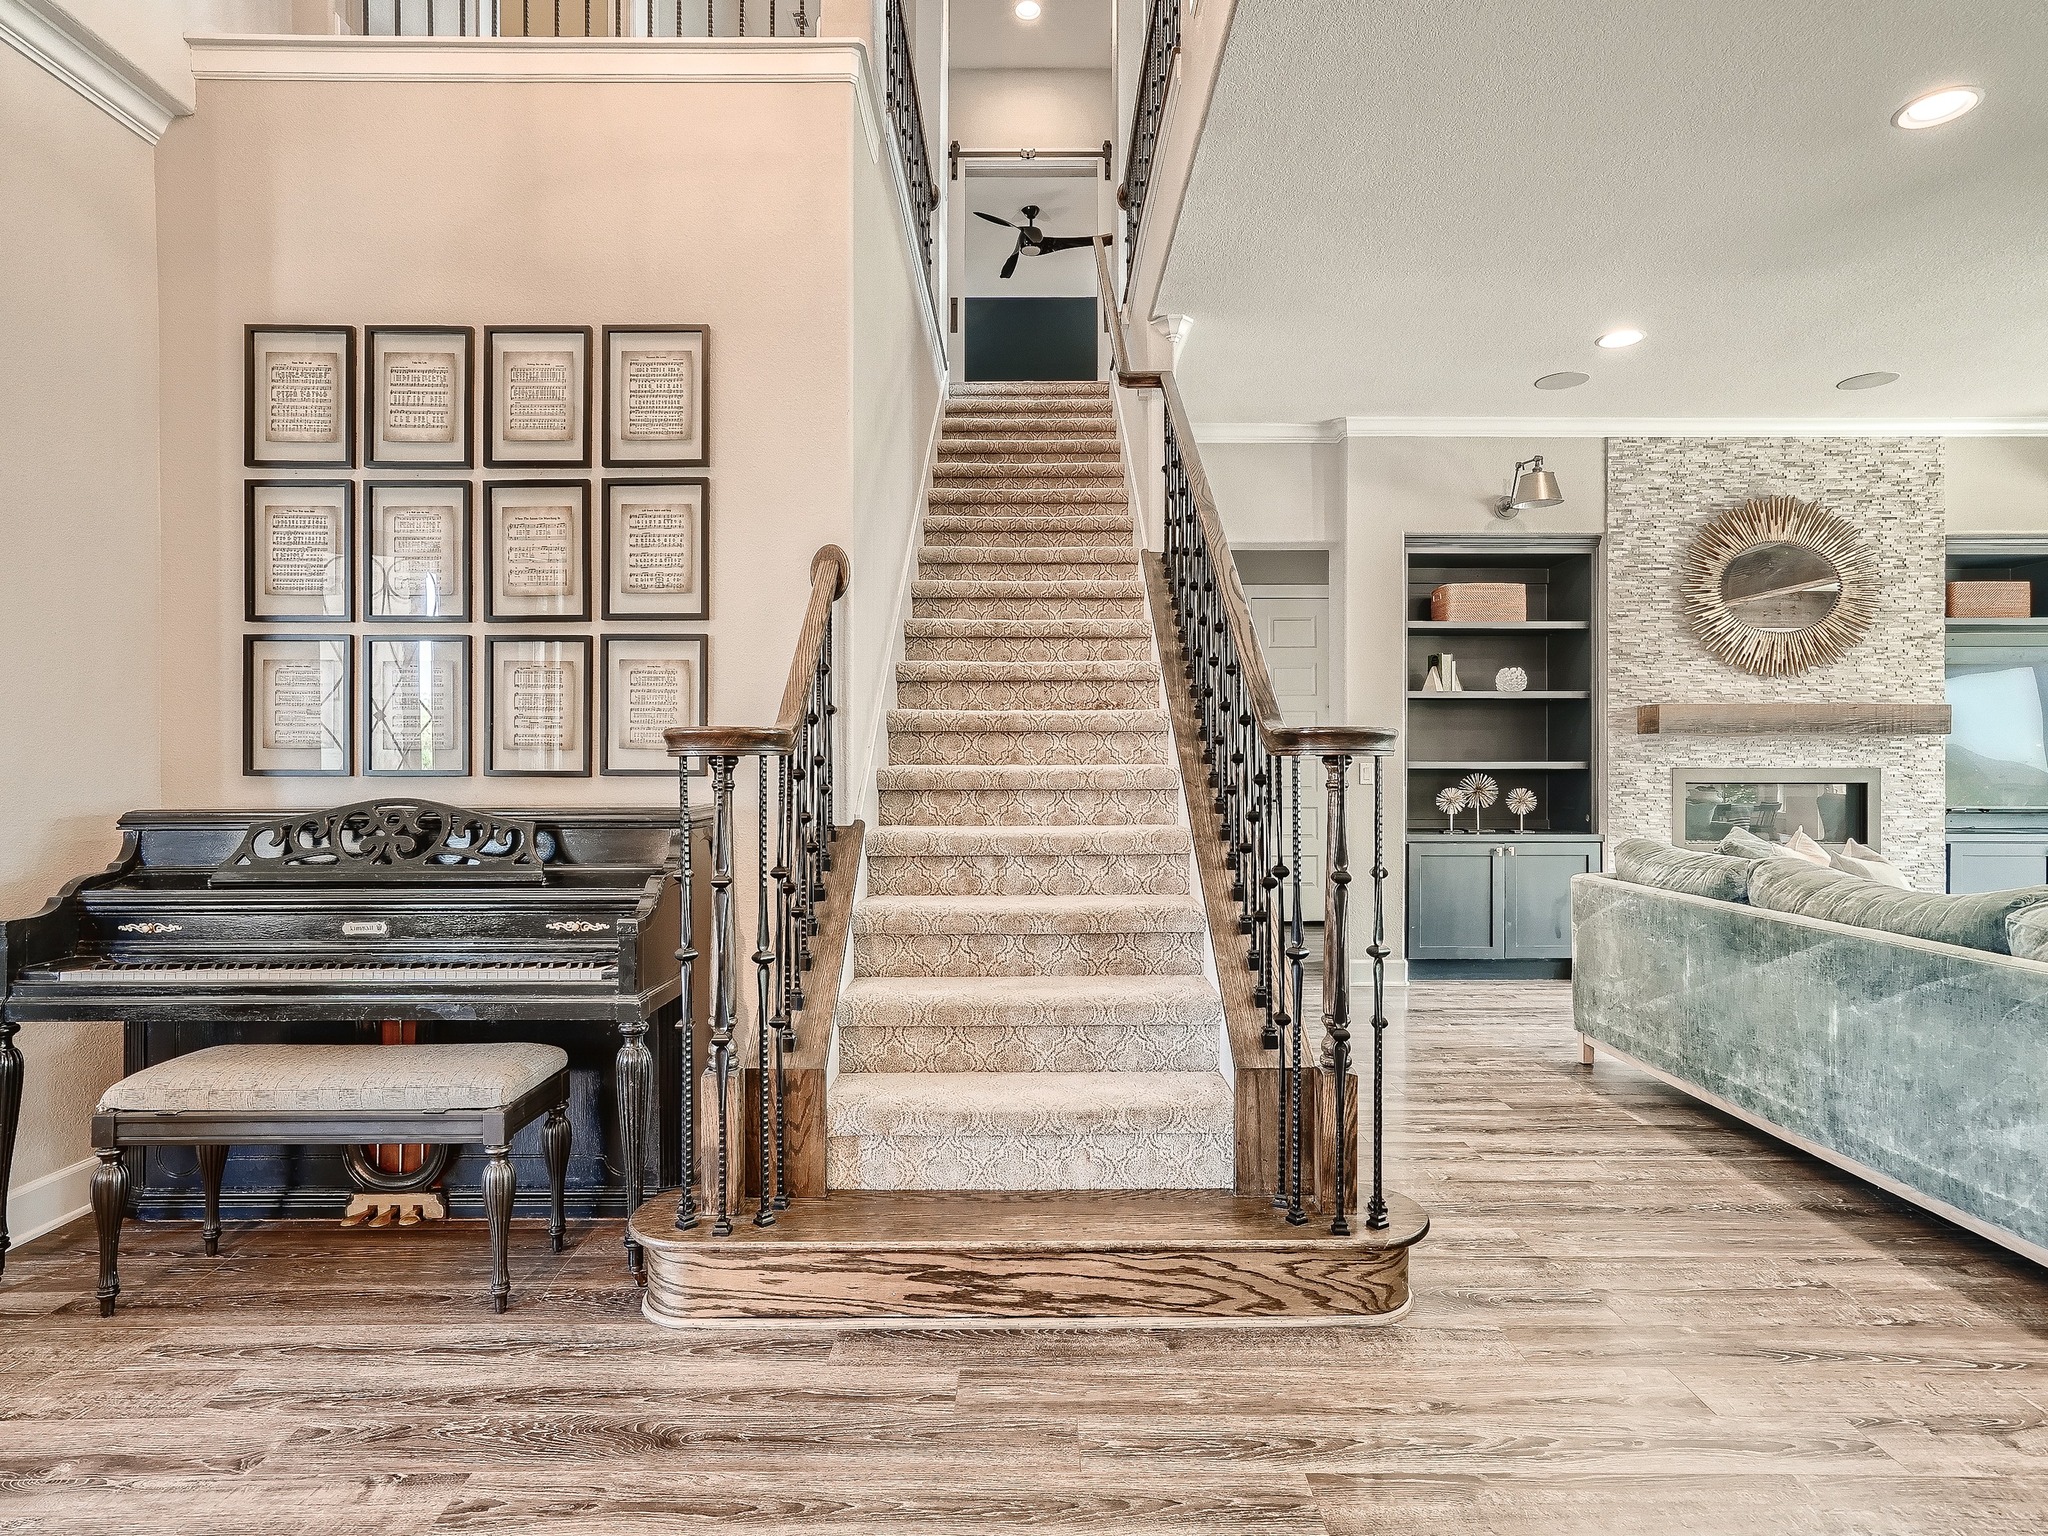
Traditional interiors have been appreciated by centuries and are still considered incredibly popular. For people who enjoy houses with depth and layers, traditional interior design ideas are the best choice. Traditional interior design style includes classic details, expensive fabric, and dark wood home decor. Ornately detailed furniture, sumptuous upholstery like silk, linen, and velvet, and popular patterns such as stripes, floral, and plaids rule them. In additional, figurines, plants, books, globes, vases, candle stands, plates and platters, mirrors are all typical in traditional design.
Here are the sample of traditional style
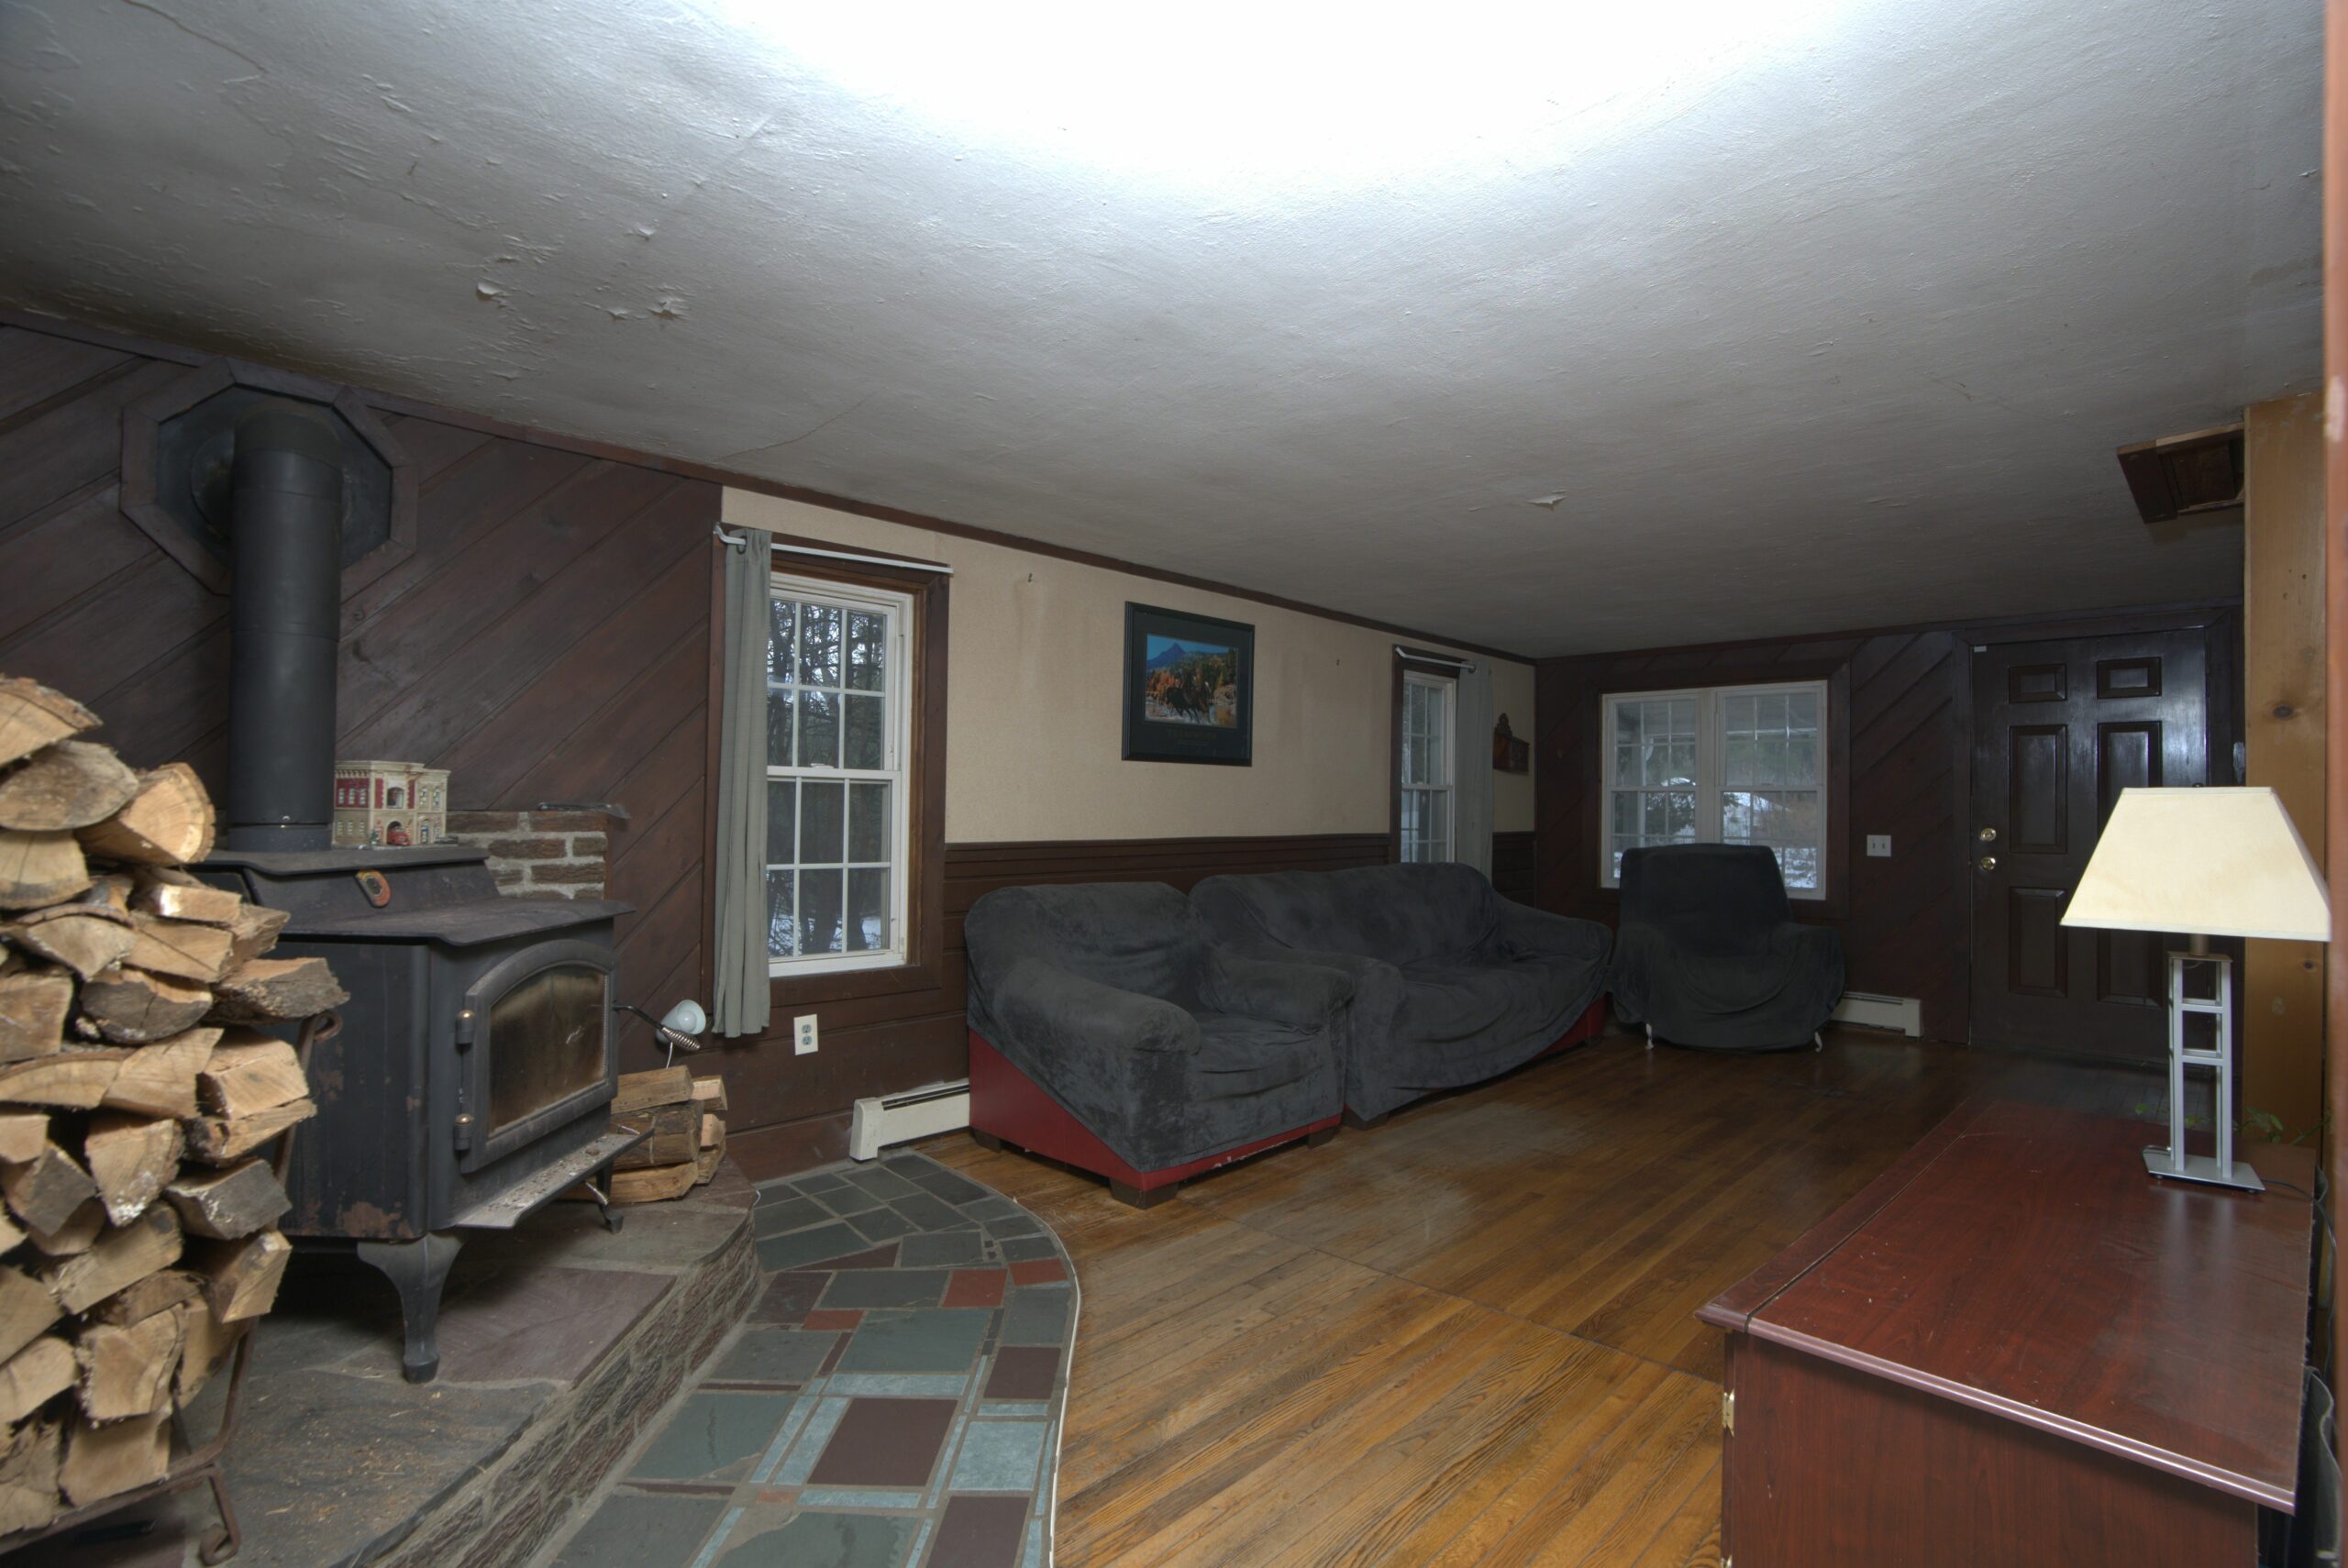
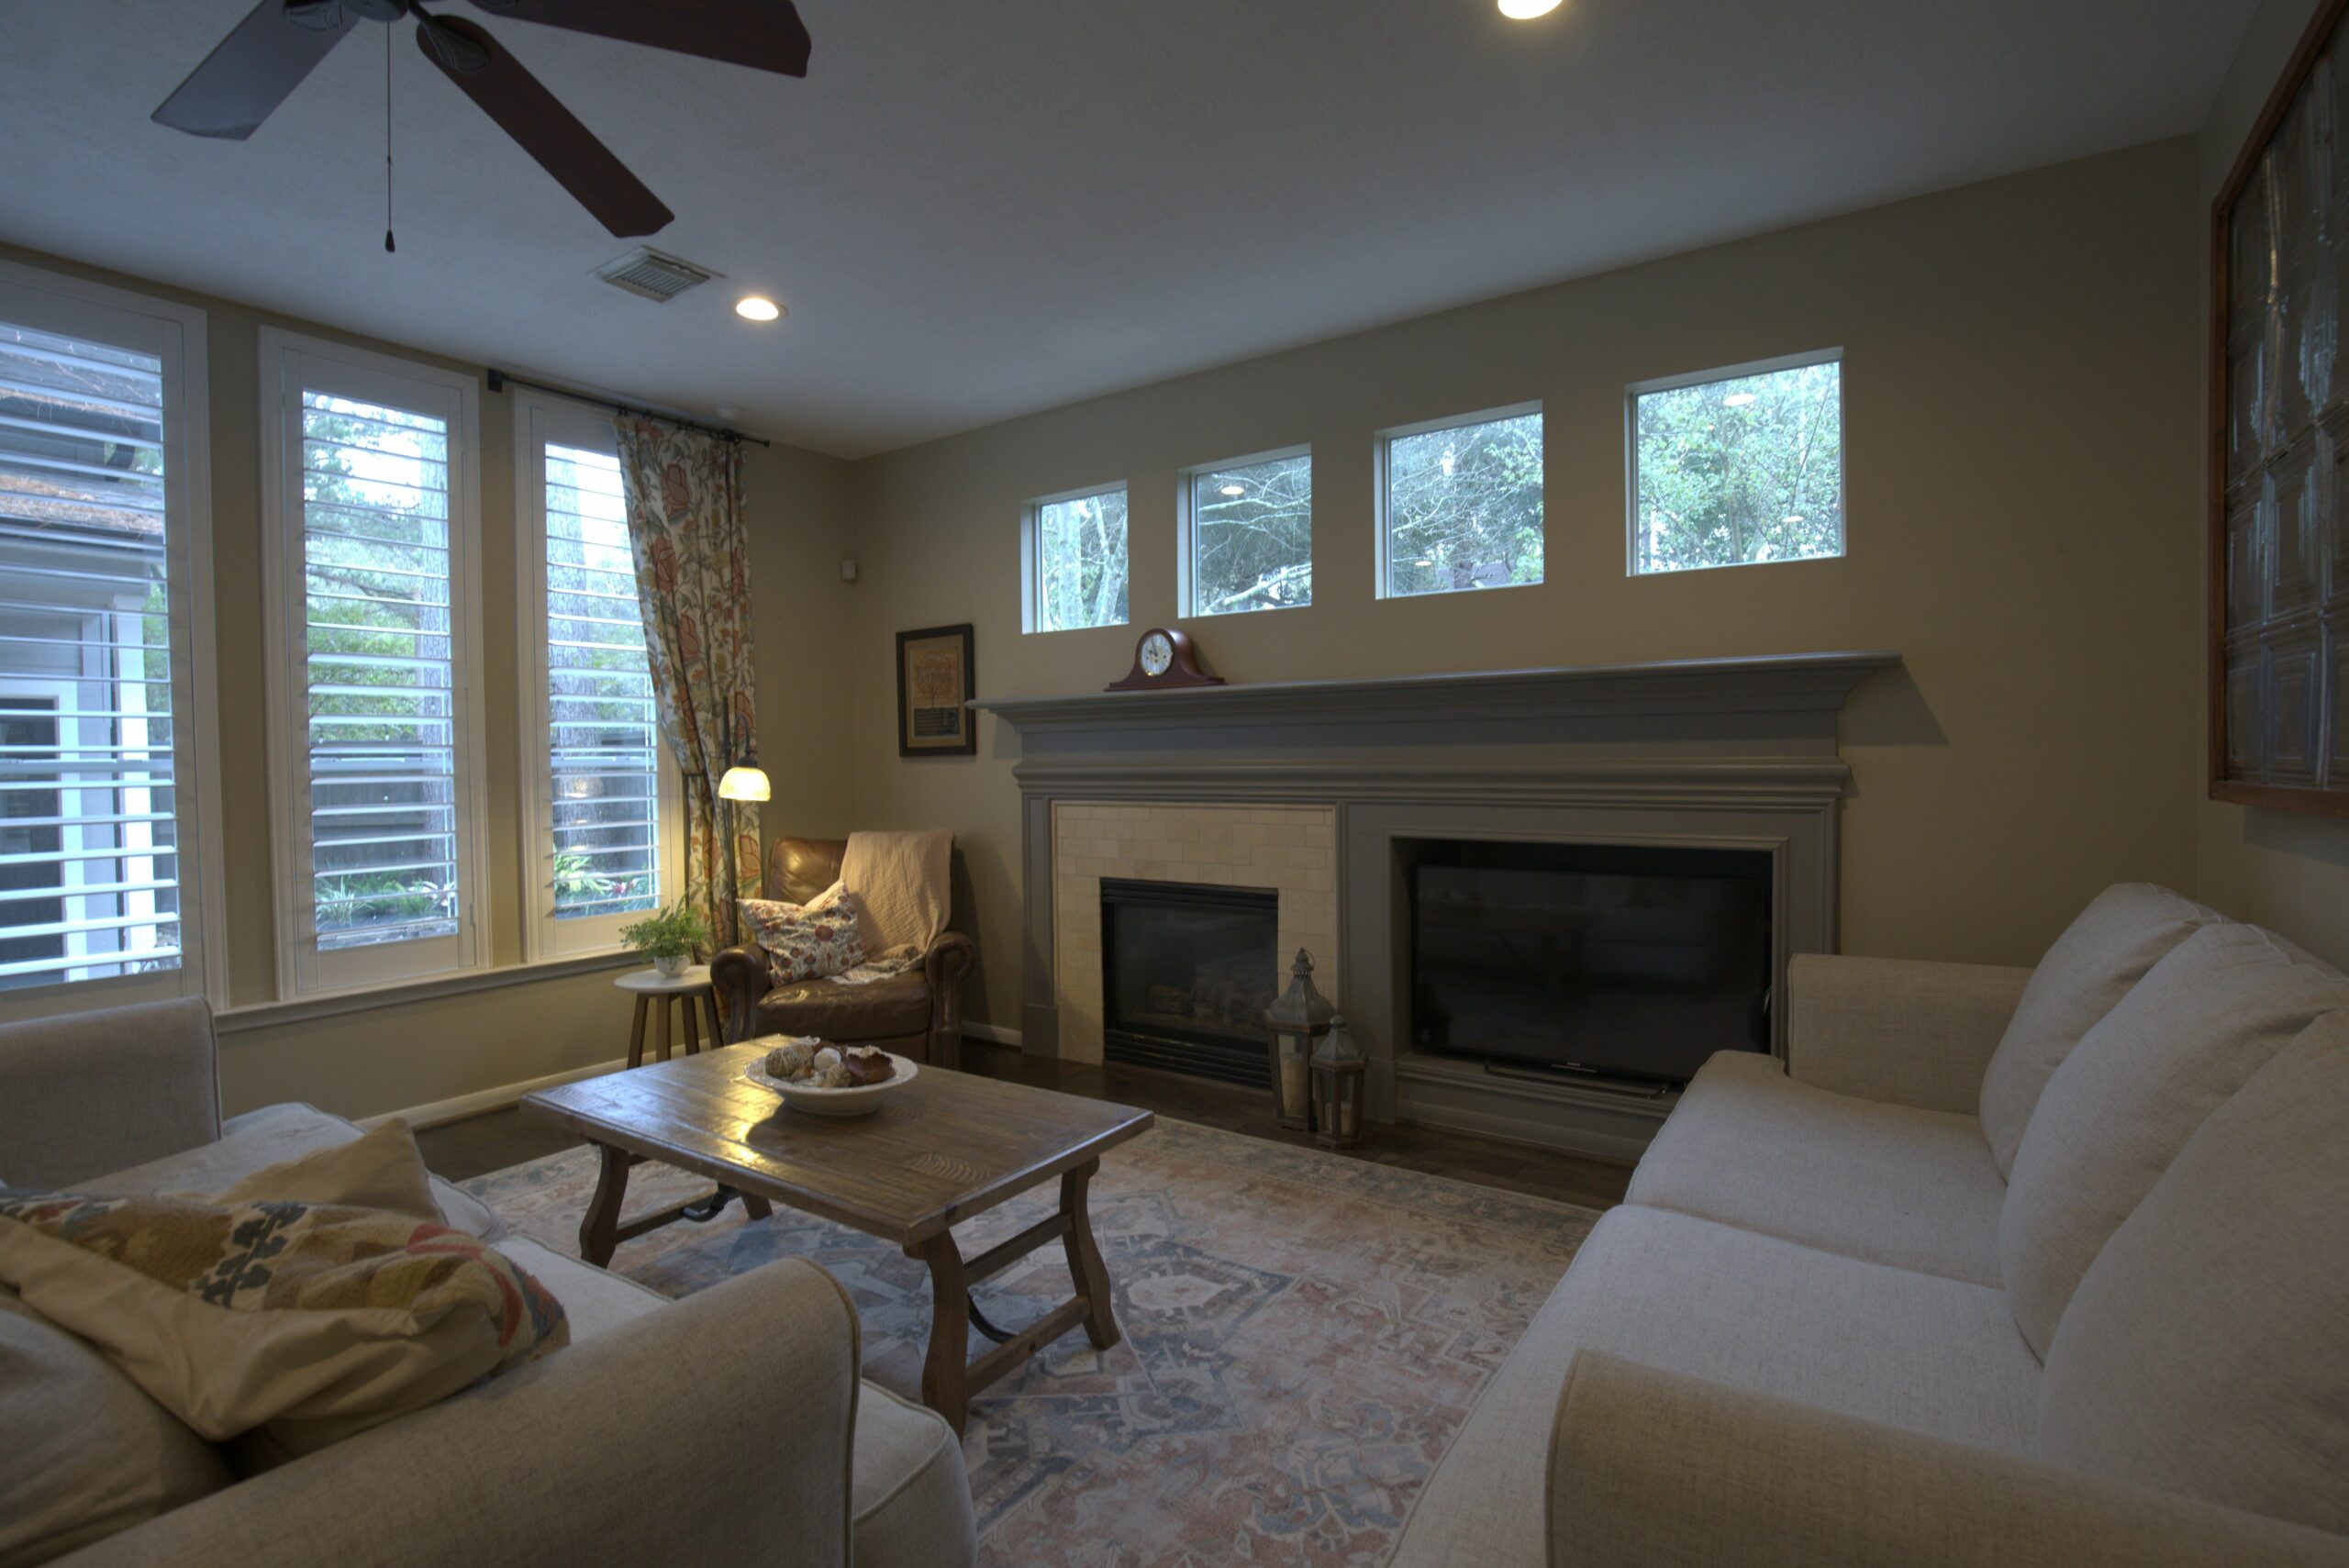
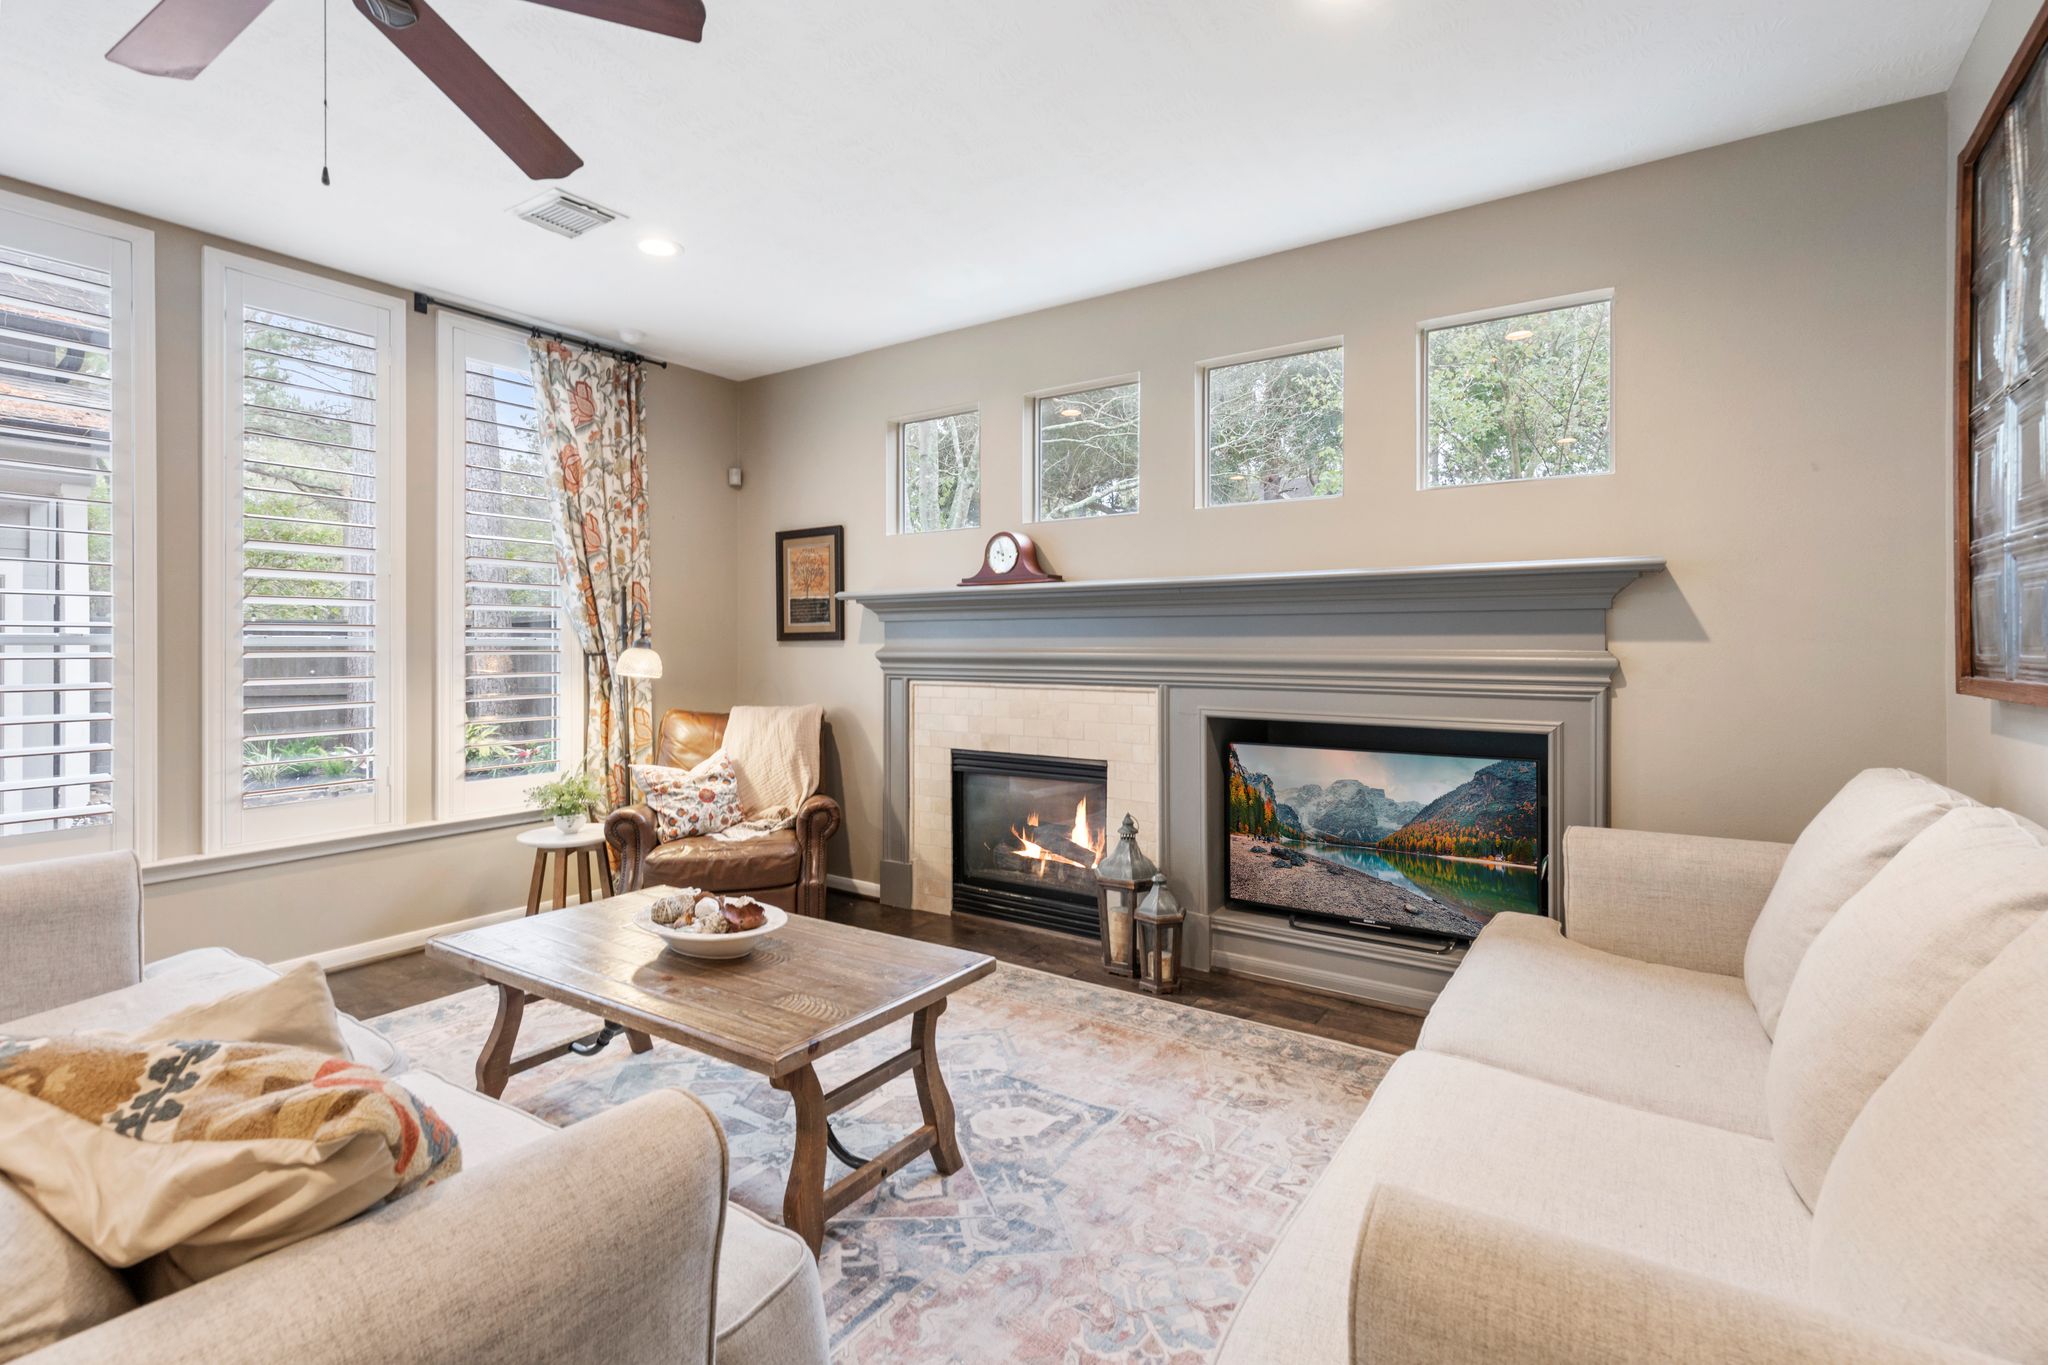
Scandinavian Interior Design Style
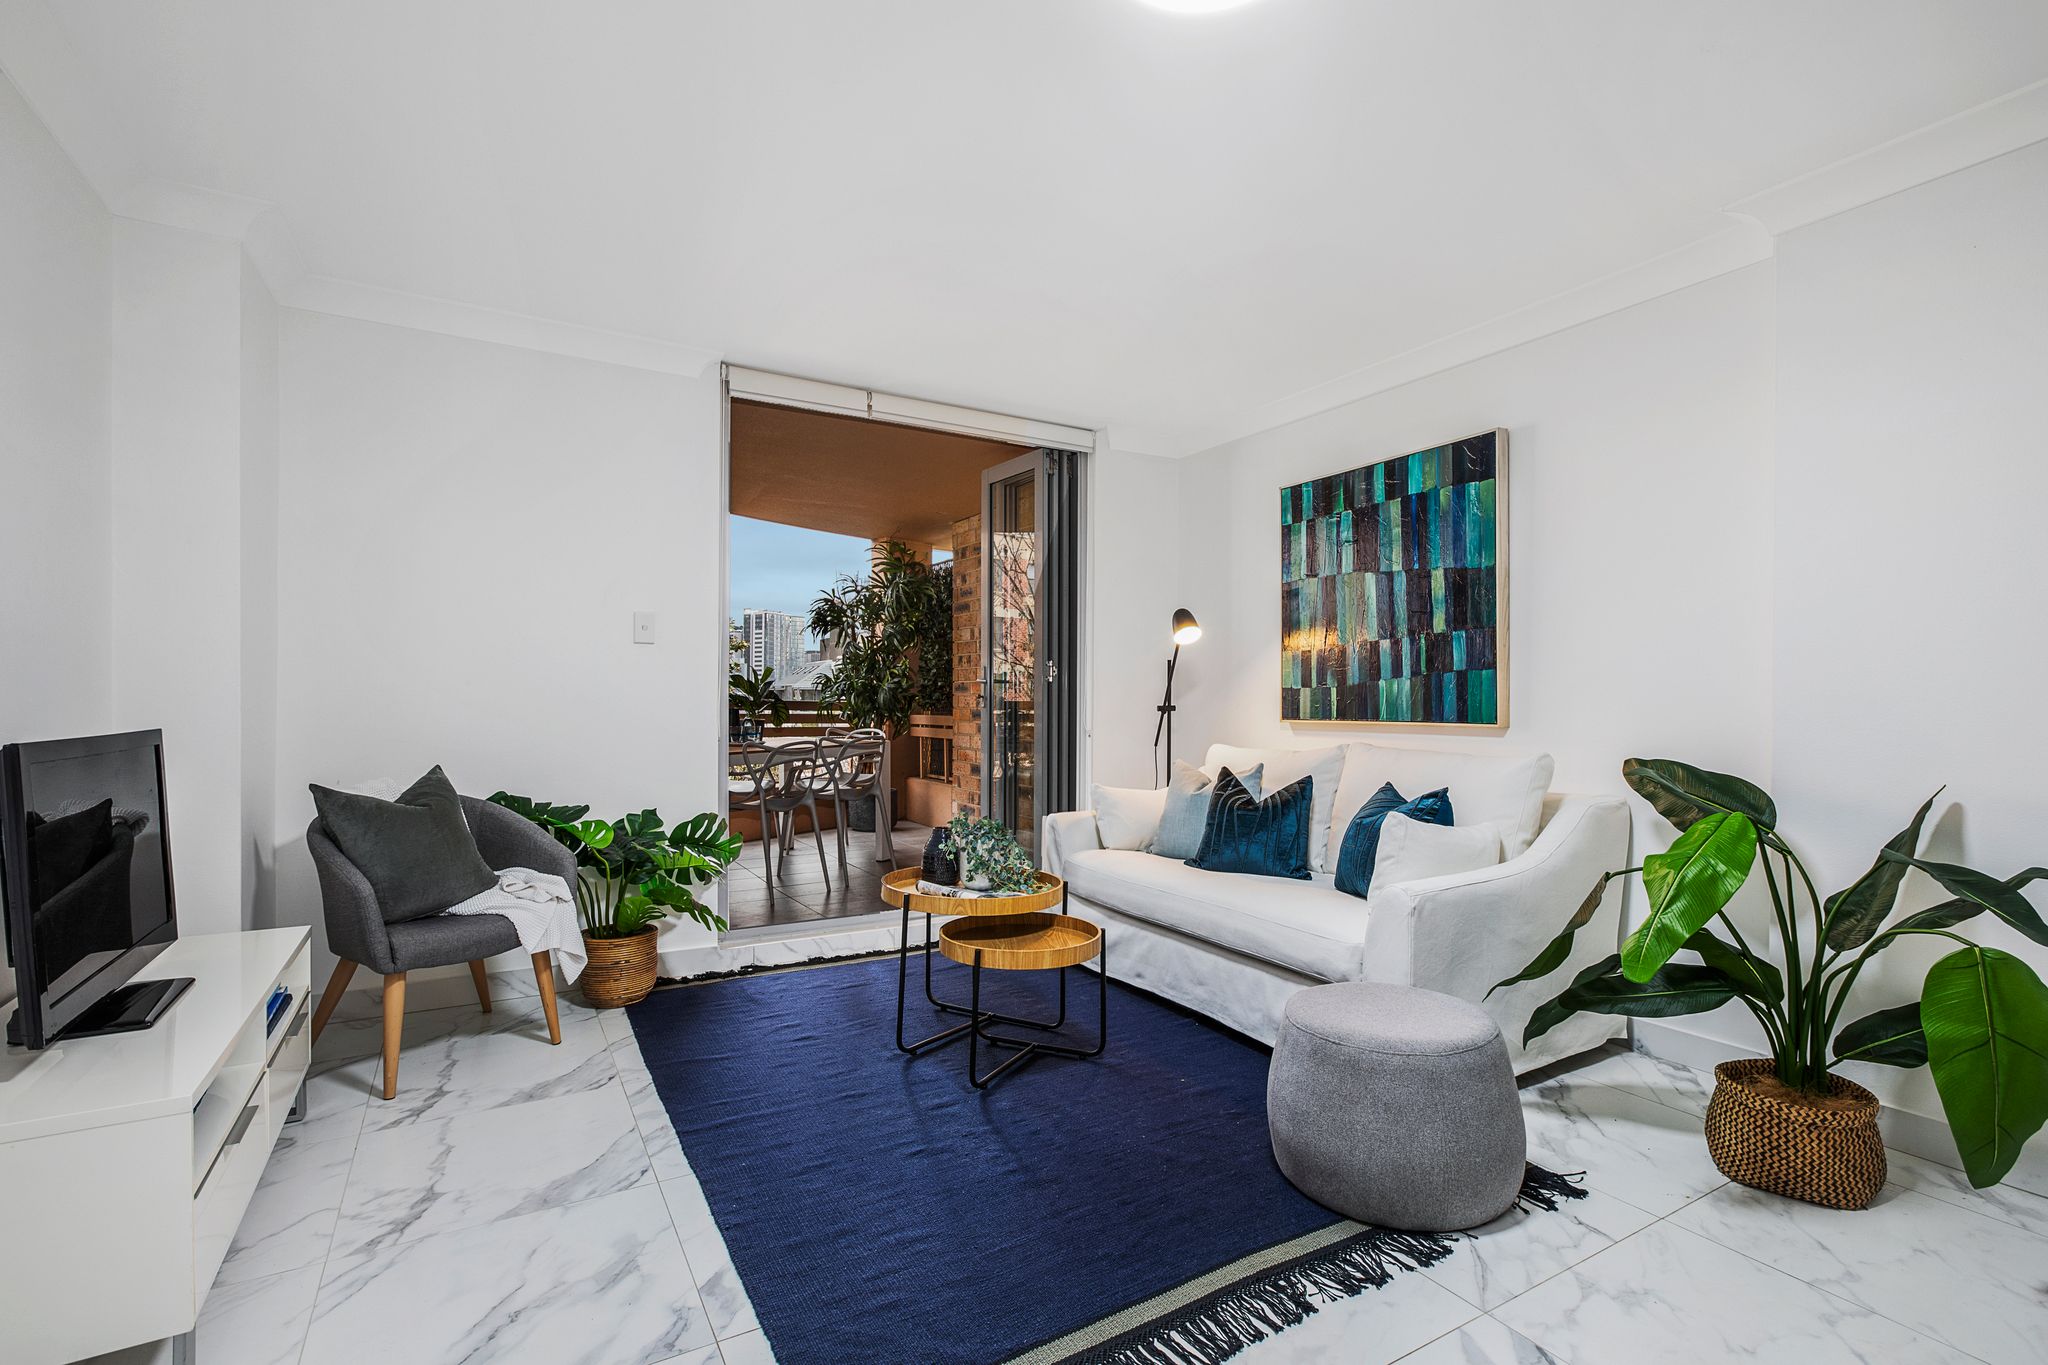
To read and find out the Scandinavian interior design style, first you have to know what’s the Scandinavian style?. Scandinavian design combines three components: beauty, minimalism and practicality. In the mid-20th century, this particular fashion emerged, becoming popular in countries such as Sweden, Norway, Denmark, Finland and eventually the whole world. It is because of the between of warmth and ventilation, creating a comfortable living area, this style is currently very popular.
For the color, warm wood tones and strong contrast are both used in color schemes. Scandinavian interior design is renowned for its clean color schemes, inviting accents, and eye-catching modern furniture. Scandinavian interior design favors sepia and wood tones because they evoke a sense of coziness without the use of vibrant hues. In additional, the cozy and comfortable are the excellent selections when designing a Scandinavian room. So, if you like a cozy feeling, let’s choose Scandinavian style for your house.
For example
Bohemian Style
Bohemian style is one of the new style that many young people choose to design their house. These designs can incorporate historical accents with contemporary furnishings, as well as opulent accents with scuffed blankets and carpets. Since you can enjoy anything till it appeals to you and replace it when you become bored of it, this approach is ideal.
For example
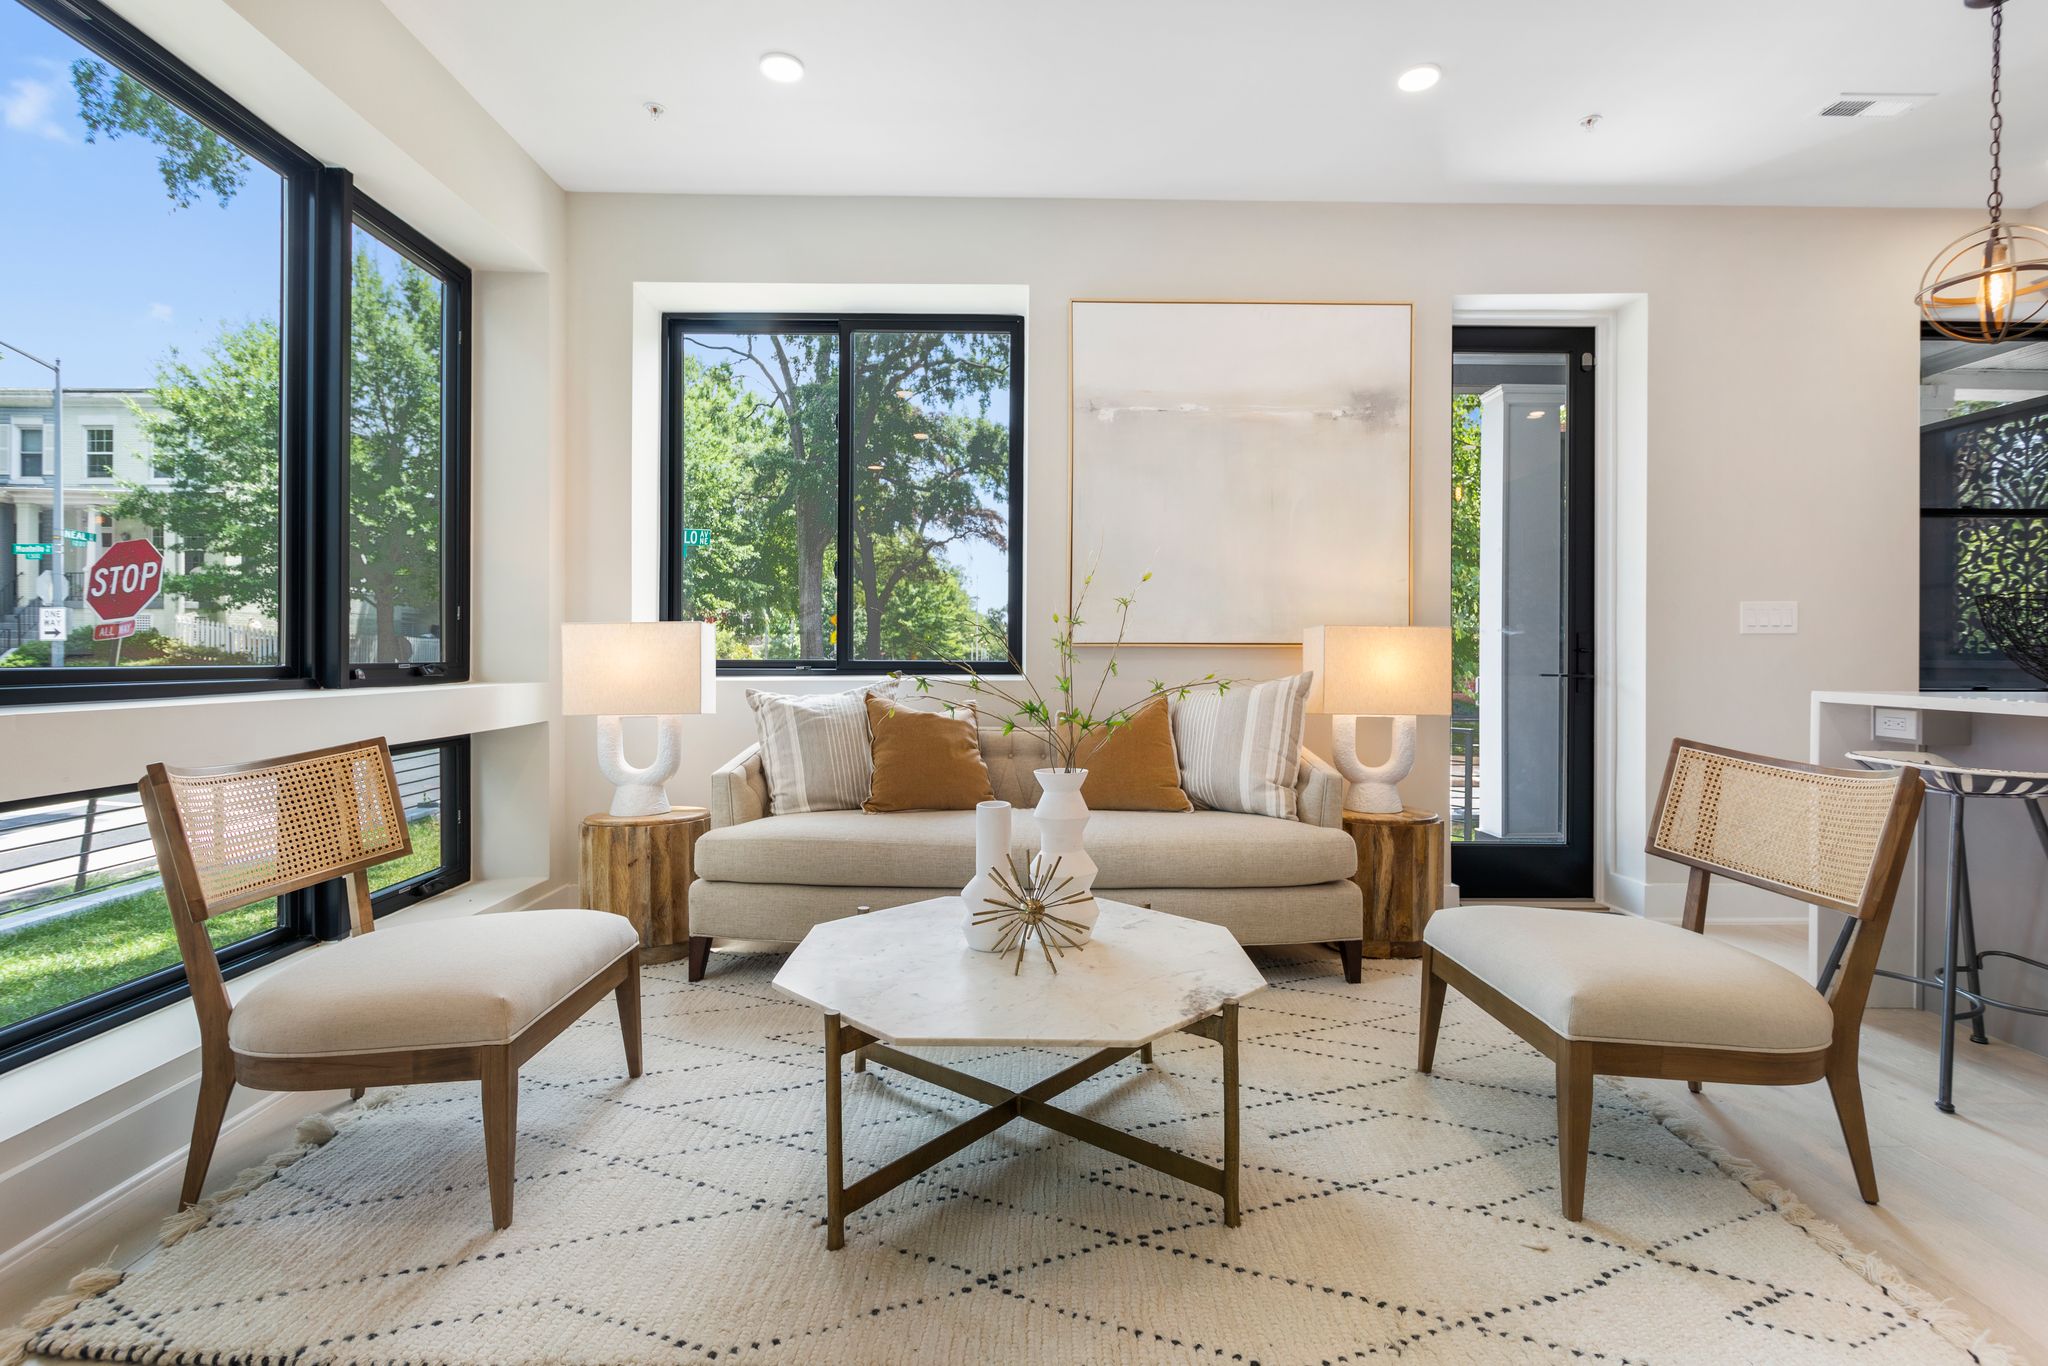
Transitional Style
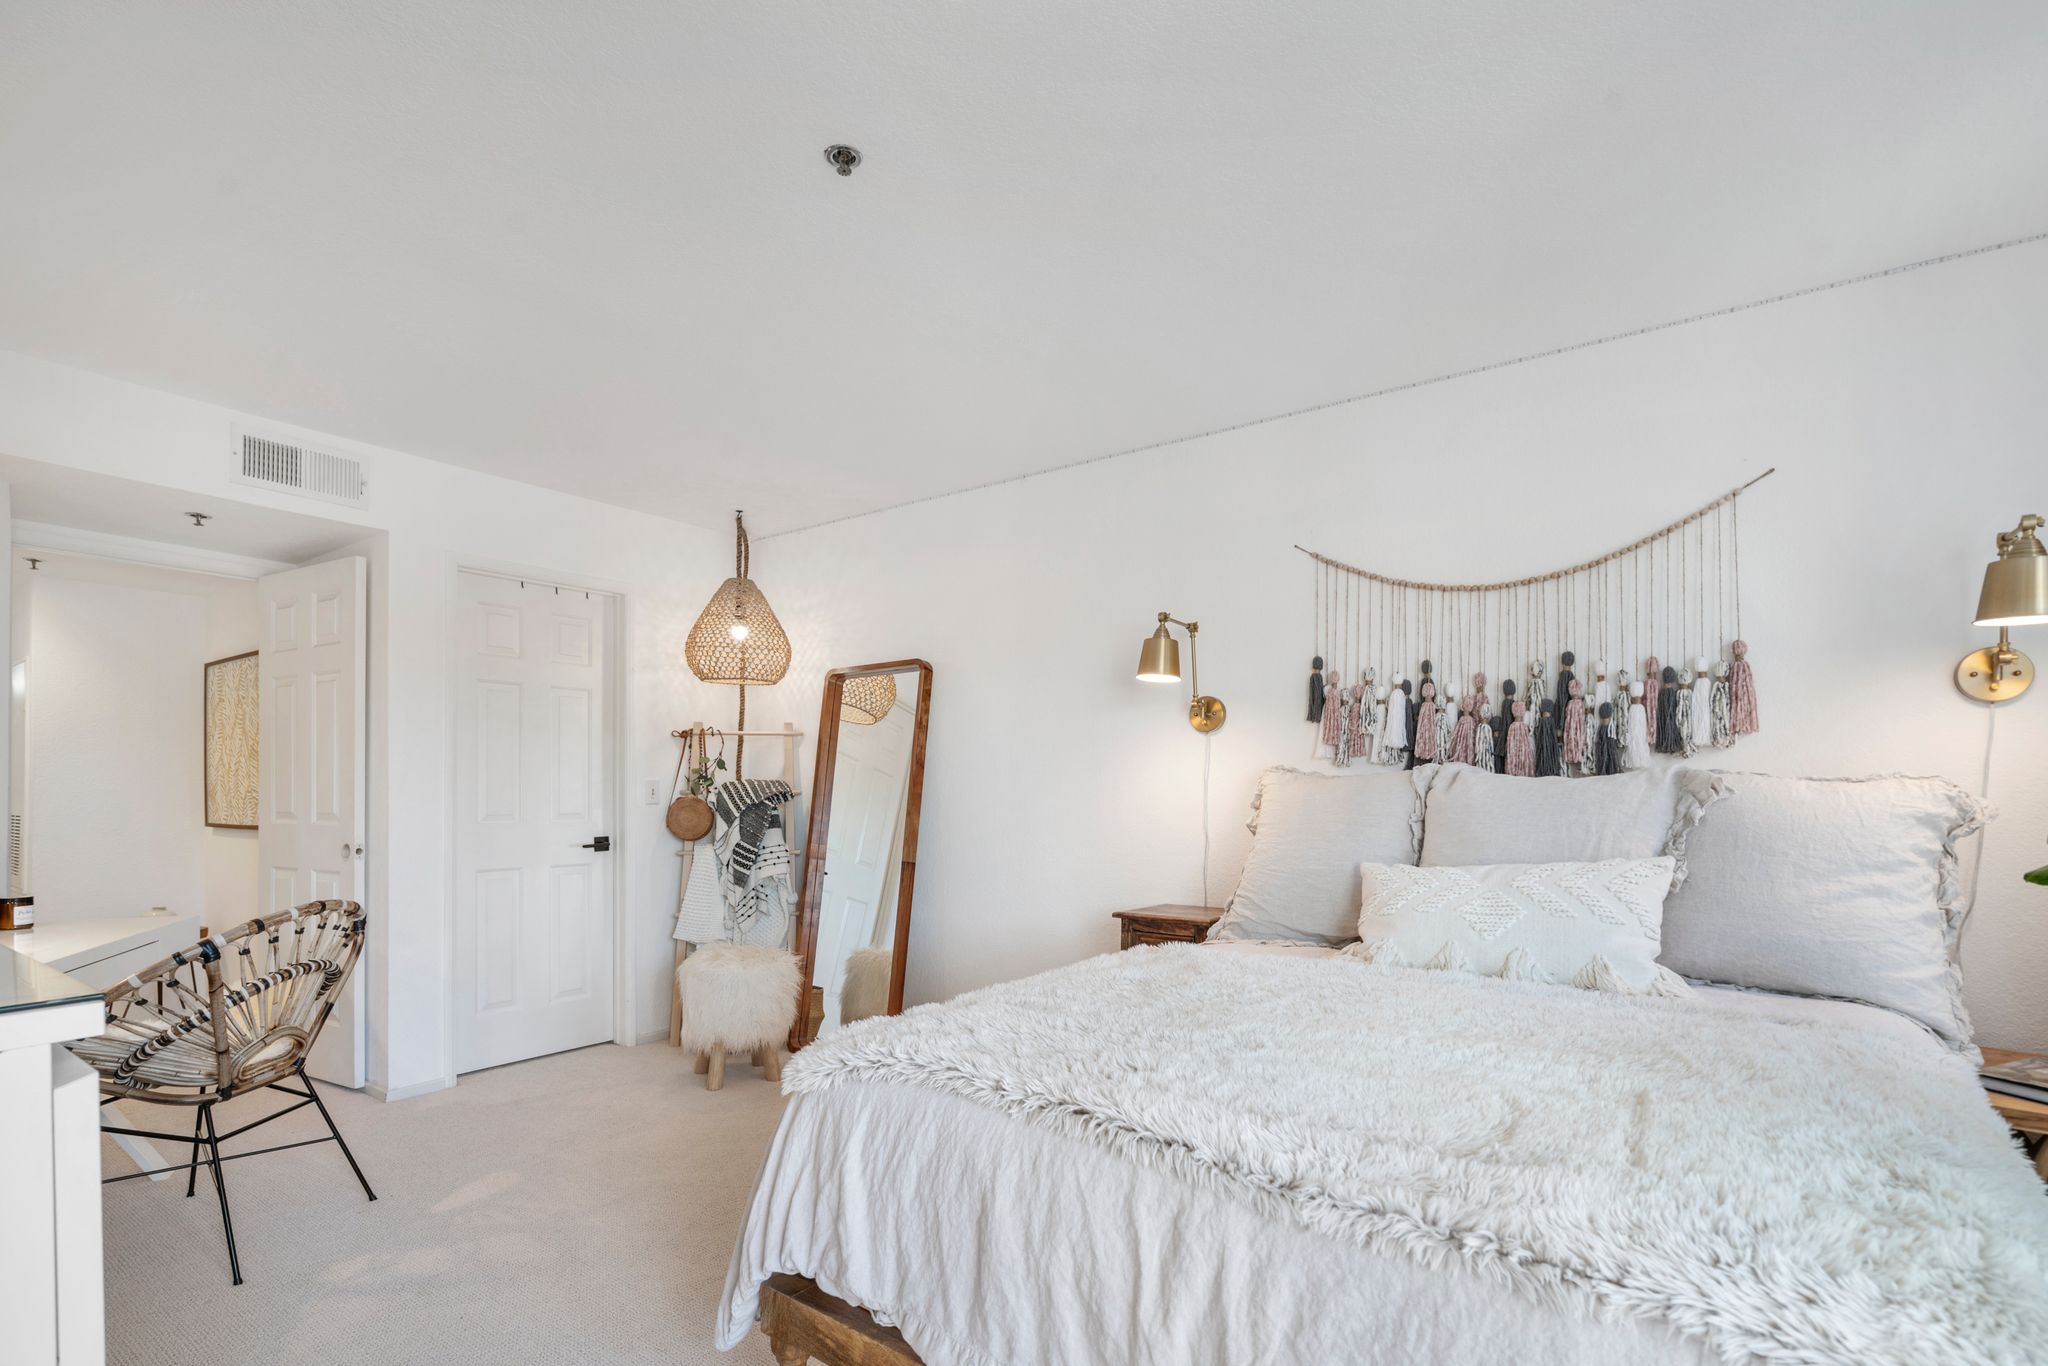
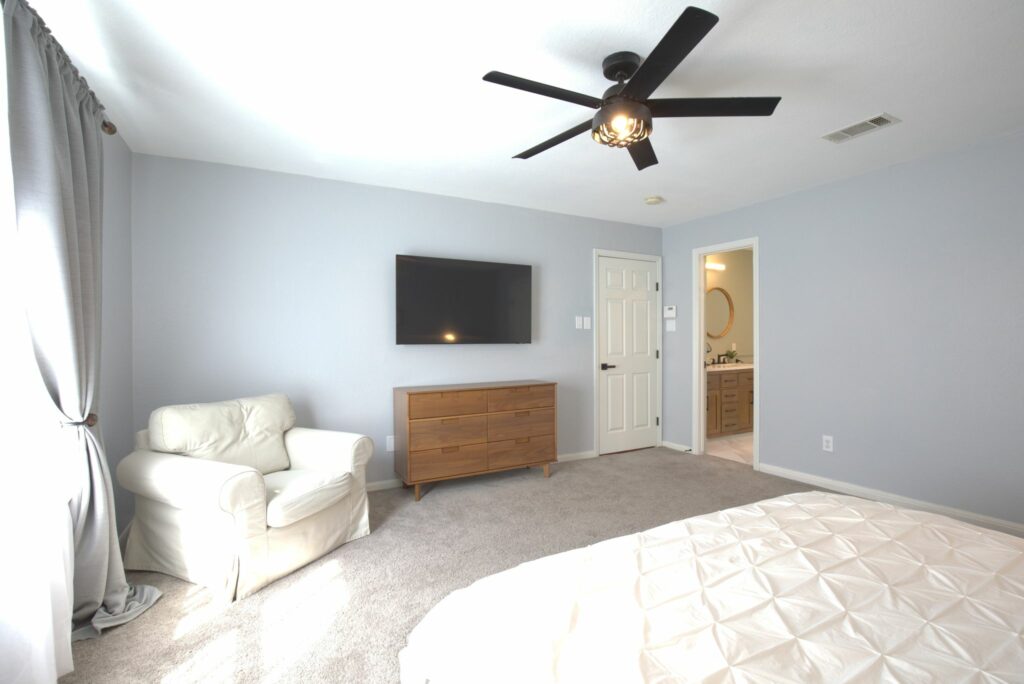
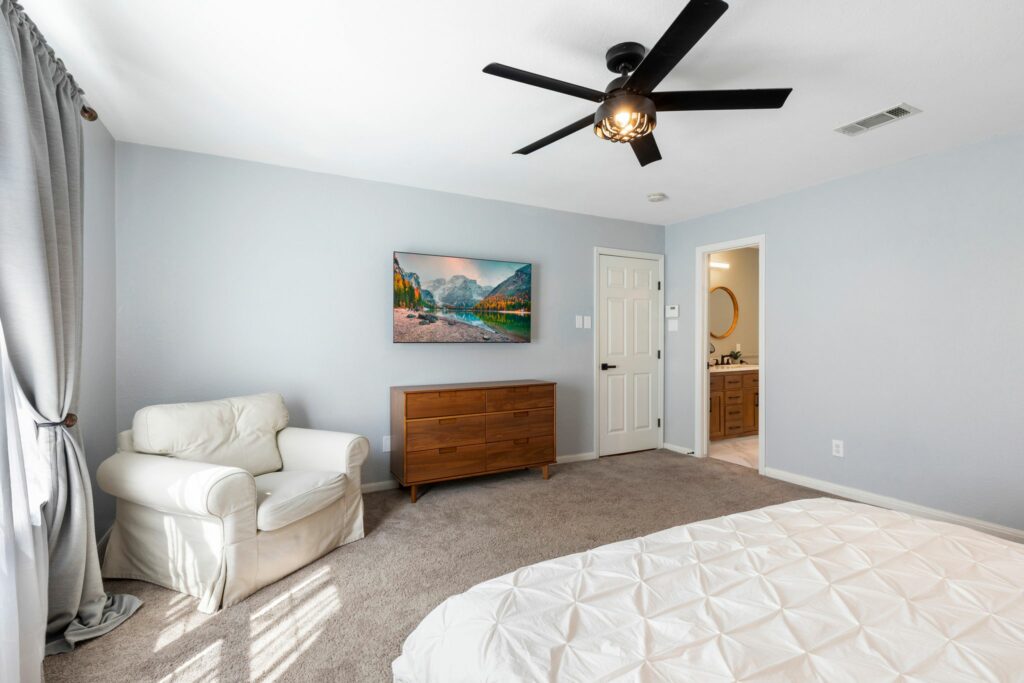
Transitional interior design is one of the most well-liked styles that combines the greatest features of traditional and modern decor. Despite some surprising additions, these areas appear balanced and airy. Such homes provide a serene environment with a dominance of neutral colors that makes one feel at ease. Let’s think about how the sandy tones of the textured carpet and patterned accent wall in this bedroom seem to wrap the bed gently. The bedding is made of tactile linen in a darker organic tone and crisp white cotton, which adds depth to the room’s color scheme. Accent pillows in denim blue and aquatic sea green also give a subtle touch of organic contrast.
Finally, it’s important for any well-realized transitional style home to ensure every element stand on its own while together create a rich assortment of goods that work together fluently.
Visit Fotosolution, you will get:
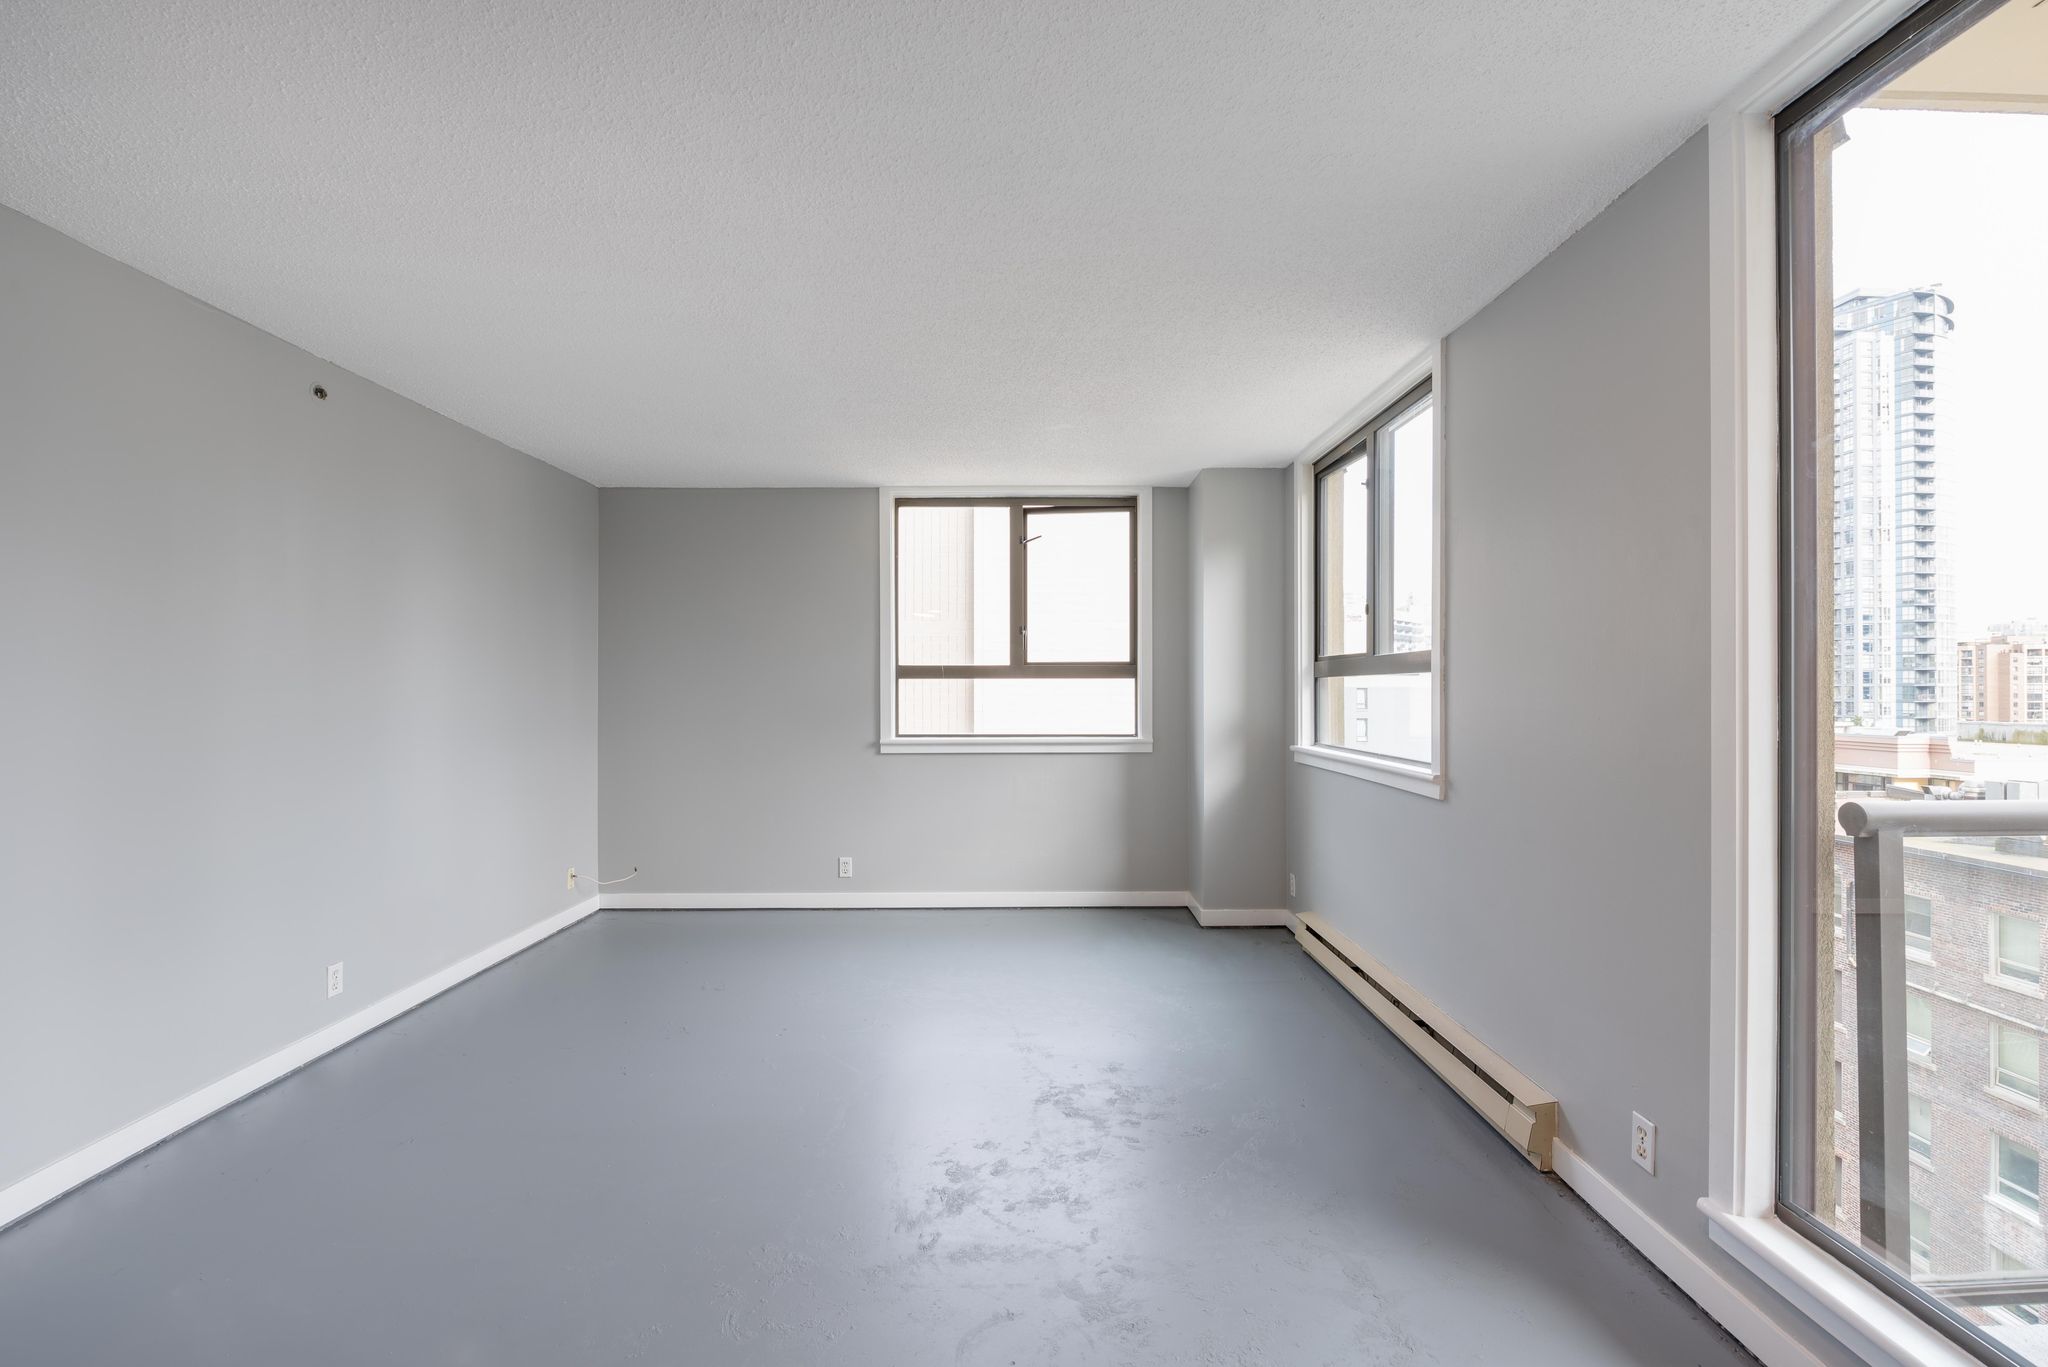
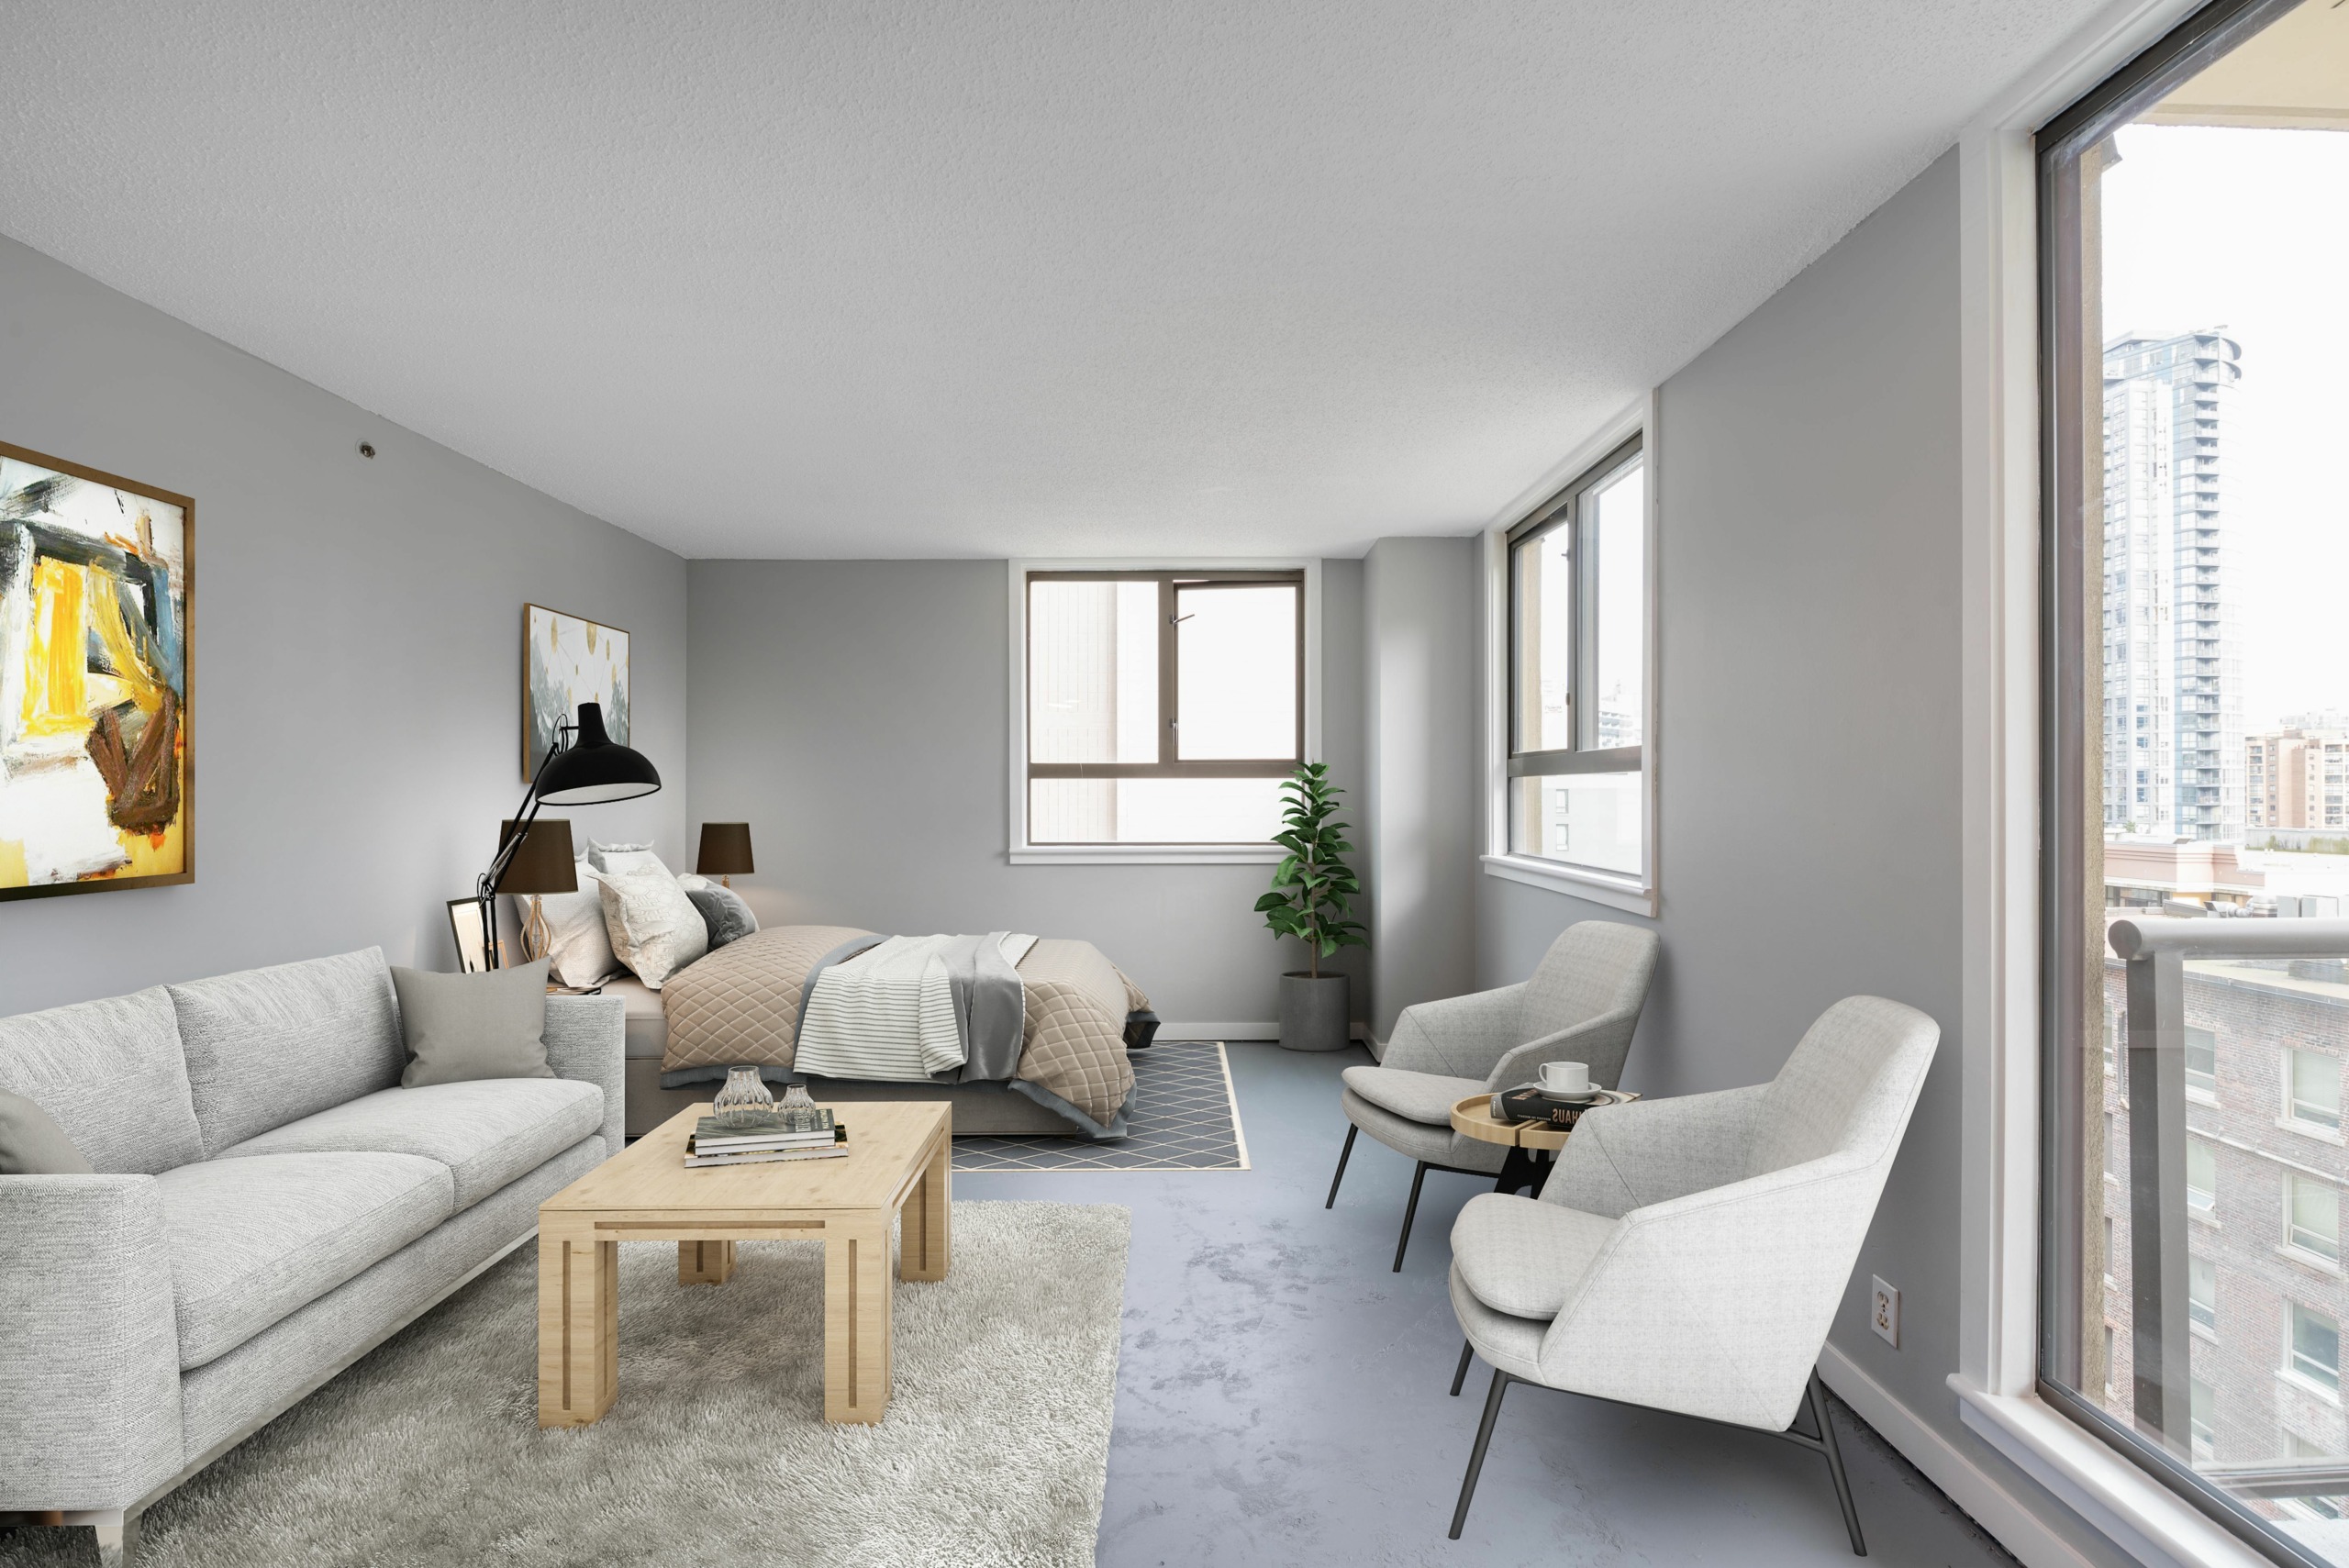
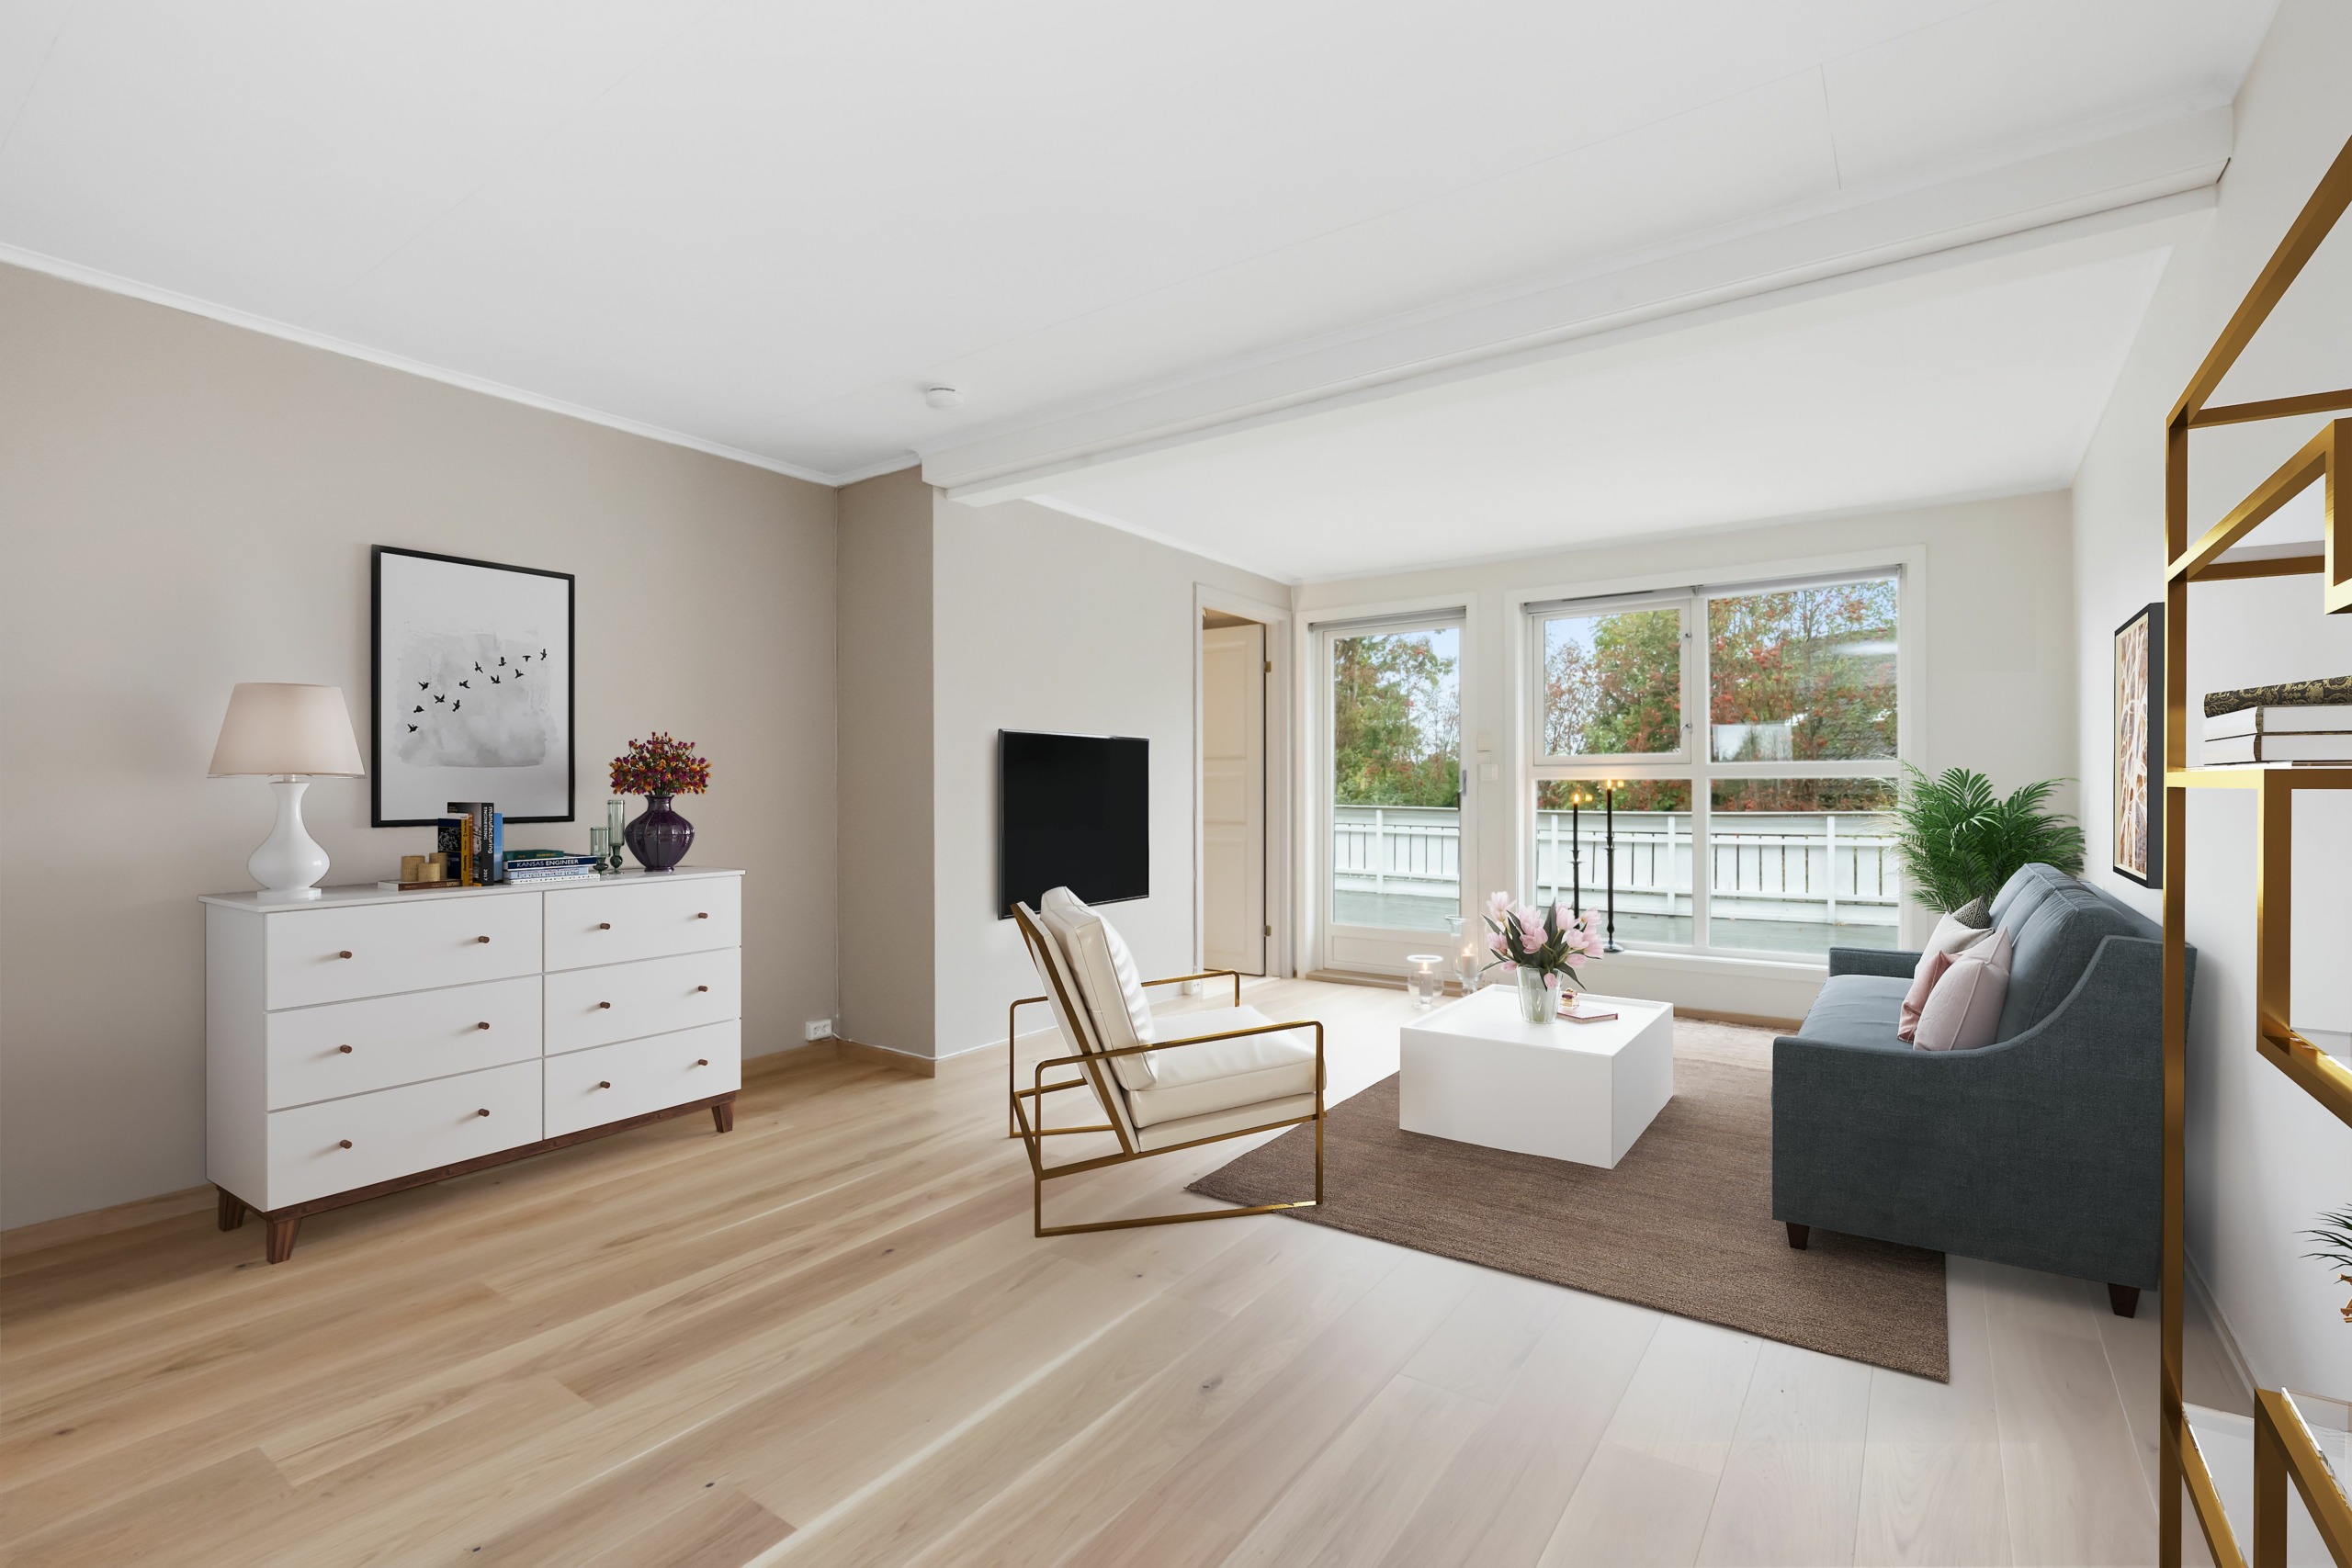
Virtual staging is one of main services of Fotosolution team and we always try to process them best and bring to the greatest thing for all clients. The 3D experts at Fotosolution apply their diverse interior and exterior design concepts to every project. We specialize in staging, furniture replacement, and remodeling in 3D architectural visualization. Our works demonstrate craftsmanship in everything from virtual renovation and remodeling to empty room staging. The distinguishing characteristics that make us stand out from the competition include creative manipulation, meticulous attention to detail, and professionalism.
Customers have the option of independently selecting digital models for our post-production or relying on our knowledge to put their dream home’s concepts on paper.
Having amazing virtual staging photos services of Fotosolution, you can receive the following benefits
- You can save your time with the short turnaround time thank to the benefit of time zone ( from 12-24 hours).
- We are available 24/7 to find a solution for your photos as quickly as possible.
- We offer 3 photos edited for trial without any fee
How To Order Virtual Staging From Fotosolution
To order interior design for virtual staging, you can
1: Contact directly to my email: sales@fotosolution.com Or email: contact@fotosolution.com
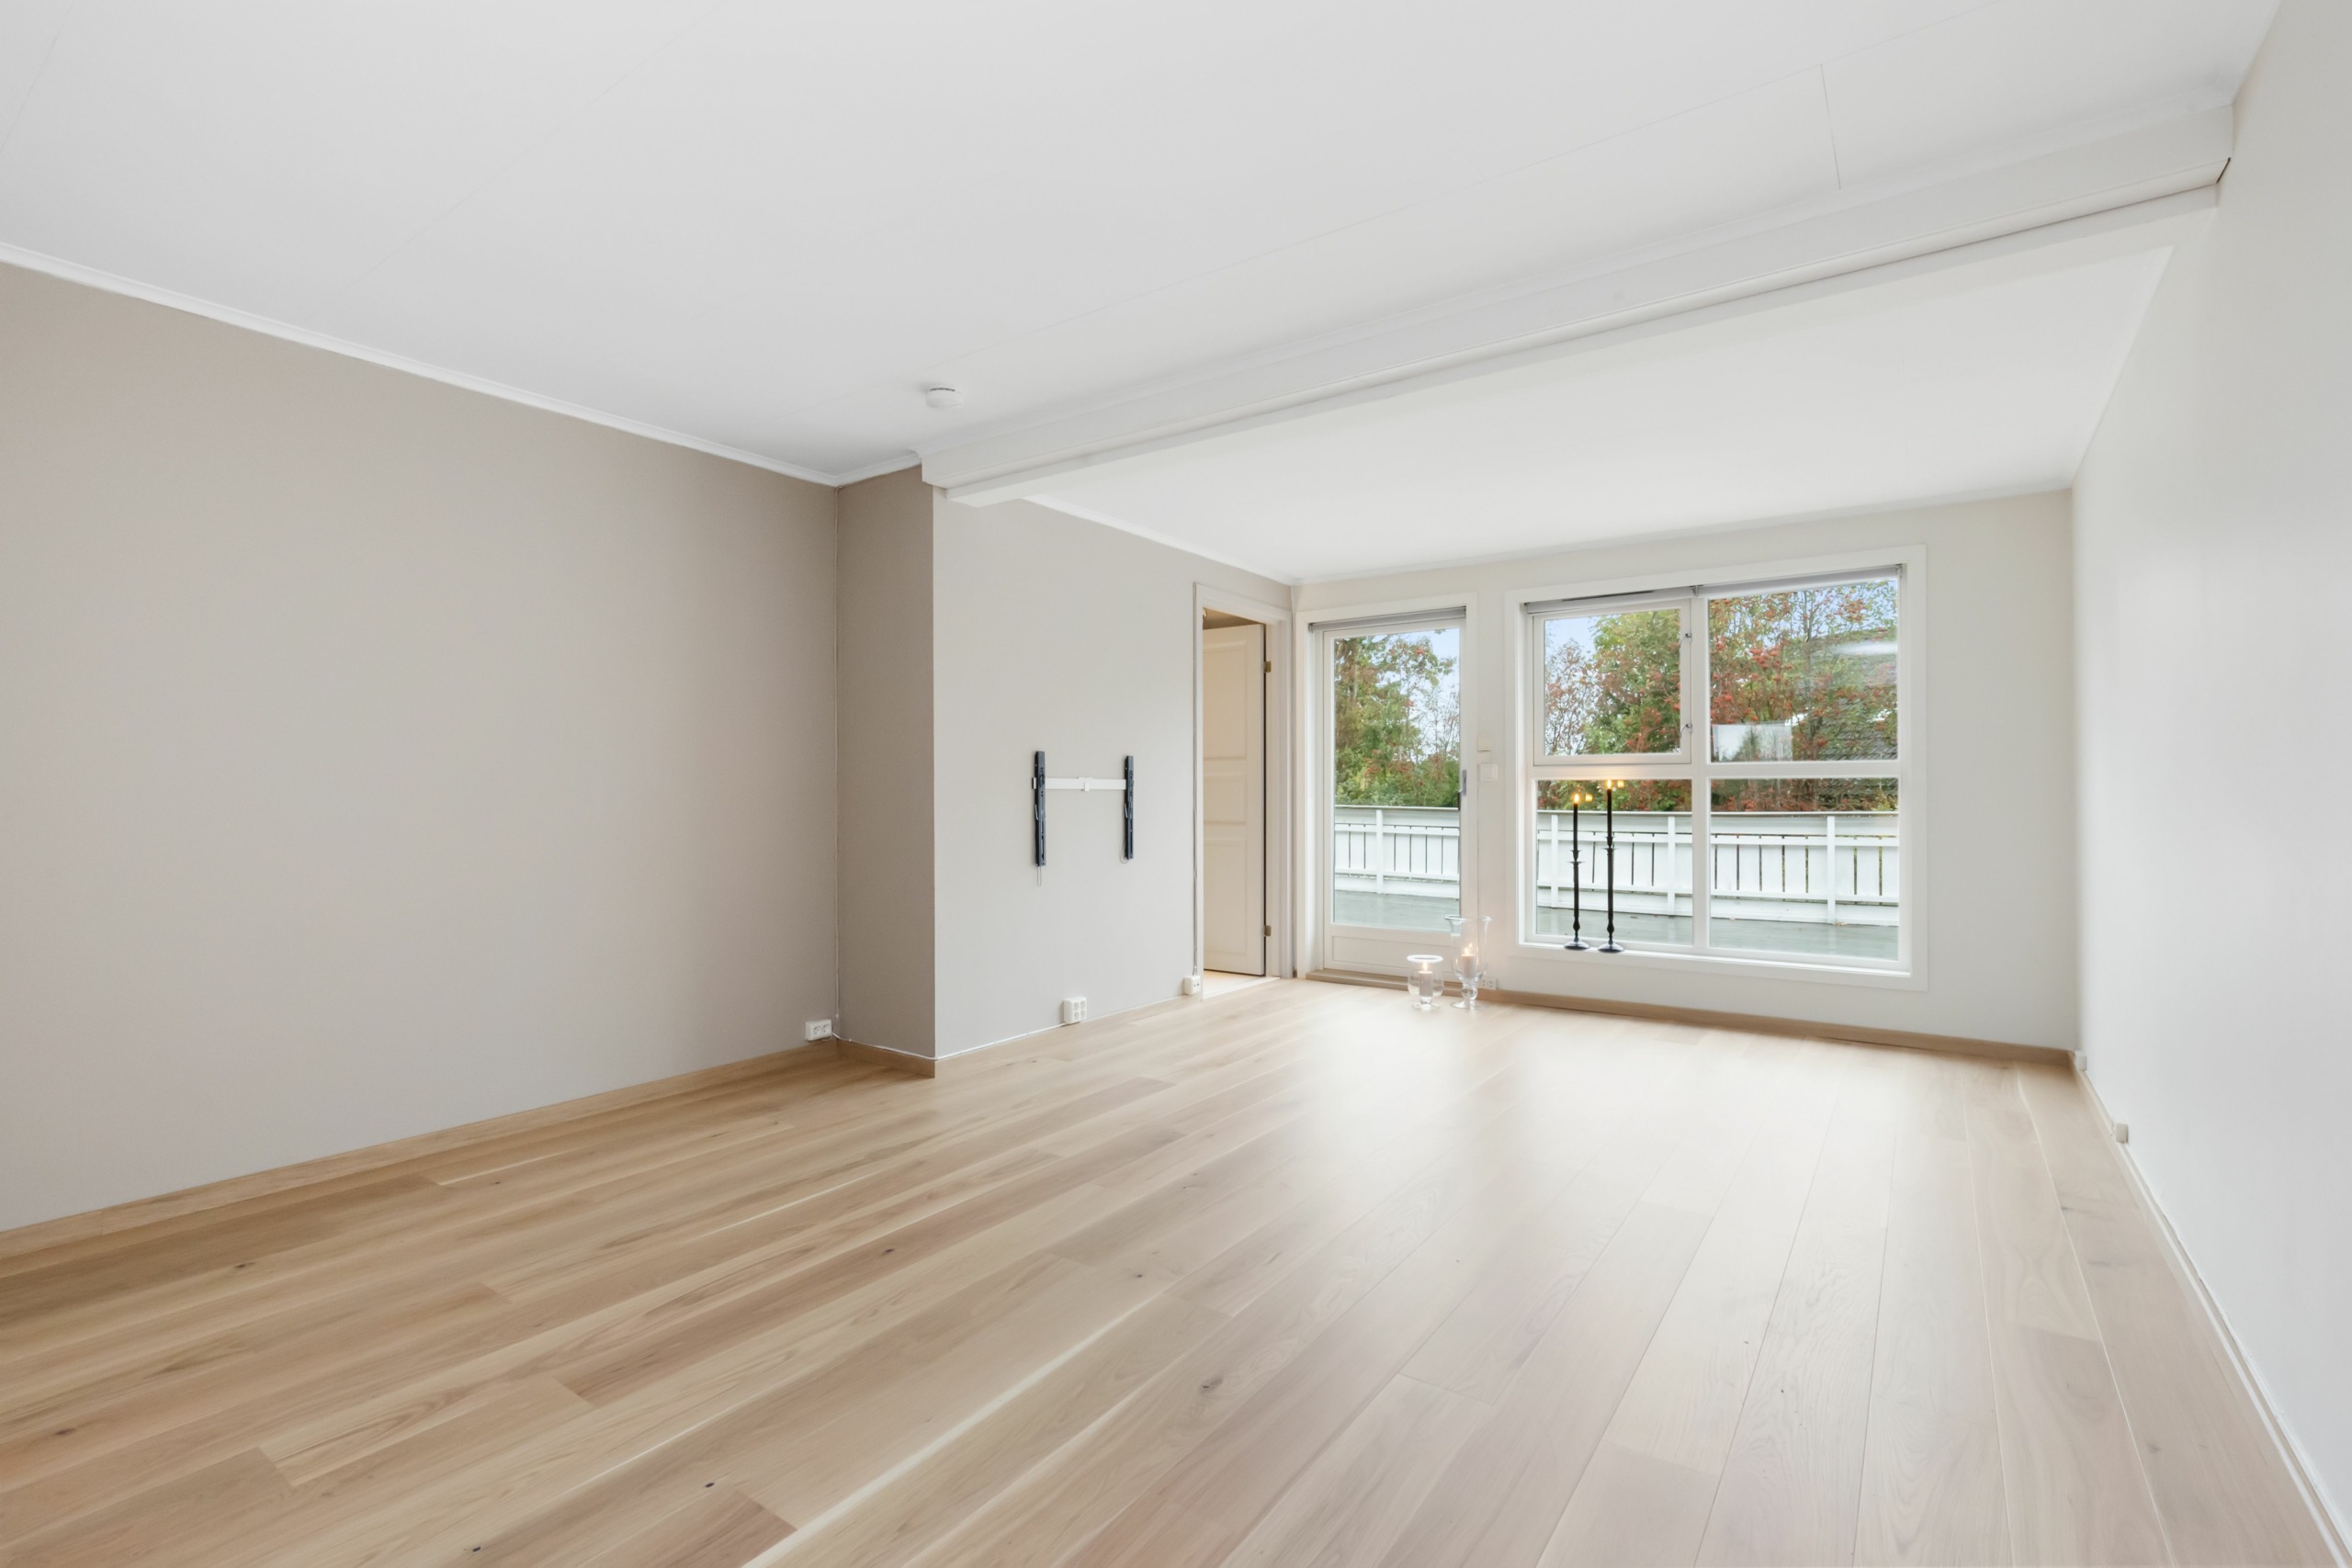
2: You can send us the inputs via our website with your specific instructions
Simply, You just send Raw empty room for us, the more your description for rooms is clear, the easier and faster the editors can get your task done. For example, let’s us know: your style you want or the name of room, our editors will process them better. Finally, thank you so much.
It’s sharing document we would like to send to reader. Let’s choose one favorite style you want and if you need any helps, please let me know, Fotosolution team are ready to support for all your project. We will wait for your news!


 [/twentytwenty]