Categories
Support Tips & Tricks

Tips: How to Crop Effectively The Images

If you are professional photographer, a beautiful pictures requires the good techniques as well as ensure the quality of images. If  you feel not satisfied with your pictures, you must find the cause of problem, and cropping photos is one of the effectively solution for digital photography. Thus, what and how to crop effectively the images?

First, you can know and understand what are cropping photography?. Crop the images is just as simple as cutting it down to the size you need for your print layout, then you’re missing out on all that the crop tool has to offer. Using cropping a photo will help you have a drastic impact on the visuals and can even manipulate the way the audience engages with it emotionally. This is usually done in photo editing software, most cameras come with software that will enable this but these days many cameras can also do it within the camera itself.

Crop the images give you a great chance to frame your images and can be used in some of the following ways.

You have to consider some crucial things when cropping:

– You should duplicate your images first. This will help you keep an original that you can go back to later to find a different way to crop.

– You need to take your time when cropping. There are almost unlimited ways to crop an image and it’s worth trying a few of them before settling on one.

– If you want to change the shape of your image this could make printing more difficult, especially you should attend the important thing that is shapes and sizes.

Cropping works best when you’re starting with a fairly large image. When you crop an image and then try to view it at the same size as it was before you cropped you’ll notice that the pixels are large. If you’re using small images keep this in mind or you’ll notice the quality of your images can decrease to an unusable level.

For this reason the ideal is to use cropping as a fine tuning of a well framed picture.

In addition, below we will give you some great suggests for cropping images.

Covering Framing Mistakes

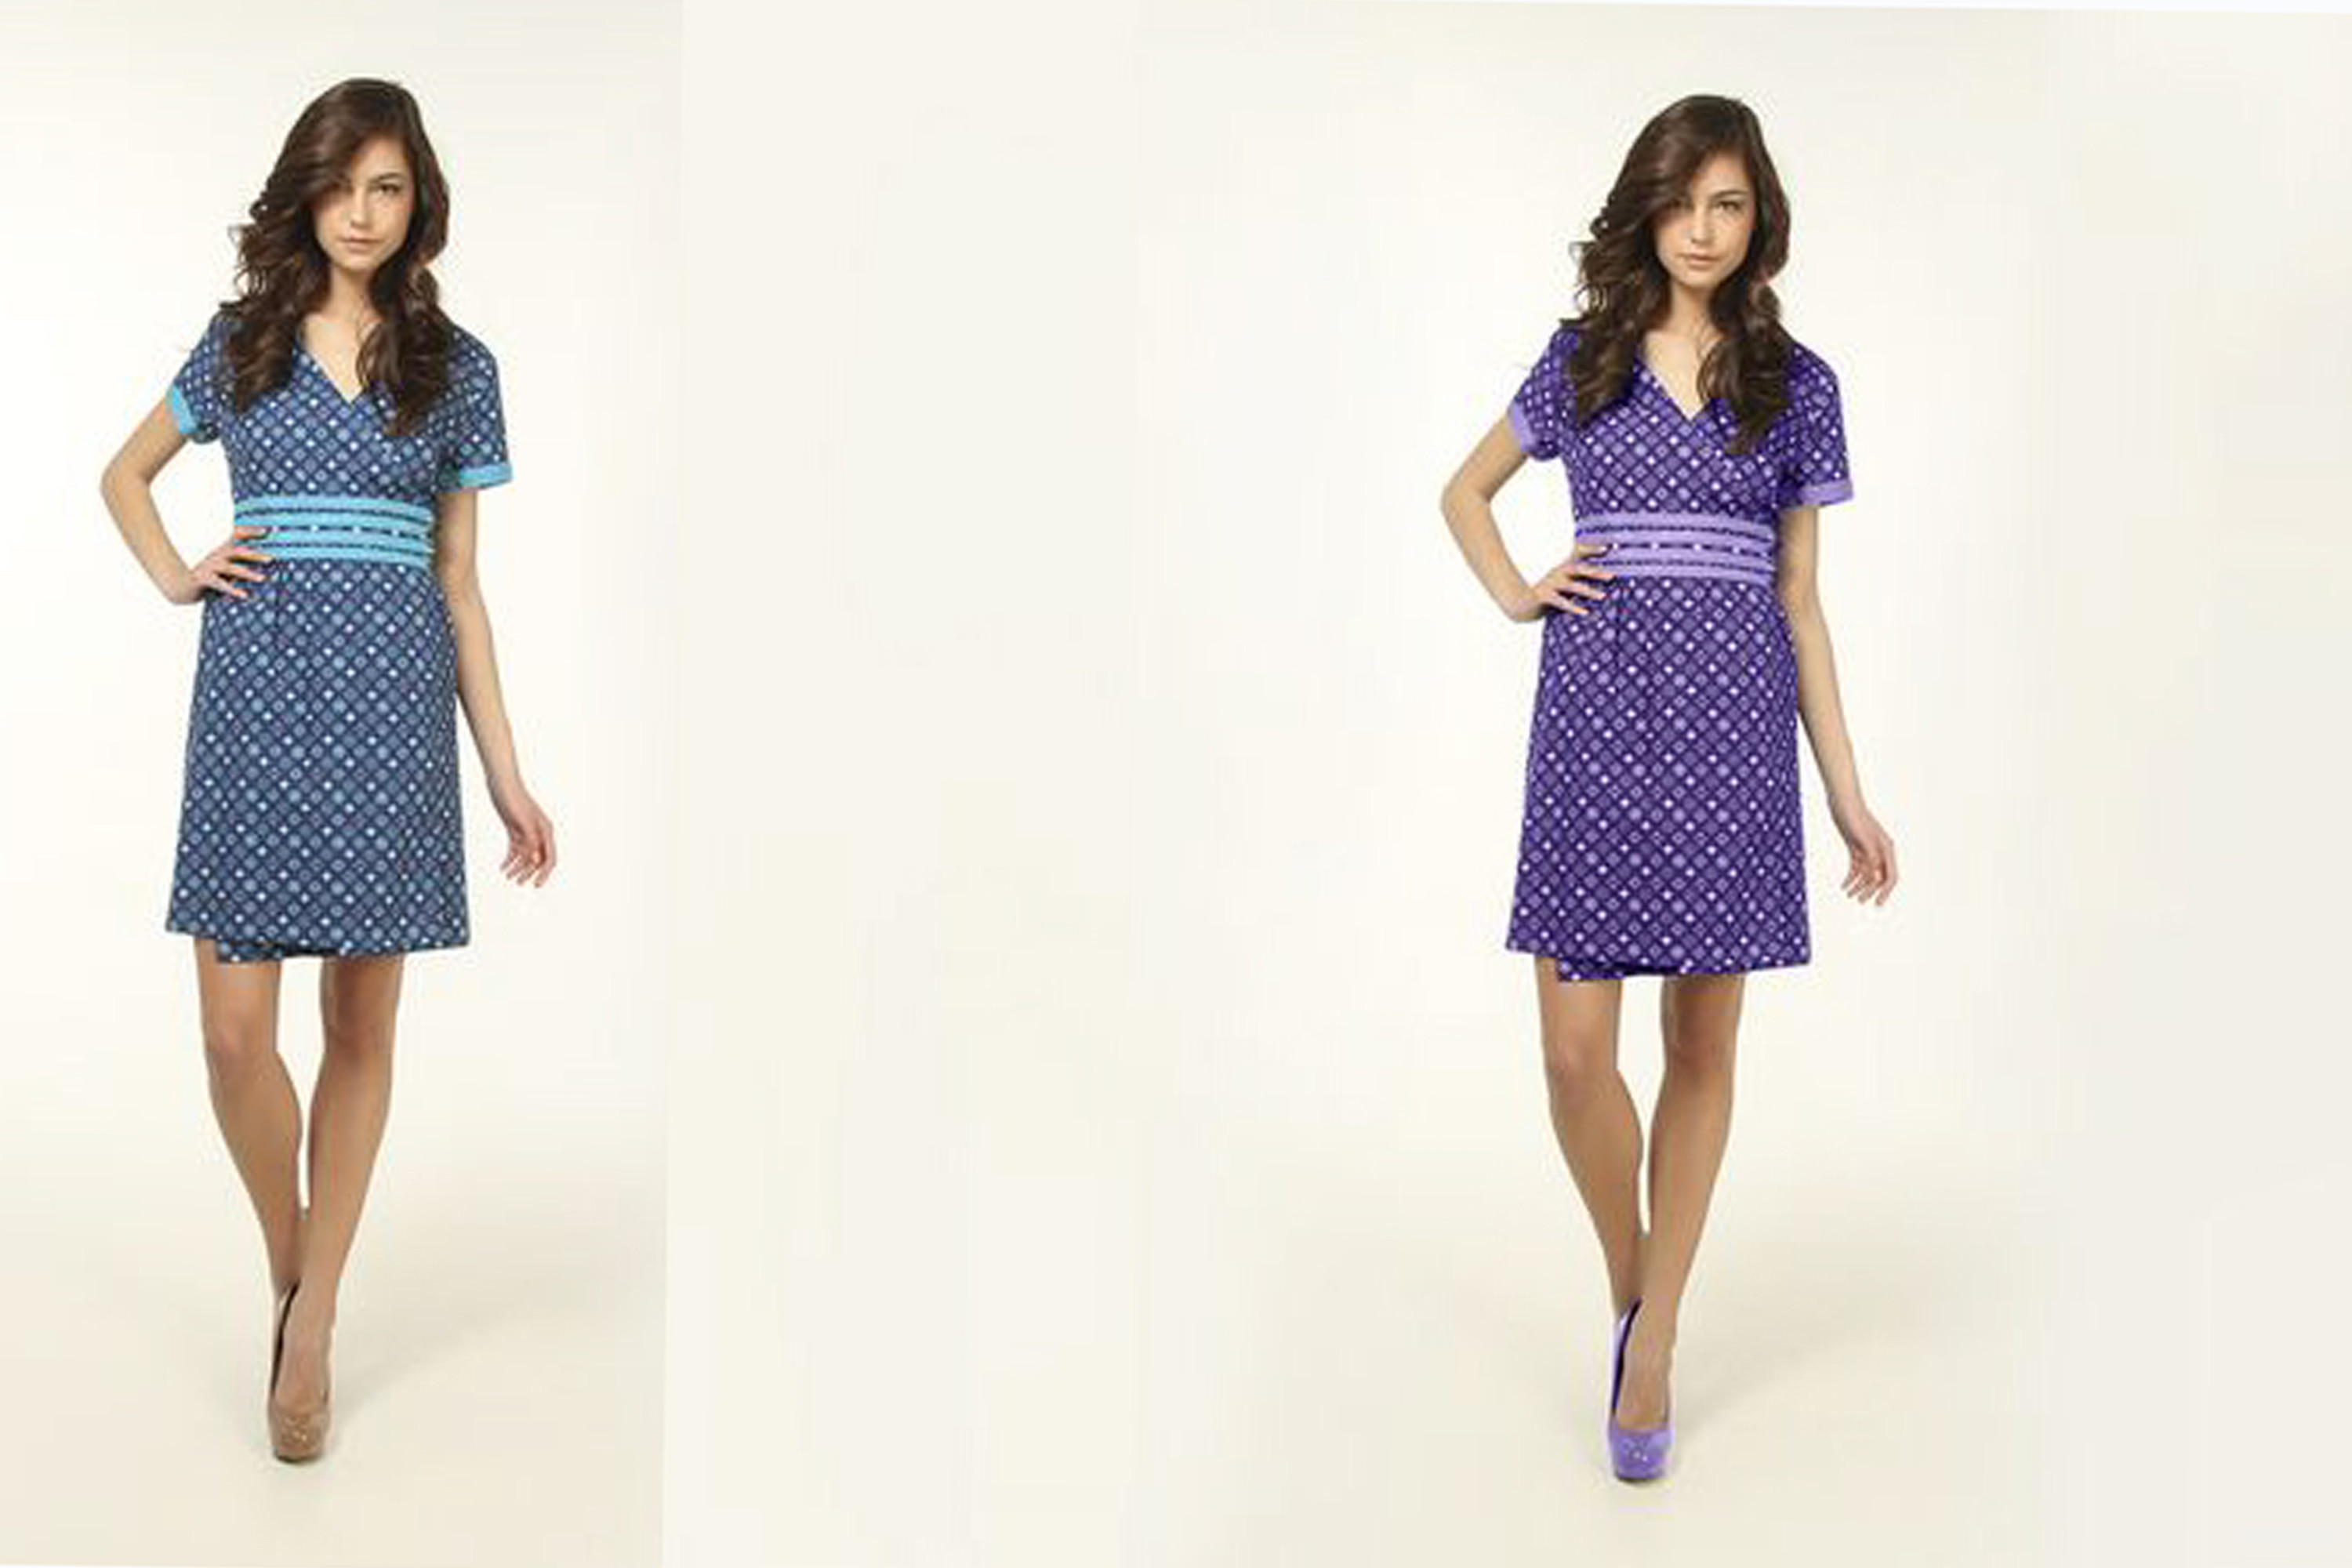
One common problem that face digital photographers are shots that have one side of your subject very close to the edge of the frame, or even have it chopped off by the frame. This can become effects that make reader’s eyes feel quite cramped and not complete. For example when taking a portrait:

While you can never really add to the photograph to put more space around your subject, cropping the image even tighter can take the focus away from the clipped part of your subject and make the image quite dynamic.

Remove unnecessary details

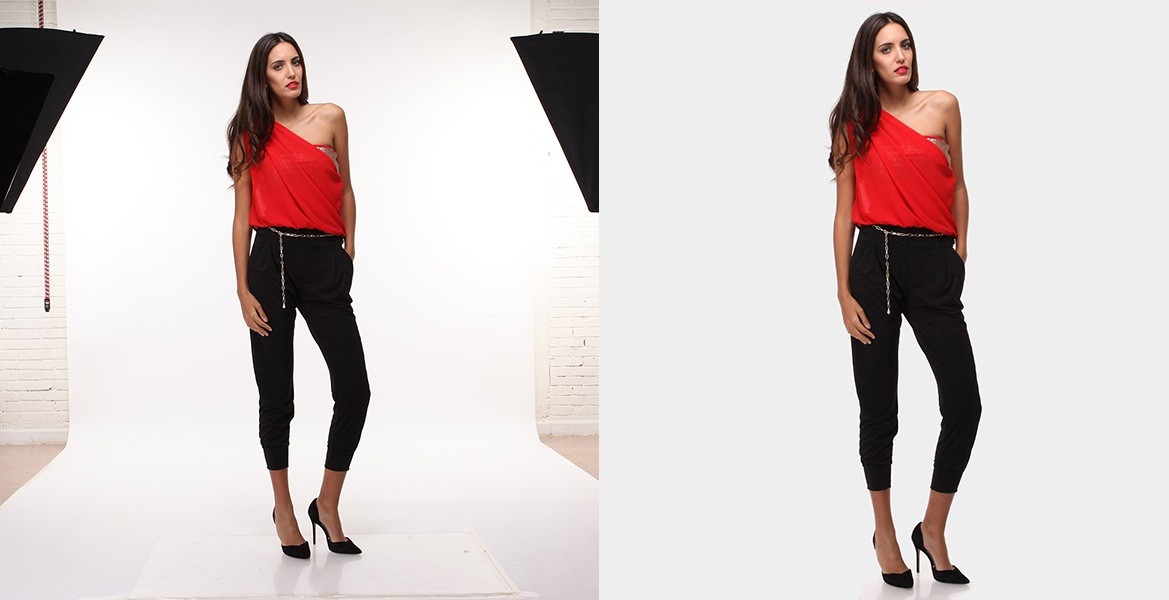
It will get messy if you take out any of the unnecessary details for images that might distract from the story or subject you’re trying to tell. You don’t want your photograph to end up in a lattice of funniest photo bombs, so remove unnecessary the background for anything that affects to the content of your pictures and you might draw focus away from your subject. Let’s pay close attention to the edges of the photo and the areas furthest away from the subject are the areas that the photographer are most likely to have neglected.

fotosolution-Tips-How to-Crop-Effectively-The-Images-03

People always like adding the cumbersome details to decorate their photos and think that it is beautiful but they do not think that the cumbersome details make the biggest distractions and the eyes are naturally drawn to faces in photographs. Anything that breaks the flow of the photograph or draws attention away from the subject should be on the chopping block.

Don’t be afraid to experiment

Sometimes you need to break the rules to make a bold statement, so don’t be afraid to play around with the crop tool and experiment with different techniques before settling on one design. You can crop the same photo with many different ways and give drastically different results. It will become useful ways that you can experience and find the most effective ways for your photos.

Try cropping at different angles and rotating the picture to compensate, creating a dynamic composition effect. If you try to crop faces in half, this help you create a sense of mystery. Maybe leave in an odd background detail to create contrast with your subject. Don’t be afraid to go off the beaten path and new experiences so long as you keep a backup of the original photo, you can always try again if your experiments fail.

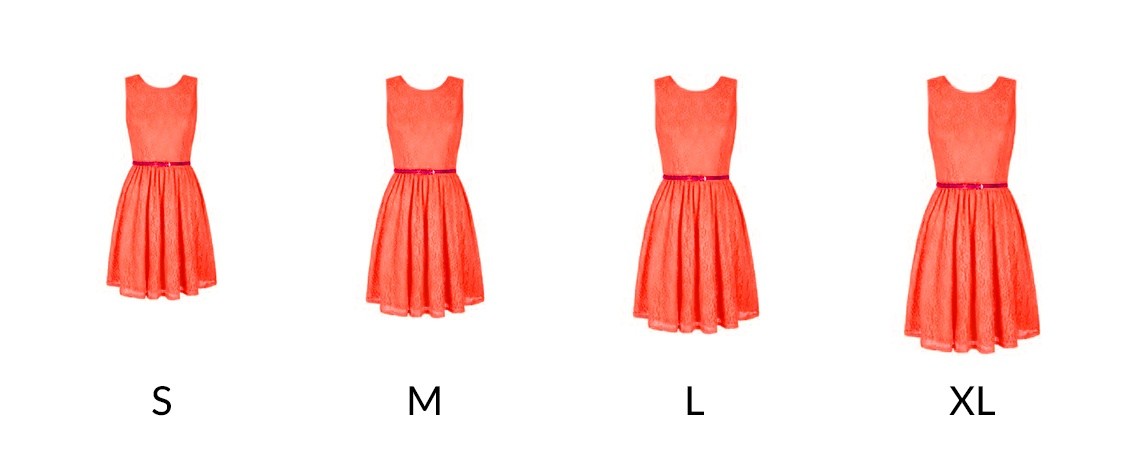
Cropping with different shapes

The advantage of the crop tool is that it allows you to turn a landscape photo into a portrait or vice versa. Changing the size and shape of your cropping field can have a drastic effect on the nature of the photo itself, especially when you play against the orientation of the original photo or you can create many different photos in different shapes. This will help create the variety for your photos and help you can choose the most beautiful shapes for your images before posting.

fotosolution-Tips-How to-Crop-Effectively-The-Images-04

Using a golden rectangle for images is a often a good choice, but you don’t even have to keep your photos a rectangular shape at all, especially when you’re using them for a print design. Your photos could be circular, hexagonal, heart-shaped whatever works for your design.

Avoid focusing too to your subject

Unless the photo you’re cropping is a portrait, there’s not always a need to make the subject completely centered in the shot. You have to use small details to decorate your photos as well as well your subject. This will help you subject become more special more harmonious before the viewer’s eyes. Let’s remember that the rule of thirds still applies when you’re cropping a photograph, so make sure you frame your subject in the areas that are going to draw the most attention.

There are some basic way to prove the effective usage of cropping the images. Let’s think of the crop tool as an invisible frame that draws the eye towards the most important aspects of your photo. Making the right cuts in your photo can have a drastic impact on the visuals and can transformer your artwork become more perfect before viewer’s eyes.

Fotosolution – our team do cropping, positioning and file size optimization for nearly all the images that we process. By carrying out these processes in a line after isolating and any additional editing), the images are 100% ready for final use. If you should our support, please do not hesitate to contact us. If you have any opinions as well as any questions concerned about this subject, let me know in the comment below.

Categories
Support Tips & Tricks

WooCommerce: How To Add Colors And Sizes with Multiple Options ( Variations)

If you own a online shopping, you have various product and you want to present them to customers. With the technological era, the online selling become a popular and useful methods for sales. To create a website is not too difficult and you can display your products on page, customers can view and update as well as buy easily product online. But if you have many products with various colors and different sizes, if you perform your products follow the usual way, you will waste lots of times. Instead of spending too much time for its, you can do others things to improve the sales by using multiple options or variations.

So, what is multiple options or variations?. Various products is are a product type in WooCommerce that lets you offer a set of variations on a product, with control over prices, stock, image and more for each variation. This can be done several different ways, either using native options in WooCommerce, or via plug-in or premium extensions. Here are we will show of using product type in Woocommerce – this methods allows you to create multiples style and manage the product sales more easily. For example, a dress is available in a variety of sizes and colors.

fotosolution-Tips-How-To-Add Colors And Sizes with-Multiple-Options-Variations-03

How to use or setup Variations?

– You need to edit and create a new product, an example below of a various products is a dress.

– You must select Variable Product from the dropdown at the top next to Product Data

– You can see under Attributes and click on Add

– You can add a Name and Value(s) for each Attribute. The Name corresponds to the drop-down menu that will appear in the product page, and the Values are what can be selected in that menu.

fotosolution-Woocommerce-How-To-Add Colors And Sizes with-Multiple-Options-Variations-08

-The following example shows how two attributes look for a dress with different sizes.

Size is one of the most common variations you encounter for a product, including small, medium, large and XL customers can choose. First, we will guide you how to add a product in WooCommerce that has different sizes:

– After opening up the Attributes menu, you can add Name of products and here we will add Sizes.

Notes: When you give the name of product, you have the option to have a custom order or to order alphabetically by name or ID. If you choose Sizes, we can order it Small, Medium, Large, X-Large instead of alphabetically. And you have added size, let’s configure the terms of this attribute.

– Start adding your sizes. Depending on your theme and your product, the description may or may not show. For instant, your product you choose, including 3 sizes: Small ( S), Large ( L) or X- Large(Xl) or 4 sizes: S, M, L, XL,…

fotosolution-Woocommerce-How-To-Add Colors And Sizes with-Multiple-Options-Variations-09

– Let’s set the default sort order to ‘Custom Ordering’. This will allow you to drag and drop to rearrange the order of the sizes easily. This way help you can see in picture above, it is just sorted with the most recently added term at the top. You should remember that the order of these terms is how they will appear on the product page. Let’s rearrange them by simply dragging the size to the desired position.

– Now the size attribute will be available to you when adding a variable product. Now we will cover how to add a variable product.

You can apply to color of product. Next step, let’s check Visible on the product page and Used for variations, and then click Save Attributes. Under Variations, click Link All Variations, then click OK on the confirmation messages.

fotosolution-Tips-How-To-Add Colors And Sizes with-Multiple-Options-Variations-01

If you want to change images of product or continue digital colors and sizes when a visitor selects one of your variation combos, you can click the thumbnail button in the variation and upload the variation image, or select it from your media library. However, you keep in mind that this function only works if your product post is displaying the single featured image. Finally, we have various products with different colors and sizes and especially we can save times for other things.

Fotosolution team – we provide image processing services from an image, we can helps you to create many different colors for their products. Instead of taking much time with each color separately, you can create a products entry for multiples style with our support.

To receive free test sample or products with various colors and size without spending too much times, details of our quotation or any further information, please do not hesitate to contact us.

Categories
Support Tips & Tricks

How to make the color correction in Photoshop

Color correction is one of the important factors affect directly the result of images. If we have two pictures: white and black pictures and pictures with prominent color, which one do you prefer?. Beautiful images with stunning color will surely be a wonderful choice. So, color correction an image is one of the most common uses of Photoshop. How to make the color correction in Photoshop. If you don’t know the way about the color correction in Photoshop,  here some quick tips show you different ways on how to color correct on image. Let’s get started.

Color Balance Adjustment Layer

To get started, you should open an image that you think has a color board. After, you choose layer-> new adjustment layer-> color balance, this gives you information about the pixels in your image. Using the adjustment layer is the best way that it can either remove adjustment or edit the adjustment at the later time.

You will see the appearance of color board to choose, then, color balance box will appear to support your work. Before applying the color balance adjustment layer, I think that you should make a copy of the background layer, then turn off the background. Then, choose the Color Balance adjustment layer option in the Adjustments panel.

Color Balance Adjustment Layer

Selecting the slider that has the tint color and move it away from the tint color. For example, since the image has a yellow, you want to move the cyan or yellow slide towards cyan to remove the yellow tint. You may also want to adjust the other two sliders to get the color you want for the image. Let’s click on double right arrow at the top right of the panel to finish with the adjustment.

If you want to change the different color, you can always go back in and make adjustment to the color balance properties by clicking on the layer thumbnail. Besides, you can use Gradient adjustment layer to make prominent color.

Curves

With some photographers, curves in an image will an intimidation factor, it will affect directly the quality of image. Don’t worry about this, we will help you adjust the curves. To adjust the curves, you have to click on the Curves Adjustment layer in the Adjustment Layers panel. You will see the appearance of  Curves Proprieties Layer.

fotosolution-How-to-make-the-color-correction-in-Photoshop-03

Notice the drop down option next to the RGB channel. Not only can you change all channels at one time (your image is a combination of red (R), green (G) and blue (B) channels), you can also change the individual channels. If you reviewed the Color Balance Adjustment Layers above, you are also aware of the ‘opposite’ colors of each of these individual channels. The original curve is a diagonal line from bottom left to top right. If you want to effect the reds in the darker areas, I adjust the line towards the bottom left. If you want to effect the red in the lighter areas, you can adjust the line towards the top right.

If you want to remove some of the cyan introduced when we adjusted the Red channel, select the blue channel and drag the middle of that line down slightly. You can continue to adjust the curves in the various channels till you have the color you desire.

Increase Contrast

Using increase Contrast technique will a perfect choice that help your image more prominent. To crease contrast an image, you can use Levels Adjustment Layer. First, choose layer-> new adjustment layer->levels.

fotosolution-How-to-make-the-color-correction-in-Photoshop-05

The Levels properties panel shows a histogram. This is a quick visual that shows the range of tones in the image. This particular histogram shows a lack of light or white areas. The data on the histogram doesn’t extend all the way to the right, nor is it all the way to the left.

Click and drag the white arrow adjusts the light or whites area of image to the left until it under the right edge of data of the histogram see setting in above image. Click and drag that black arrow adjusts the darks or blacks to the right until it is just under the left edge of data of the histogram.

Auto Color

Auto color is considered as the quickest way to color correct an image, if you need to something quick, use auto color to solve all problems.

Choose Image->Auto color from the main menu, this technique will determine what needs to be adjusted and perform the color correction for you. However, this technique have also some disadvantages and one of them is that you are depending on Photoshop to determine the best color adjustment.

Here are four tips to color correct in Photoshop. We hope you found it interesting. Do you believe that If you have any questions or concerns, please do not hesitate to contact us and comment below this post.

Thanks for reading!

Categories
Support Tips & Tricks

DIY Product Photography: How to change the colors dress by Replace Color Tool

Sometimes in post production you want change some things of an objects in your photos such as: lighting, remove white background, size or change the colors. When editing images, there will be a time that you will need to change the color of something in the image. Colors is one of important factors to decide the success and the prominent beauty of photos. Each people or customers have a different hobbies and how to choose colors. For example, someone wear a red skirt but other people really prefer it if they were wearing a yellow skirt, so it is so hard to find the best favorite colors for all customers. Whatever the reason, you will need know how to change the colors in Photoshop. Luckily, this process is not as difficult as it may seem!. Today, Fotosolution will help you learn how to change the colors in Photoshop and save your time as well as your budget.

Normally, when you want to present your product, you always prepare a big studio, series of your product and models.

First, you will need to set up your studio for the photo shoot. Your setup can depend on the space and materials you have available. If you shoot product in indoor space, you can attend to use suitable spaces. This spaces need to have many lights, you should put your product in position where are many window or near to window. Besides, you can use light tents for small product photography. It is useful solution for the photo shoot.

fotosolution-DIY-Product-Photography- How to change-the-olors-dress-by-Replace-Color-Tool-01

You should not forget that set up the camera on the tripod exactly in line with where your product will be placed. Background is one of essential elements what help your product become more prominent. In generally, photographer choose white background for shooting.

Second, if you use a model, it need to be big enough to cover at least the model’s top half. But models are very expensive and can distract from your product. If models are not in budget, you can use mannequin are an excellent alternative. But the problems here is change color dress, it waste many times for your shooting. For example, you want to present your new dress with five or six different colors such as: white, black, pink, yellow, red,…You do not know what colors attract customers to your website or how do colors affect your purchases?. You have to wait a model who wear your product with different colors to shoot. This will make you as well as your work lost many times. Using and change your product for mannequin also waste your valuable times. To solve this problems, Fotosolution teams will guide you and help you dispose your photos by changing colors dress through only representing models.

fotosolution-DIY-Product-Photography- How to change-the-olors-dress-by-Replace-Color-Tool-03

You can learn three simple ways to change the hues of an object in Photoshop. You should familiar with three basic tools such as: The Color Replacement Tool, Selective Color, and Replace Color. And today, Fotosolution teams will guide you learn about replace color.

The Replace color tool is one of useful tools to change the hues. To start your work by using Replace color tool, you can choose Image->Adjustment->Replace colors. The replace colors tools is helpful tools that help photographer get rid of hues such as: light and dark, dim and deep,.. and change colors. This tool must be applied as an adjustment and cannot be used as an adjustment layer, so, apply to it duplicate of the background layer.fotosolution-DIY-Product-Photography- How to change-the-olors-dress-by-Replace-Color-Tool-04

After choosing replace colors tools, you will see this box pop up with many different choices. This tools is going to be used to tell Photoshop  what color you want to replace in your image. Let’s click selection with” localized color cluster”, then click the add to Sample eyedropper and then click to select more of the color to change. Color board will appear before your eyes, you can choose right hues through product samples what are available. And then I clicked in the little icon of my image right on the dress. By setting that, it will only change the color you selected. Now, you just play around with the hue, saturation and lightness sliders until you reach your desired result.

There are many ways to change the colors dress like: The Color Replacement Tool, Selective Color, and Replace Color and this post today is that use replace color. Selecting the exact part of the image that you want to replace the color of will make the process much easier. If you have a difficult in use this way, we will continue to show two tools: the color replacement tool and selective color in the next topic. Hope that you as well as readers will support this useful lesson.

If you have any questions or concerns, please do not hesitate to contact us and comment below this post.

Thanks for reading!

Categories
Tips & Tricks

5 Tips To Improve Your Product Photos

For small businesses, photography play an important role in both sales and marketing. The product photos in website is one of the best way to inform, display and advertise product of a business. Thus, the role of photography is essential things. Basic photographic techniques can ensure that an otherwise worthy product isn’t overlooked. And they need to capture the detail of product to find the appropriate angle because in terms of marketing, photos and videos can enhance user experience and set the tone for a business. Today, we will present you 5 tips to improve and ensure product photos.

If you own a small business, you don’t have many budget to invest your product photos, you feel worry about these. However, to take professional photos, you don’t necessarily need to hire a pricey photographer. Before investing, you should attend confirm the size and nature of your product. If you can’t spare the cash, try some our solutions, we hope that they will bring a lot of useful lessons for you.

Lighting

fotosolution-5-Tips-To-Improve-Your-Product-Photos-02

One of the single most important factors in product photography is lighting. How you light your product will make a big difference and will make your product become more prominent than different product. A small suggestion for you, let’s use natural light, it is the best way help your photos more reality before viewers eyes. If you take a photos indoor, take the time to find out where the best natural light in your house is. That might be your kitchen, near the sliding doors in your bedroom, or under the window in  your bathroom.

Take a photo with different angles

If you own a shop online, customers won’t be able to physically touch or handle your product so you’ll want to show them as much as possible about your item to help understand more your product as well as eliminate any questions or uncertainty about the detail of product. And one of some ways to present your product through images is that take photos that capture the product from different angles, showing off its different aspects. Because, simply, different shapes and colors can take different angles. Depending on the nature of the product, an unusual angle can be fun and eye-catching. With many different angles, your customers can check the detail of product clearly.

Background

fotosolution-5-Tips-To-Improve-Your-Product-Photos-03

A cluttered background can distract from the product you are trying to sell. Use either a simple, appropriate background or remove the background all together. So, you should choose exactly background for your product photos or What background should you use?. Most items look their best against a white background, as it eliminates distractions and makes colors ‘pop’. You can use specialist backdrops, tents or ‘sweeps’, which are specially curved to eliminate shadows caused by sharp angles. This will give a clean look. In addition, you also remember to keep the background tidy and remove all distracting elements that may draw attention from your product.

Edit your photos

After you’ve taken your photos, open up your photo-editing program of choice. There are many ways that help you edit your photos. Photoshop is typical example. In Photoshop or other editing software, compare the image on the computer screen to the item itself. You need to check some main details that affect directly the quality of photos such as: colors, textures,  retouch, expose,…. For example, if your photo is a little under-exposed or over-exposed or too dark and too light, you should use the exposure slider to adjust appropriately. Don’t go too crazy with it, though, usually a light touch will give the best results. Or, colors of photos is one of the important factors you should exactly control. Color correction is a great way to improve the attractiveness of an image.

Use Proper brightness and contrast

Your product image should have the right amount of brightness and contrast to highlight product details and make your image stand out. Using this comparison is the effective way that help your customer can collate your product in the most accurate way, increase the quality of photos. Moreover, this way will help you customer see and feel exactly the strength of product that compared with other products.

Well, it’s time for you to start taking your product photography and improve them. We hope these tips help you improve your product photos. Do you have one to add? If so, share it in the comments below. Or, If you have any questions or concerns, please do not hesitate to contact us and comment below this post.

Thanks for reading!

Categories
Tips & Tricks

How and When to use Light Tents for Small Product Photography

Beautiful image is an important factor to decide the success of effective sales. But to pass these, it is not easy as we think. Today, we will present you one of useful tips and show you a simple way to a use light tent for soft. If you just own normal product photograph, it is difficult to receive the good result especially when you want to sell online, we should require the high quality product photos. Such product photography may seem simple to take, but this technical type of photography is much harder to do well than you might think. That’s why there are professional photographers making good money shooting top-quality product photography.

A good picture will help sell your product photograph more easily. There are many ways to handle image but one of the easiest is to use a light tent. so, what is light tent?.

A light tent or light box is a contraption with translucent sides that diffuses light coming from different sources. This makes your image nearly shadow-less lighting against a simple and solid background. You can choose and purchase a light ten to build and handle your own product photograph. However, before using light ten for image, you should know when to use light tent?.

The light tent is one of familiar items what amateur and professional photographer always use when shooting product. Using the light tents photography will help them take professional digital photos of products and items easier. Moreover, it will support them filter the light from the source, creating a very even, almost shadow-free light across objects inside the tent. The light tents photography helps to decrease harsh shadows and reflections on shiny objects, such as metal or glass, and gives a clean, crisp backdrop to all items. Its special nylon fabric diffuses the external light, softens shadow, and reduces glare to create the perfect result.

For example, if you want to shoot a shiny items, you should use light tents photography because it will help you eliminate lots of bright reflections. Thus, light ten is useful way help you handle image and the light’s quality of image.

Next, we will present you how to use light tents for small product photograph or how to use effectively the light tents photography?.

Firstly, you should prepare and erect your tents carefully, then place your items inside your tents and in the exact center. Place the lights so the illumination is even. You can try to get a look you want before shooting seriously. For instants, you can also experiment with pointing the lights slightly at an angle, rather than straight on at the tent. You need to pay attention to move carefully subject because directing forward or backward will be affect and change the light and the shadow. Be sure to leave space between your subject and the walls, so that you can zoom in or position your camera to see only the backdrop and not any edges.

fotosolution-How-and-When-to use Light Tents-for-Small-Product-Photograph-01

In addition, the ambient lighting can affect directly when shooting. You need to choose the exact time because when shooting midday in diffused indoor light and shooting at night with only the lights themselves for light, it can happen many differences. Let’s avoid direct sunlight shining in or at your tent, as it will be difficult to balance such a powerful light source.

You should use a tripod  because this allows you use a low ISO and small aperture. Moreover, it will help you get sharp and detailed pictures.

Secondly, you learn way to set up the camera. It is best to use manual exposure and set an exposure that is approximately one stop brighter than the meter suggests to allow for the large expanse of white in the background. In fact, photographs often utilize wide apertures and selective blur to make them look more appealing, while product shots of crafts and handmade goods look best with a narrow aperture to keep the entire item into focus. Thus, you can set up the camera securely on the tripod and use either the 2-second timer or a remote shutter release to ensure that you tripod remains steady.

fotosolution-How-and-When-to use Light Tents-for-Small-Product-Photograph-03

In shooting process, you can draw some things to consider the exact distance, such as:

– Use white backgrounds, you may get better results around +1;

– Use black backgrounds, you will get better results around -1.

– If a full stop is too dark or too light, try a half or a third of a stop

Thirdly, way to choose best lighting for product photograph. The best results will be obtained by using three external lights with daylight florescent bulbs. However, you can use light with light tent to ensure white balance. If you use a light tent, you should place the two main lights directly on either side of the light tents photography. Besides, you can also set the white balance manually by shooting a white card and calibrating from that image. Finally, use your histogram as a guide when processing and limited use white background to ensure the best quality of pictures. Let’s check the exposure for each setup by taking the shot.

To summary, to get a perfect and consistent white balance with this setup, you should turn off the room lights and draw the shades to eliminate other light sources. This lesson will guide you some way to use a light tent photograph effectively, you can refer. If you have any questions or concerns, please do not hesitate to contact us and comment below this post.

Thanks for reading!

Categories
Tips & Tricks

Your product photos become perfect with white background and nice shadow

fotosolution-remove-background-with-original-shadow-and-reflection-shadow-05

Reflection shadow

fotosolution-remove-background-with-original-shadow-and-reflection-shadow-04

Original shadow

fotosolution-remove-background-with-original-shadow-and-reflection-shadow-03

Reflection shadow

fotosolution-remove-background-with-original-shadow-and-reflection-shadow-02

Reflection shadow

fotosolution-remove-background-with-original-shadow-and-reflection-shadow-01

Tie with nice drop shadow

Categories
Tips & Tricks

5 Ideal Suggestion To Choose Good Location For Family Portrait

Choosing good location is one of the most important aspects of portrait photography and with 5 our ideal suggestion for family portrait will help you shoot beautiful family portrait photos. Your choice will drive all other decisions about the shoot, including what lighting and props to take, which clothes the subject should wear, and the most suitable poses to use. You want to have a beautiful family gallery to memory sweet moments with members of your family. Normally, we will choose a studio with a plain background. Shooting simples images and have been done a million times, it is too bored. Let’s get much more interesting, engaging pictures by using your imagination and choosing a more unusual portrait location.

To find good location for family portrait is not too difficult but to save your times, you should consider some special factors before deciding to choose ideal places. Some questions what you should set out in your head as:

  • Where do you feel comfortable?

Let’s think of a location that helps you feel comfortable, relaxed and where you can be yourselves.

  • What are you going to wear?

Let’s think of a location where you can wear your favorite costume and don’t have to be worry too much.

  • Why is it such attract your attention?.

Let’s think about special beauty such as: famous places, famous culture,….

There are many great places for your choice. Today, we will present 5 ideas suggestion to help you find good location for your family portrait. Hope that you will feel satisfied with our article.

Choose a meaningful location

It’s easy to choose a portrait location based on convenience. Choosing a meaningful places with family is one of the best ways to make beautiful family portrait. With familiar location, they can express easily the most true emotions.Good Location For Family Portrait

Remember that every subject is a unique individual, with their own personality. This is what makes them so interesting, and it’s something you should try to capture in every portrait you take.

Take the time to get to find out about their hobbies and favourite places. For instance, if they’re an horse rider, shoot them at their stables; if they love to surf, go to their local beach, if they love climbing, go to their majestic mountains

By using a location that means something to your subject, you’ll get much more personal, meaningful photos. In addition, they’re likely to feel more relaxed, helping you capture more natural-looking shots.

Choose ideal position with beautiful backgroud

As far as we know, background is one of important factors in an image and choosing suitable background is a deciding element to make beautiful photos. The background is of fundamental importance in the composition of the image emphasizing the subject, improving the photography.

For example, if you’re shooting on the beach, don’t just choose a spot with wide open beach or to find a section of beach with sand dunes, tall grass, driftwood, or even distant trees. These objects help frame the image and make it more interesting, without distracting from the subjects of the photograph.

Use Natural Lighting

Using natural lighting for product photos preserves the natural colour of the product. If possible, choose a brightly lit and good location which offers plenty of diffused, natural light.

To create natural lighting for your own photos, you should shoot your photos at the brightest time of day. You can work in late morning and early afternoon – the times of beautiful sunlight and these gives sufficient lighting near windows or in the shade. In general, morning light is bright and has less colour, while afternoon and evening light often has a warm undertone and brings out greater contrast in your images.

Good Location For Family Portrait

Attention: when shooting outdoors it’s important to avoid the direct midday sun as this produces very harsh shadows. You can refler our post: http://admin.admin.admin.admin.admin.admin.fotosolution.com/how-to-use-natural-lighting-for-best-product-photograph.

If you’re shooting indoors, try to position your subject near a large window so that you can make the most of any available natural light.

Cloudy Day Shooting

We always think that should choose a beautiful day with great sun is one of best advantages to shooting and avoid bad day. If you think so, tt’s a huge misconception.  However, clients may be discouraged by the threat of rain, but encourage them with the news that even cloud coverage actually makes for beautiful outdoor shots. There’s no squinting and nice even light.

On an overcast day, a local mural can actually make a perfect backdrop — just make sure your subjects wear muted tones (black, white, gray, beige) rather than colorful attire that might clash with the art.

Good Location – a quiet place

Crowded places, like cities or busy public parks, are among the worst locations for a portrait shoot. You’ll must save lots of times to wait for people to move out of frame. These will affect directly your product photograph. Let’s find a quiet where you can free-reign to move around and experiment with different poses and angles.

Choosing an effective portrait location takes time and thought. By doing so you’ll be able to tell a story with your pictures, and capture the essence of your subject’s personality, resulting in much more engaging, personal photos. We hope that you are satisfy with this lesson. If you have any questions or concerns, please do not hesitate to contact us and comment below this post.

Categories
Tips & Tricks

How to use product photograph on effective Ecommerce sites

Ecommerce is more and more popular and develop in modern social.And Ecommerce product photography is one of the aspects of web design that enhances the value and raise the effective sales. And for store online, the best way to attractive many customers is the quality of images. Everyone complety understand that beautiful and high – quality pictures is one of the important factors for the success of website.

In this post, we will show you how ecommerce sites can use images and improve the effective sales.

Choose suitable size

fotosolution-How-to-use-product photograph-on-effective-Ecommerce-sites-01


The size images is one of important factors what we need to attent. If pictures are too small, our customers is difficult to find the beauty of product. If pictures are too big, the interface of the page will be affected. Therefore it’s important to make sure your pictures have a proper size to achieve great quality, high resolution images. In this era of technological development, almost people are using mobile phones and tablets than desktops to surf the web and relish the attributes of online stores. These will help people save much time and can use and check web at everywhere. And simple that just a smartphone what can provide you with high resolution images instead of using expensive digital cameras.

Zoom functionality

You can adjust images as well as the suitable size by using zoom tool. Detail is important, and zoom tools allow shoppers to gain a better impression of how a product looks. And it means a lot to your customers and is the great way help your customers understand more and know many informations of product.

fotosolution-How-to-use-product photograph-on-effective-Ecommerce-sites-02


Alignement

Creating align your product photograph  what help you improve and develop your ecommerce site. You will need to decide on alignment standards for your apparel photographs. Having the same alignment and white margin on product images, creates visually consistent product category pages, and results in a better shopping experience.

Below are 3 kinds of alignement including: top alignement, center and bottom alignement.

Background

Background is one of important factors in an image and choosing suitable background is a deciding element to make beautiful photos. The background is of fundamental importance in the composition of the image emphasizing the subject, improving the photography, or if not adequate, it may cause irreparable damage to the image, making it chaotic.

Suggestion: You should use white background what will make your product photograph become more natural.

Colors

The color is another important feature during the online shopping experience. You should make sure your images show the correct color in order to show your customer exactly. Your product photograph will become more attractive if you add color into images. However, you need to use accordant colors to not fail product. Avoiding to using neons, reds, and pinks—are difficult to photograph correctly in camera and often need to be tweaked in Photoshop.

Choosing angles position

Choosing the camera angle is a important parts when you take the product photos with natural light. A photo can look much better just by approaching it in a different angle. Doing so can also help your customer understand the size of the item, and allow them to better visualize product details such as extra pockets, interior lining, special thread, etc. To cover a product well, shoot the front, back, diagonal, bottom, top, interior, and details of the product.

Shadow

fotosolution-How-to-use-product photograph-on-effective-Ecommerce-sites-03


Adding shadows to product images is one of the greatest examples what help you can do to achieve great results. When we add the shadow in product photograph, this will create a powerhouse effect. Shadows can obscure a beautiful product and make product photography look unprofessional. However, we should know the difference of shadows on a product and shadows cast by a product. There are numbers of different shadow types that you can use such as: drop shadow, cast shadow, natural shadow, reflection shadow. To understand more each types, you can refler: how to add shadow to your product photograph. Let’s choose these options to find the look most suitable to your product and site.

The number of images

Beautiful quality image can be decided the big success for sales but having a small thing what we always forget or miss, is the number image that you update your shopping online. If we just update one or two images of each product is simply but these are not enough to give customers an accurate feel for the cost-effectiveness and quality of your inventory. Therefore, it’s important to give customers as much information as possible about each product by uploading at least 3 images per product—and preferably 5-10. You should shoot photograph with many angles of your products as possible. The more images of your product that you upload, the more the customer will come to understand about the product.

Finally, there are essentials ways help you learn how use and optimize product photograph on Ecommerce sites. Our team can also help you optimize your image editing workflow such as: how to remove backgrounds, clip, crop, align, and retouch your product imagesand will save you a significant amount of time and money in the process. If you have the demand, let’s contact with us and give feedback for us.

Thank for watching!.

Categories
Tips & Tricks

How to Align Your Product Photos You Should Know

Beautiful image is one of the most importants factors to decide the success of store online. So, choosing suitable image and editting it require high accuracy. If product photography is wrong and  inaccurate alignment, these can be affected directly the result of  your product. Thus, one thing remains clear that consistency is key in product photography. By developing alignment guidelines and incorporating them into your apparel photography workflow, your images will become more attractive. Below are the basic steps how to align your product photograph  what help you improve and develop your ecommerce site.

Setting correctly alignment

Firstly, you will choice a alignment standards for your apparel photographs. After, you can attent some factors such as: aligment, cropping and proportition before update these images in your ecommerce site. Talking about how to align your product photograph, we can determine the size of image.

fotosolution-How-to-Align-Your Product-Photos-You-Should-Know-01


The size of image can determine through the specifications of your specific website that you will choice to sell your ecommerce products.  This may range but most commonly will start no lower than 1000px by 1000px at 72 dpi. Normally, your images will be larger than this straight out of your camera, which it should be. Let’s check with your ecommerce platform and determine the marketplaces where you will be selling your products before you start setting your image guidelines.

Secondly, to arrange all products  perfectly, you also know what is the product that will be featured on the e-commerce page?. All product have the different ways on setting alignment. For instance, if you want to have the appearence of your product on website is perfect, footwear and purses is two of typical examples, you can set up them aligned towards the bottom of the frame of your image, these making everything look lower in the image but when matched up on your website and consistently laid across your site, the appearence of your product will look more prominent and more useful. Apparel on the other hand may need specific attention to detail when aligning to make sure that your product images are accurately centered across but are aligned top to bottom as well.

Thirdly, you should choose position for your product such as: align at the top, the center or the bottom.

How to creat an aligment templateclick_create_new_alignment_template

It is important things for creating an infographic that you should choose to align exactly your images to ensure consistently these infographics on all images moving forward. Using your guides tool within Photoshop while setting up your image file is the best way that help you realize this way. You need to set spaced 2 inches from each side top to bottom and centered within the frame. the position the product within the frame what you created,  aligning the top or bottom of the product to the guidelines of the height. It is best to not put your product to fall outside of these infographic giving your product enough room to breathe and space for it to live.

Choosing photograph for your product

Now it’s time for you to photograph your product or products by utilizing the method you have chosen for your images. There are different methods of styling for your apparel product images. Photographing a garment on a mannequin or a model is the best way to demonstrate shape and fit, while also encouraging customers to visualize themselves wearing it. If you hire a model for store online, you will lost much money but using a mannequin, you can save much better.

After you complete image gallery on website, you will need to apply your alignment standards to your images during the post-production process to make your images web-ready. If you have any questions or concerns, please do not hesitate to contact us and comment below this post.

Thank for watching!.