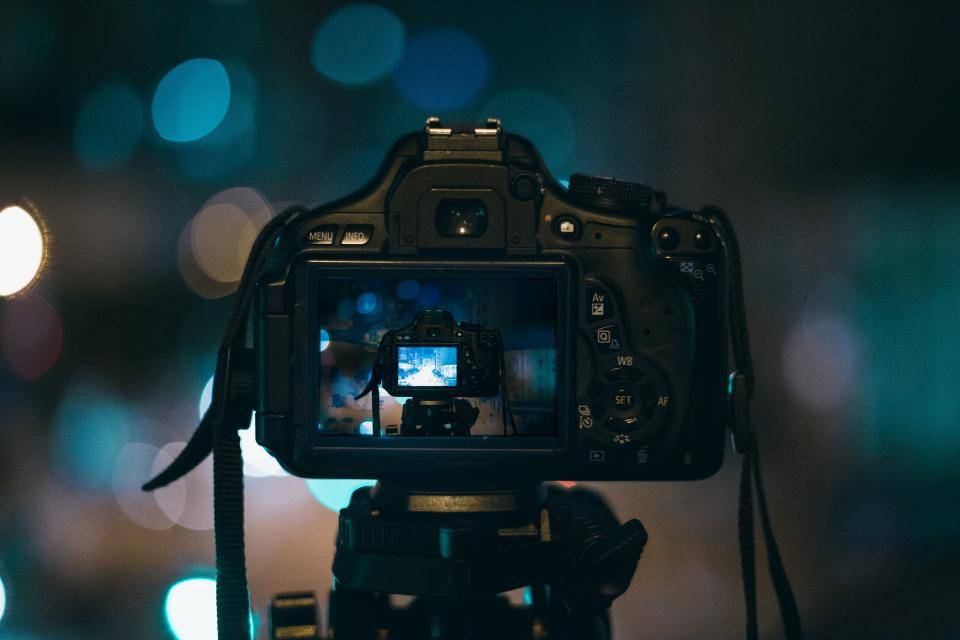
How to take camera setting for brilliant product images are hot subject that anybody are interested in. If there’s one thing that’s true when it comes to ecommerce, it’s that the perceived value of your products and the trustworthiness of your business is often judged by the quality of your web design. And a big part of having an attractive website these days also means having high-quality, beautiful product photography. Sure thing; using epic images to showcase your products can make the difference between your conversions and no sales at all. So, you want to take camera setting that perfect product photography—sharply focused and perfectly lit so as to attract the attention of customers? Below is some tips to make brilliant product images.
Let’s check them out…
Camera mode

Once you have your camera, tripod and product in place, you can start by selecting your camera mode. Most cameras offer a variety of settings but I usually stick to using three modes: Manual, Aperture priority and Automatic. As you can see, image taken with my manual mode looks much more pleasing to the eye. This is simply because you can be able to control all your image settings without worrying about the camera using the wrong automatic settings like aperture, flash, shutter speed etc.
ISO Settings
ISO Setting is one of the important factors to perfect product images. Now, let’s select our ISO setting based on the light in our studio. As a general rule, the better the light in the room, the lower your ISO value needs to be. By adjusting your ISO setting just right, you will be able to produce crisp and clean photos.
I would recommend first setting your ISO at 200 and using the viewfinder to evaluate its effect on the product image. If the image appears too dark, increase the ISO value to a setting that is more suitable. If your studio or space is too dark for shooting, raise the ISO value to a range between 600-1400.
ISO measures the sensitivity of the image sensor which takes your image. The lower the number the less sensitive your camera is to light and the finer the grain in your images. This means your image will have less grainy ‘noise’ or what I like to call speckles! Higher ISOs are generally needed in darker situations unless you are using a tripod.
Images Format
As we will be reviewing the manual mode in this post, let’s start by choosing our image format. If you have the option to choose your images as RAW, absolutely do so. You will have more flexibility afterwards in post production. If you do not have the RAW option, then we suggest that choose the largest image size & format that your camera will allow you to select, which in most cases will be a JPEG.
Aperture

When you choose aperture, you’ll be putting up your exposure settings. For a home studio, F16 is considered ideal as you’ll need to have the whole product in focus so as to shoot clearer photos for your customers
The rule of thumb recommends the use of Aperture settings of more than F11 to ensure nearly (if not the whole) product is in focus. In essence, the higher your aperture gets the better for your images. If for some reason your camera will not reach as high, the highest aperture your camera will allow is perfect or you can even try the auto settings!
Light meter
Finally, ensure your camera automatically focuses on your product images. This allows your digital camera’s light meter to detect the amount of light reaching the product. This will help the camera’s internal light meter defect how much light is falling on the product. We can then adjust our settings (aperture & shutter speed) according to the light meter reading on the camera. Since we know we want to have a higher aperture like F16, set it to that. By using the light meter in your camera, this will then help you adjust your shutter speed.
There are lots of techniques for shooting successful product photography, we hope that some useful tips help you take perfect camera setting for brilliant product images. If you love images and a peson who photographs products everyday, this tutorial has been specifically crafted for business owners on a budget, and it’s been designed to be simple while producing excellent high quality results with most product types.
Thanks for watching!
