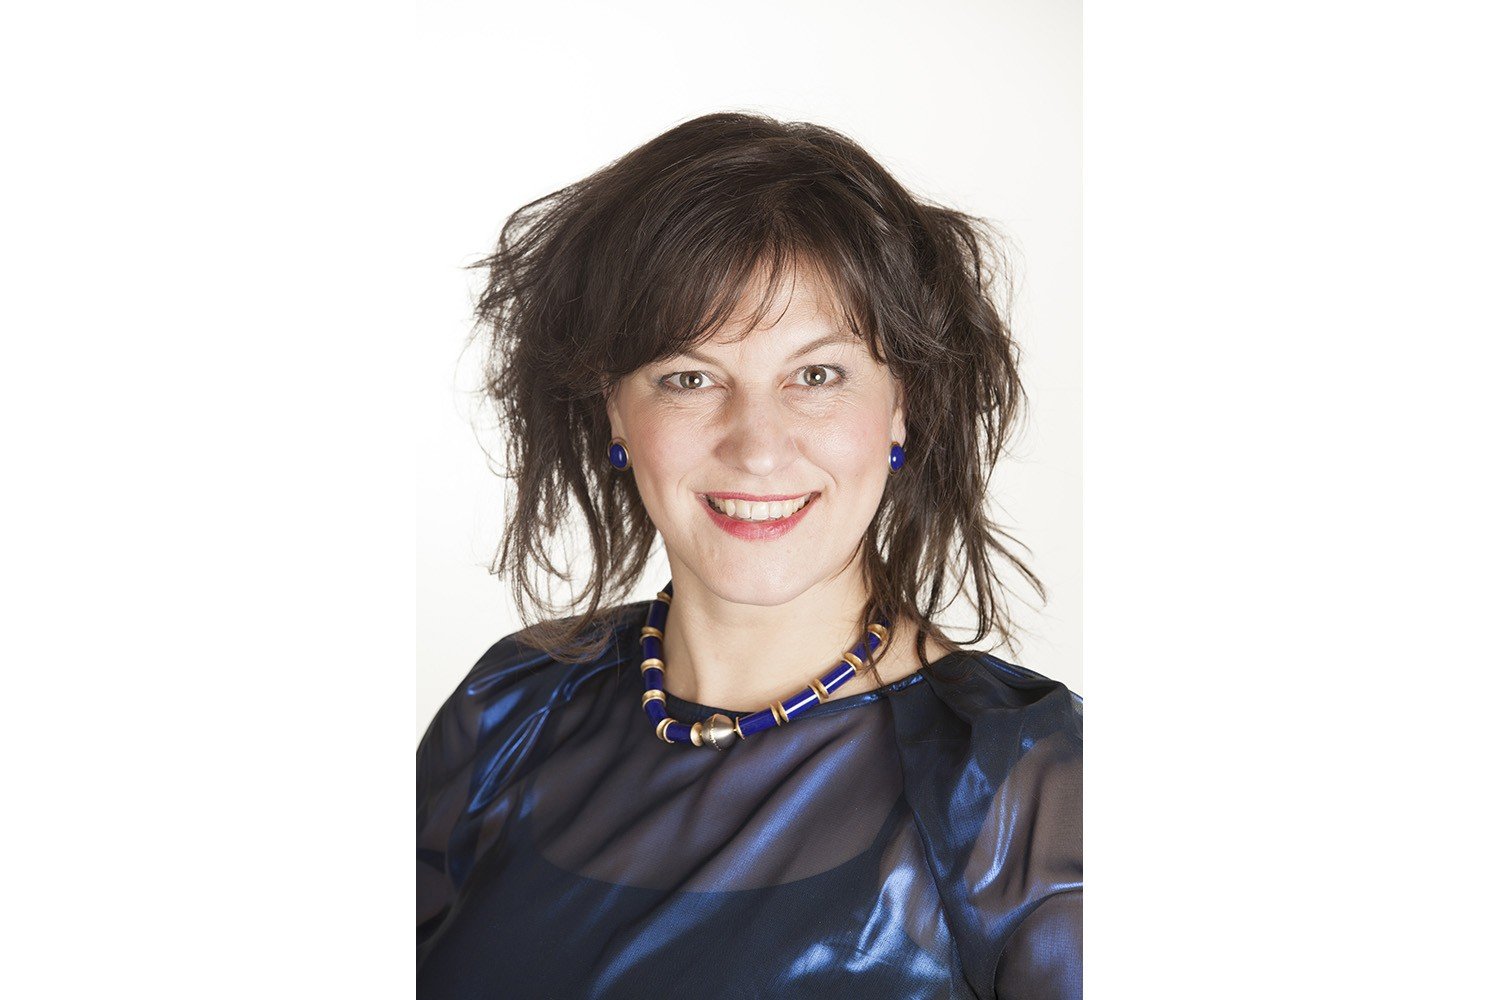
Beauty retouching is one of the most popular application areas in which Adobe Photoshop that contribute to make beautiful images. The basic problem with most of the Photoshop techniques we’ve experimented with over the years (burning & dodging individual pores, Surface Blur filter, Dust and Scratches filter, etc.) is they waste times but the effect of images is not good like they expected.
In this article we are going to show you a beauty retouching techniques we regularly use that results in beautiful, smooth skin that still looks totally real. Beauty-retouching is a quite deceptive art. This will help your image become more stunning but no less real photos.
Let’s challenge yourself with beauty retouching application now and below are How to make beauty retouching Photoshop tutorials attached video tutorials.
Beauty Retouch
Beauty Retouch from Lindsay Adler on Vimeo.
- Step 1: Choose one favourite photos that make beauty retouching. You should use a high – quality image and especially a close up face photography.
- Step 2: First, we can begin with the basic skin retouch by using Spot Healing and Patch tool. The first step is that click double Ctr+J and give the name for two new layer with name “ Blur” and “ Texture”.
- Step 3: Starting with “Blur” layer by choosing Filter-> Blur-> Gaussian blur and choose approriate number for Radius. Next, press “ Texture” layer and choose Filter->Other-> High Pass and click “ Ok”. Then pressing “ Normal” and click “ Liner Light” that is one of important elements for beautiful images. We’re now set to smooth tones in the skin and start removing blemishes.
- Step 4: Press “ Image” -> Apply Image, this box will be appeared including necessary information. Choosing Layer “Blur”, Blending “ Subtract”, Scare “ 2” and Offset “158”, then click “ Ok”.
- Step 5: Smoothing Skin for image by using Lasso Tool to delineate the points on the skin to edit. You can use Zoom tool to avoid omission of limited points.
- Step 6: Now is time for final skin color. Edit and improve the colors on your image as much as you can with curves and hue/saturation corrections tools.
This tutorial is all about beauty retouching and how to use adjustment layers, lighting, dodging and burning, and frequency separation to create stunning skin tones and textures for a true beauty photography retouch. We hope that this article will a great lesson for your Photoshop learning. Let’s post an image of your setup and a final image so everyone can see what you did. We would be really grateful if you upload and share your photos in comment below.
