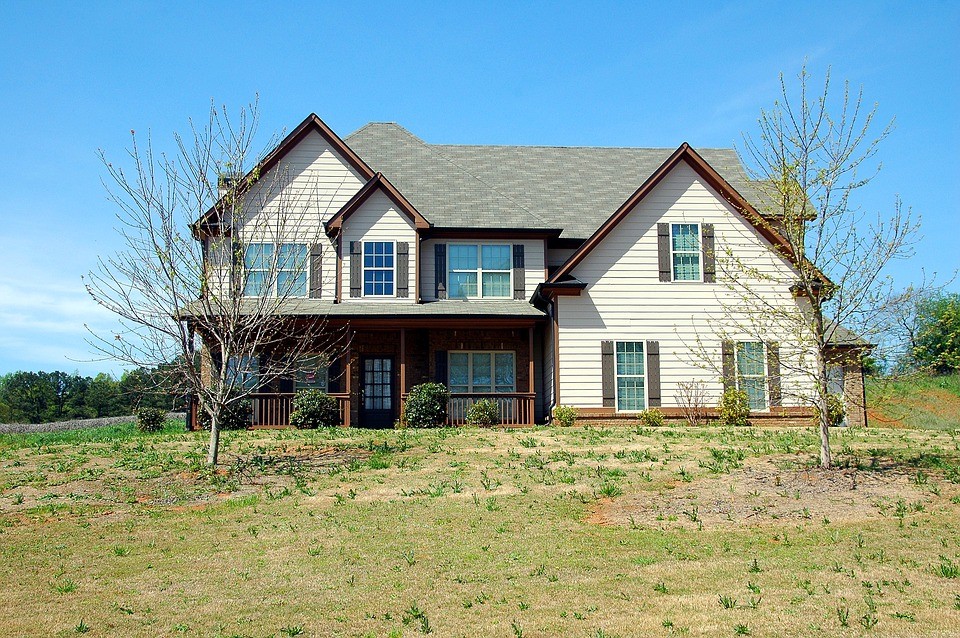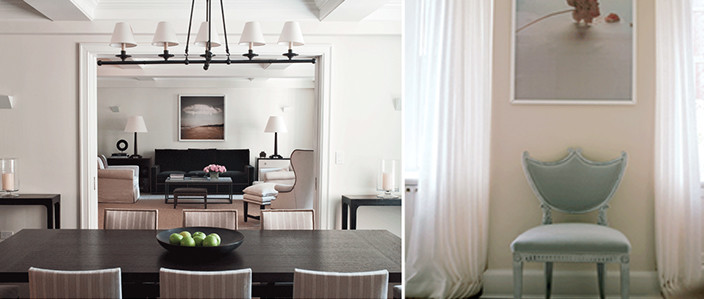
One of the most frequently asked question we receive is from photographers facing to over-exposed window with regards to interior photography. It’s considered as tricky skill or big challenge for photographer as mastering the large lighting differences between the darkest parts of the room and the view on the outside.
The most convenient solution to tack this issue without using expensive lighting equipment is to take multiple exposures. You can use the Automatic Exposure Bracketing function that is available on most DSLR cameras to capture the room interior with bright window.
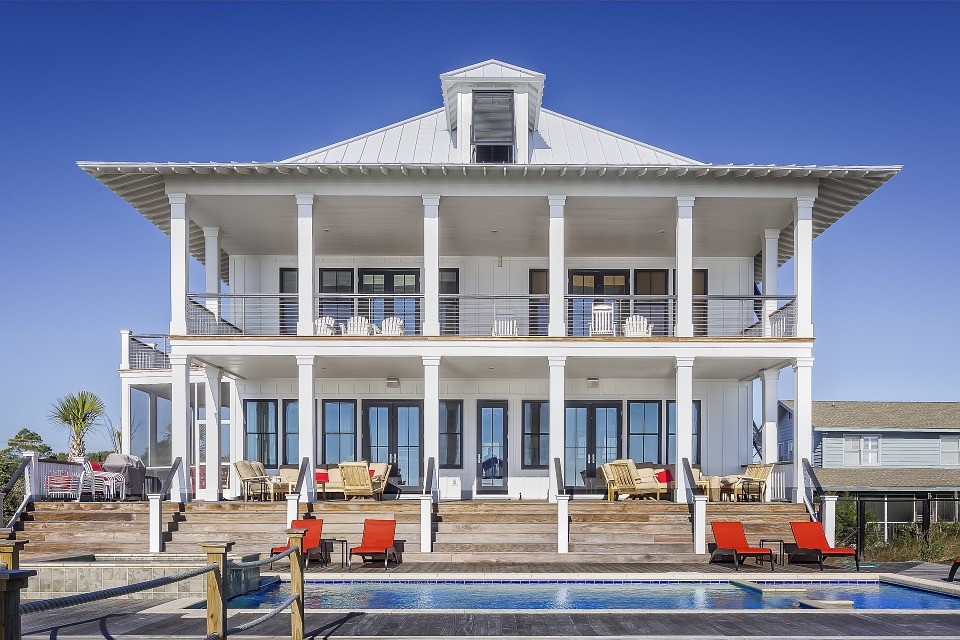
Here are 5 tips to own great real estate interior with bright window we wanna share. Now, let’s start by identifying this problem and find the best results.
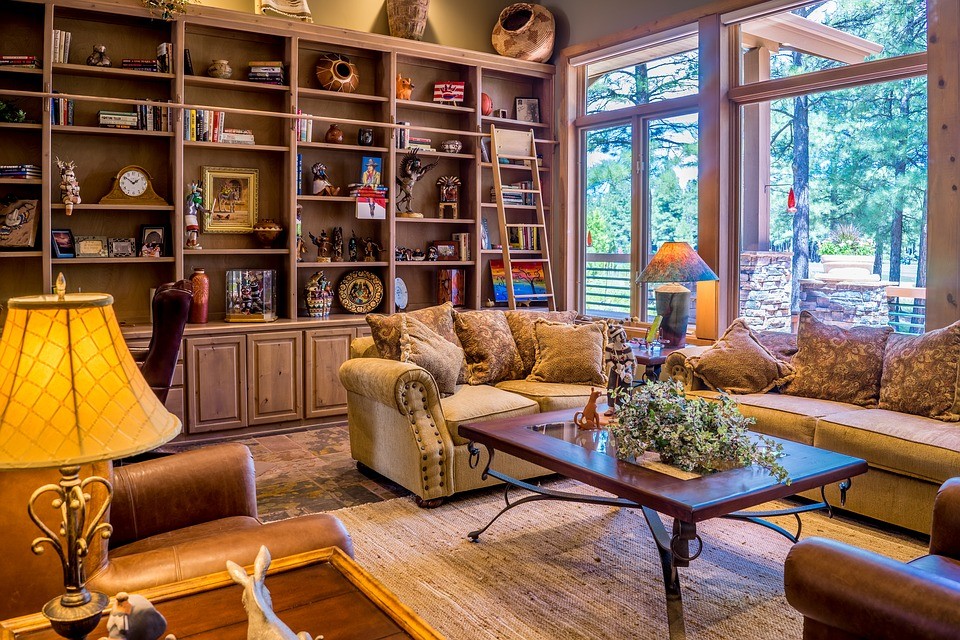
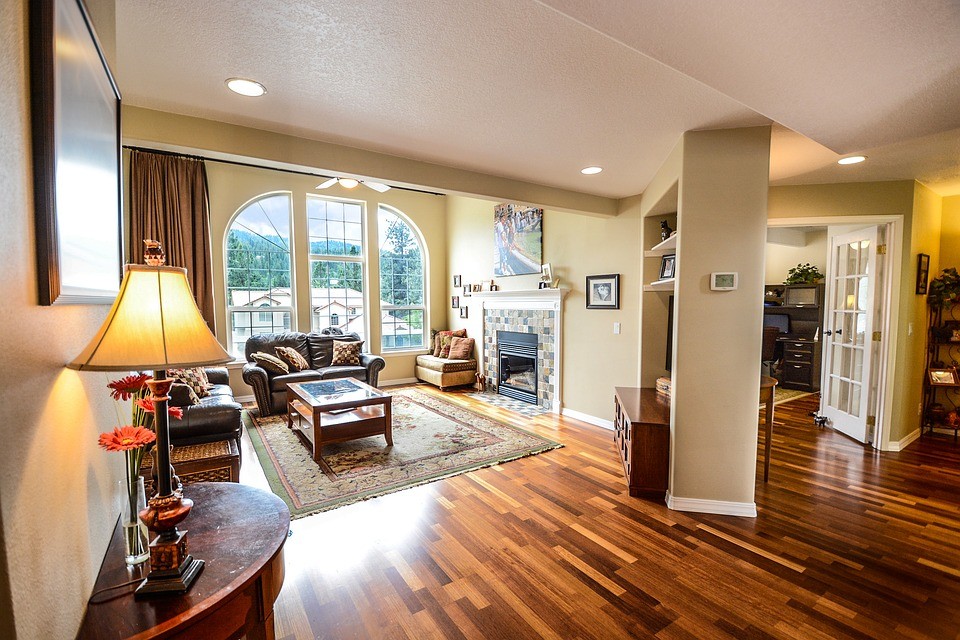
Turning on all lights on the room

As far as we know, the light level in outside and the room are very differents. This spread of brightest exposure are on the outside. During a sunny day, the light level outside can be over 30 times brighter, almost 5 stops than the room you’re in, the researchers results claims. So we need to increase the light within the room by turning on all lights on the room. This will make the room brighter and help it limit to the lighting differences in the scene.
Set the ISO to 400

Next, we need to establish a “base shot” with setting up approriate ISO. Our goal is to be able to see the view through the windows. One useful advices for photographer is that use ISO not higher than 400. This level will help you achieve the best result even when using the tripod to shoot.
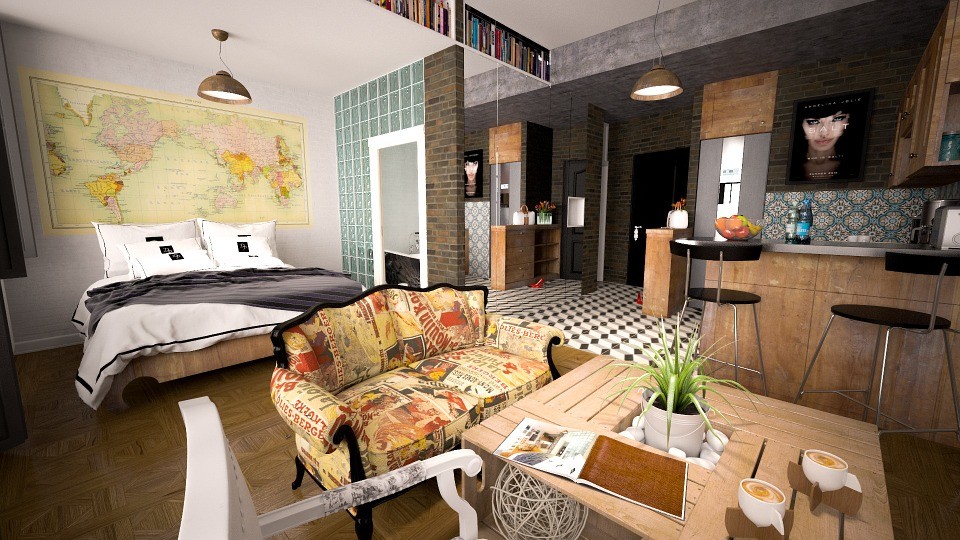
Putting up the interior to set up the shutter speed
We need to have many light in the room including using the lamps and natural lighting. For the natural lighting, the bright sunlight coming through the window will skew your camera’s auto exposure towards underexposure and the bright of lighting results so too.
To get the best lighting result, let’s point your camera at some position in the interior that is far away from the windows and any other source of lighting. Then, we will use and set up the shutter speed. Shutter speed only affect the ambient light in the scene. It cannot change the effect of your flash has on illuminating the room or any objects in that room. However, slowing down your shutter speed can help you raise the ambient light level of the room.
Keep in mind that you need to set your camera to Aperture priority before doing this.
Set the camera to manual mode

Manual mode is great choice in this circumstance, it will help you master the camera’s setting. Using manual mode allows you to choose the shutter speed for the normal exposure of your bracketed sequence and gurantee that the aperture and the ISO are kept the same in all bracketed shots.
Using the camera for bracket 5 frames at 2EV
Your bracketed exposures cover both the bright window views and the darkest parts of the interior are idea solution that help you achieve the good result. So, let’s use the camera that can auto bracket 5 frames at 2 EV.
If you’d prefer add this article to your favorite document sources sharing site and leave the link to them. Or let’s us know your thought in the comment below. We greatly appreciate your hearfelt opinion.