DSLR & Mirrorless are two famous cameras lines that are interested in and popular for photographer. The competition between DSLR or Mirroless has never ended because of the development of them. It is difficult to find and answer DSLR or Mirroless which is the best for users due to depending on many factors. But the first step we have to know and understand the basic knowledge about DSLR and Mirroless.
DSLR is a digital camera that uses mirrors to direct light from the lens to the viewfinder. When you press the shutter button, the mirror flips up, a shutter opens and the light falls onto the image sensor. A mirrorless camera is a digital cameras without using mirrorless, light passes through the lens. When you take the photos, you need to focus on LSC screen or put your eyes in the electronic viewfinder (EVF).
Today, nobody including famous specialistes and photographers can confirm that DSLR or Mirrorless which is the better or the best for users. Each camera line has the own advantages and the important thing we are interested in the quality of images. Here we will share some advantages and disadvantages of DSLR and Mirrorless.
Size and Weight

The easiest thing we can mention that the size of Mirrorless is smaller and lighter than DSLR because basic principles of Mirroless don’t use mirroless. So its body are slimmer. For DSLR, its body are comparatively larger, because it includes mirror and a prism. If you need to choice a camera for travel, for portrait shooting,.. mirrorless will a great companion for you.
Autofocus Speed
Autofocus speed is viewed as the most obvious differences of two camera lines. In term of technique angles, the autofocus speed of DSLR are better and faster than Mirrorless. Mirrorless cameras were restricted to a technology called contrast detection, which uses the image sensor to detect the highest contrast. That’s the reason why the contrast detection is slower than DSLR. But, Mirroless camera has some camera lines as: Sony A6000 or Niko V3 that have a big development step on autofocus speed.
However, when you shoot some images as: sport athletes, birds flying in the sky, the deer herd, herd of horses running in the woods .. using DSLR with tele lens and automatic autofocus speed will great and effective solution.
The quality of image
Generally, both types of camera can take high – quality pictures and similar resolution. If Canon’s 5D with resolution passed 50.6 MP , Sony’s A7 line of cameras use the even larger full-frame sensor type found in the best professional DSLRs. To summary, with equivalent sensors and image processors, we can confirm that both camera types can take great photos with high – quality color as well as resolution.
Video quality

Both types of camera are together owning the best modern camera with the effective 4D video quality. However, principles of DSLR are that use mirrorless and this is one of weak points. So, when photographer choice DSLR, they have to use the slower, less accurate, contrast-detection focus method. This leads to the familiar blur-blur look in the middle of a video when the camera capture for the right focus.
Mirrorless use hybrid autofocus mechanism (hybrid AF) that help them avoid the restriction like DSLR. With superior autofocus in most models, mirrorless cameras provide the best results for most filmmakers. In addition, the duration of Mirrorless video is better than DSLR’s duration because of the overheating of DSLR. This make the duration of DSLR dropped sharply, only from 15-20 minutes in while Mirrorless video are from 30-40 minutes.
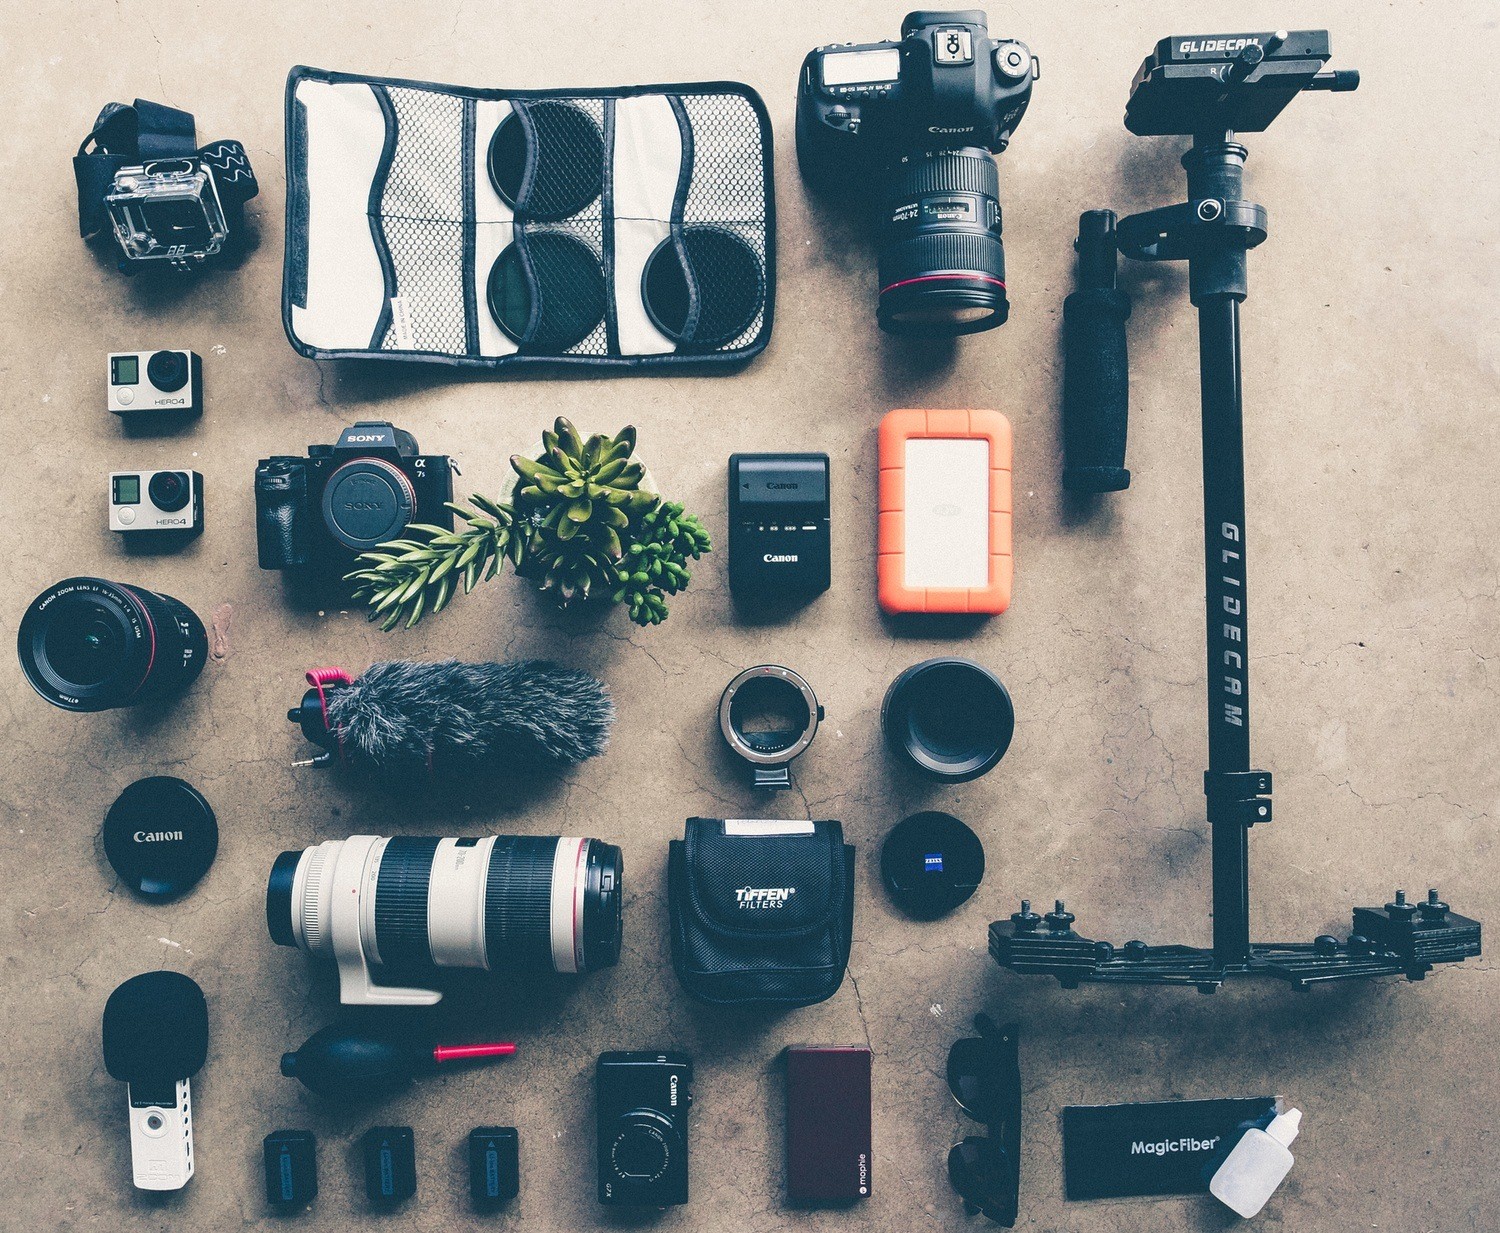
Lenses and Accessories
The early appearance and the development of DSLR help it own many various lenses comparison with Mirrorless. Choosing a DSLR gives you access to a plethora of lenses from a number of manufacturers, ranging from cheap and satisfactory to professional and wildly expensive. Mirrorless models are more restricted, offering access to a small number of lenses from the camera maker.

Recently, many manufactories like Zeiss, Samyang, Laica and voigtlander,…are published list of products to meet the needs for Mirrorless cameras. This is lighting point will help Mirrorless’s lenses have to catch up the development of DSLR.
In conclusion, depending on the purpose of users to help them find the best cameras that approriate with invidual preferences. If you are photographer who like shooting the flying birds, wildlife or are sport photographers, DSLR fullframe are great choice for you. And if you are person who love traveling, like to shooting portrait, landscapes,.. Mirrorless camera will are right for your project because of its convenience.
What do you think about this? Please share your thoughts below!.