Sometimes in post production you want change some things of an objects in your photos such as: lighting, remove white background, size or change the colors. When editing images, there will be a time that you will need to change the color of something in the image. Colors is one of important factors to decide the success and the prominent beauty of photos. Each people or customers have a different hobbies and how to choose colors. For example, someone wear a red skirt but other people really prefer it if they were wearing a yellow skirt, so it is so hard to find the best favorite colors for all customers. Whatever the reason, you will need know how to change the colors in Photoshop. Luckily, this process is not as difficult as it may seem!. Today, Fotosolution will help you learn how to change the colors in Photoshop and save your time as well as your budget.
Normally, when you want to present your product, you always prepare a big studio, series of your product and models.
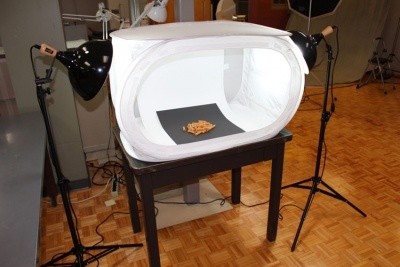
First, you will need to set up your studio for the photo shoot. Your setup can depend on the space and materials you have available. If you shoot product in indoor space, you can attend to use suitable spaces. This spaces need to have many lights, you should put your product in position where are many window or near to window. Besides, you can use light tents for small product photography. It is useful solution for the photo shoot.

You should not forget that set up the camera on the tripod exactly in line with where your product will be placed. Background is one of essential elements what help your product become more prominent. In generally, photographer choose white background for shooting.
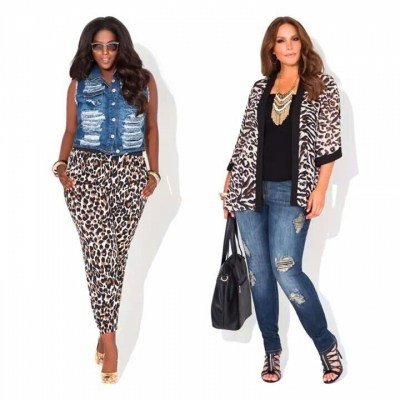
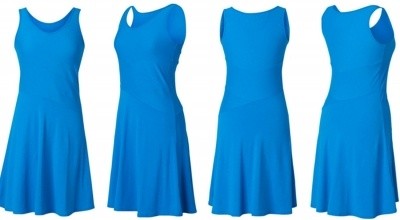
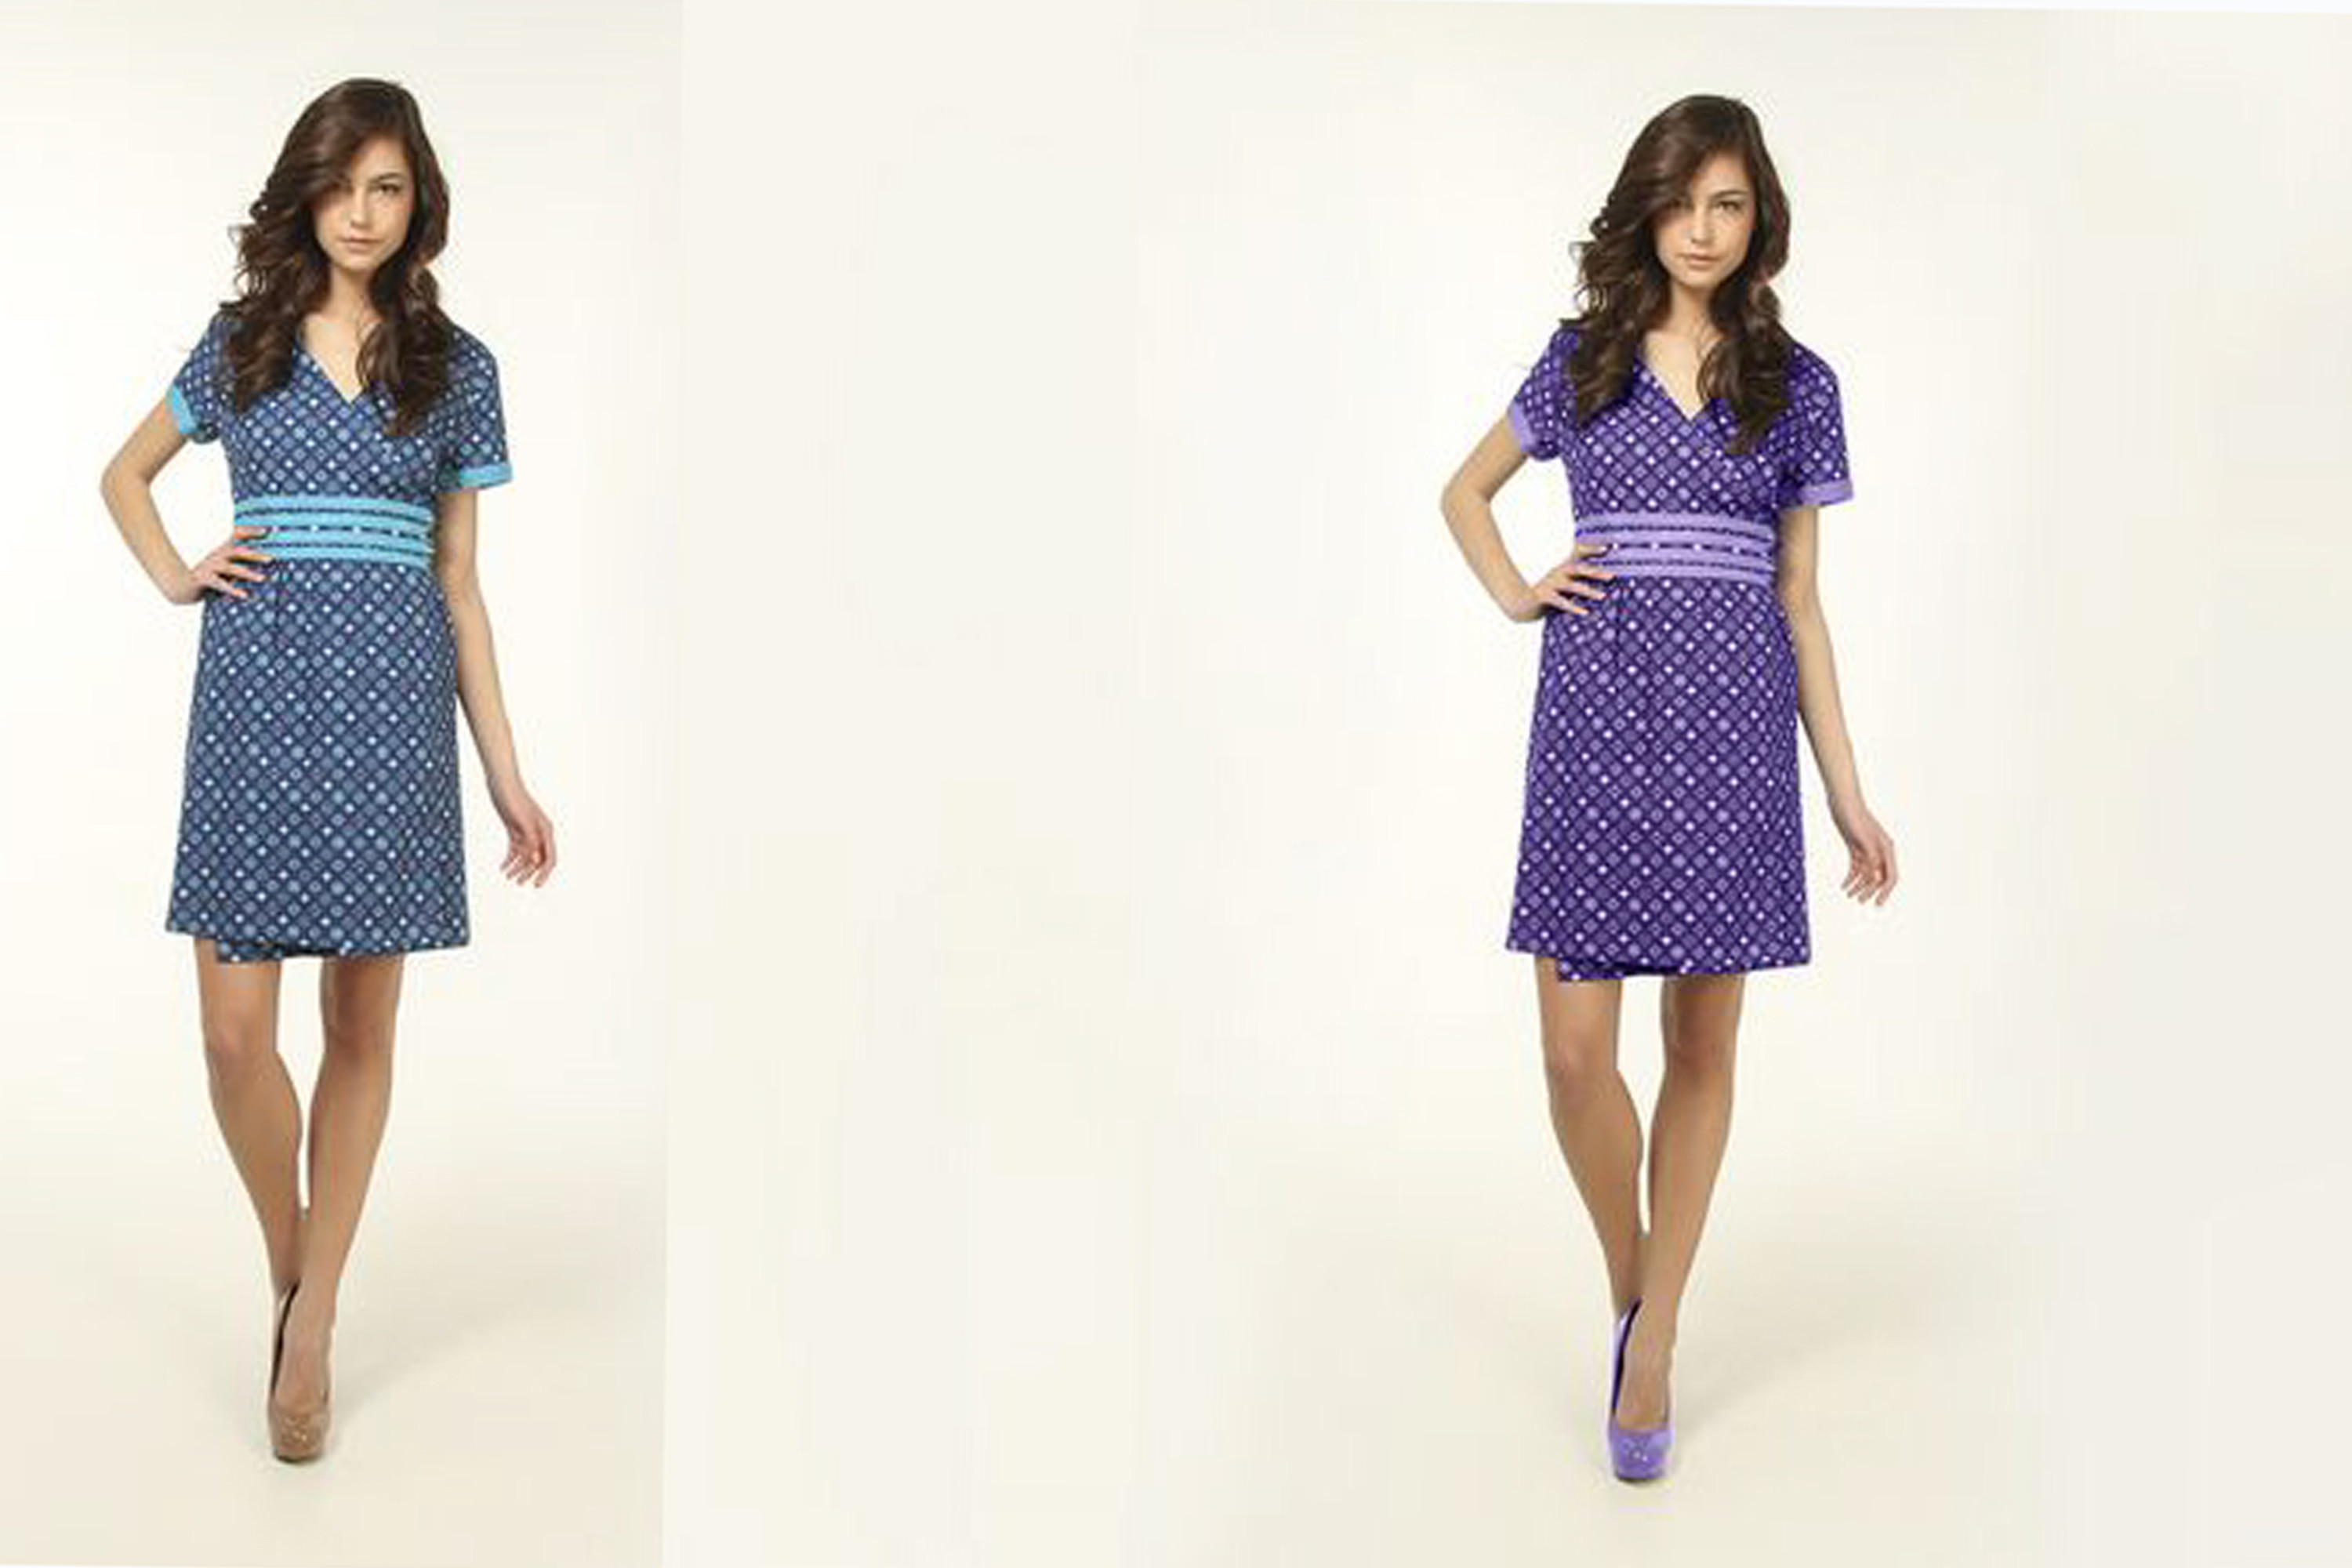
Second, if you use a model, it need to be big enough to cover at least the model’s top half. But models are very expensive and can distract from your product. If models are not in budget, you can use mannequin are an excellent alternative. But the problems here is change color dress, it waste many times for your shooting. For example, you want to present your new dress with five or six different colors such as: white, black, pink, yellow, red,…You do not know what colors attract customers to your website or how do colors affect your purchases?. You have to wait a model who wear your product with different colors to shoot. This will make you as well as your work lost many times. Using and change your product for mannequin also waste your valuable times. To solve this problems, Fotosolution teams will guide you and help you dispose your photos by changing colors dress through only representing models.

You can learn three simple ways to change the hues of an object in Photoshop. You should familiar with three basic tools such as: The Color Replacement Tool, Selective Color, and Replace Color. And today, Fotosolution teams will guide you learn about replace color.
The Replace color tool is one of useful tools to change the hues. To start your work by using Replace color tool, you can choose Image->Adjustment->Replace colors. The replace colors tools is helpful tools that help photographer get rid of hues such as: light and dark, dim and deep,.. and change colors. This tool must be applied as an adjustment and cannot be used as an adjustment layer, so, apply to it duplicate of the background layer.
After choosing replace colors tools, you will see this box pop up with many different choices. This tools is going to be used to tell Photoshop what color you want to replace in your image. Let’s click selection with” localized color cluster”, then click the add to Sample eyedropper and then click to select more of the color to change. Color board will appear before your eyes, you can choose right hues through product samples what are available. And then I clicked in the little icon of my image right on the dress. By setting that, it will only change the color you selected. Now, you just play around with the hue, saturation and lightness sliders until you reach your desired result.
There are many ways to change the colors dress like: The Color Replacement Tool, Selective Color, and Replace Color and this post today is that use replace color. Selecting the exact part of the image that you want to replace the color of will make the process much easier. If you have a difficult in use this way, we will continue to show two tools: the color replacement tool and selective color in the next topic. Hope that you as well as readers will support this useful lesson.
If you have any questions or concerns, please do not hesitate to contact us and comment below this post.
Thanks for reading!