Categories
Support Tips & Tricks

Top 5 Best Free Apps For Product Photography

Product photography is very important to convince customer’s choice before buying your product. There are many product photography tips to increase the effect of your services as well as your product. Keep in mind that you use not only digital cameras but also smartphones especially in advanced technology era. Today, with the help of growing technology, you can find several smartphones which have better lenses then many semi-professional cameras. In addition, using modern smartphones will help you save your budget in stead of buying expensive professional cameras. Capturing the demande of customer, today there are a lot of best free apps that can help you take photos, edit them via your phone. Below are top 5 best free apps for product photography.
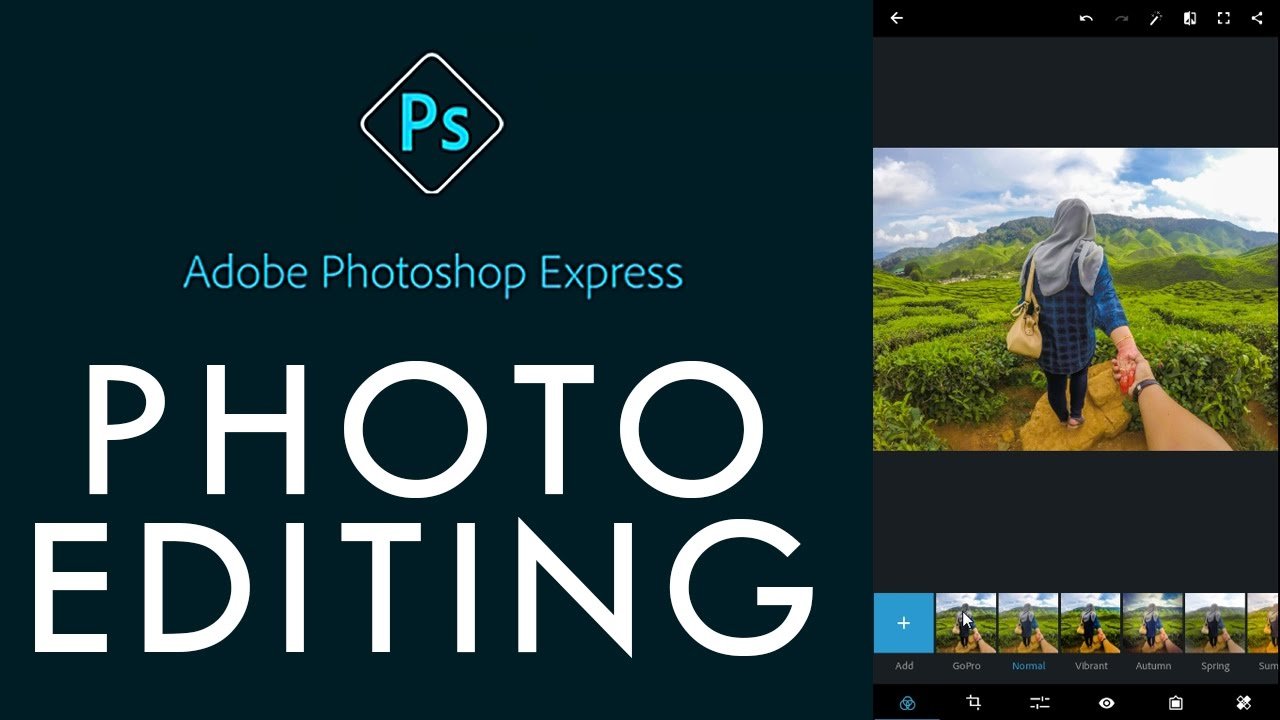
Photoshop Express

  • Available platforms: iOS, Android and Windows devices
  • Cost: Free

If you are interested in photography, most probably you are familiar with Adobe Photoshop. Photoshop Express will a great choice for your plan. This free app gives you robust photo editing tools right in the palm of your hand. You can import images from your phone or take photos right in the app. Especially, the interface of the app lets you to change the hue, brightness, exposure and contrast values.

fotosolution-Top-5-Best-Free-App-For-Product-Photography-01

Although the app is free to use, if you want use additional specific features, you can purchase more to use free. However, if you have an Adobe account, you can use all features without any additional cost by logging account. Photoshop Express have 20 “looks” which is same with filters. You can apply those filters to get better results

Aviary Photo Editor

fotosolution-Top-5-Best-Free-App-For-Product-Photography-04

  • Available platforms: iOS and Android devices
  • Cost: Free

Aviary is a good post-production photo editor. Aviary Photo Editor does not provide professional features as exposure and ISO adjustment tools like the other apps. However, the suite of filters is very nice and perfect. Aviary has various editing and image adjustment tools. The easy to use interface lets you to make adjustments on the images very quickly.

The filters of Aviary is totally free to use, however to use all nice filters you can invest your budget to have fully experiences.

VSCO Cam

  • fotosolution-Top-5-Best-Free-App-For-Product-Photography-03Available platforms: iOS and Android devices
  • Cost: Free

VSCO Cam is another free to use tool for iOS and Android devices. It has the usual editing tools like exposure, contrast, and color balance. Taking about VSCO Cam apps, we need to know take advantage of VSCO’s filters. With simple clicks you are able to enhance your photos. By that way, you will have product images with artistic look.

In addition, VSCO Grid is a publishing and curation platform that lets users share their images, is integrated into the app. You can also send your product images via email and share them on social networks.

PicMonkey

fotosolution-Top-5-Best-Free-App-For-Product-Photography-06

  • Available platforms: iOS and Android devices
  • Cost: Free

PicMonkey is another great online photo editor. One of the best features of PicMonkey is Collage. You can take various photos and arrange them together. Especially, if you have a lot of photos, you can collage them together as perhaps a banner image for your store or your email.

Fotor

fotosolution-Top-5-Best-Free-App-For-Product-Photography-05

  • Available platforms: iOS and Android devices
  • Cost: Free

Fotor is other professional free apps are mostly not user friendly. It offers editing and beauty retouching. It also has HDR image support so you can turn your product images into HDR ones. You can make photo cards within the app. Moreover, it owner special feature: High Dynamic Range feature. You can take three photos with different exposures to combine them into a single image, with the best light and tone from each of the separate photos.

Smartphone cameras are becoming an increasingly good choice for creating high-quality product photography. Also there are some brands providing you built-in photo editing software, there are better ones in the market. In this article, we provide 5 best free apps for product photography that help you improve the quality of image, Besides, you don’t need to pay anything for good looking product images.

Do you have a favorite tool for editing your photos? Share it as well as your thought below.

Categories
Support Tips & Tricks

How to Create a Ghost mannequin effect in Adobe Photoshop

High quality product photography is essential for apparel eCommerce. If you own store online and you try to think what do your customers do when they go to shopping online?. Hi-res product photography will perfect answer for your question. Shooting beautiful images for store online, you can use mannequin or model to showcase the unique shape and fit of each product. However, it isn’t always effective to actually show the model or mannequin. Today, we will show simple start-to-finish guide about how to create a ghost mannequin effect in Adobe Photoshop.

Mannequin or Model

Let’s start learning how to create a ghost mannequin. The first things you are interested in: choose ghost mannequin or model for shooting product photography.

If you use a model, it need to be big enough to cover at least the model’s top half. But models are very expensive and can distract from your product. If models are not in budget, you can use mannequin are an excellent alternative. But the problems here is change color dress, it waste many times for your shooting. For example, you want to present your new dress with five or six different colors such as: white, black, pink, yellow, red,… You do not know what colors attract customers to your website or how do colors affect your purchases?. You have to wait a model who wear your product with different colors to shoot. This will make you as well as your work lost many times. Using and change your product for mannequin also waste your valuable times.
If you choose mannequin to take a photos, depending on your needs, you may choose to purchase a mannequin with or without arms, hands, or legs. To summary, let’s make sure that your product fits your mannequin or model by using the right size or tailoring the garment to fit correctly.

Set up your studio

Let’s choose white background for product photography. It will turn into your product become more specific in pictures. Especially, the white will reflect light back onto your image and keep your camera’s white balance calibration accurate.

fotosolution-ghost-mannequin-02
Using a tripop to position your camera is one of the neccessary elements to decide the sharpness of the image. Ideally, you want the camera positioned so the entire frame is filled by the white backdrop and the product.
You also need to interest in lighting. If you choose the natural light, you may be read: How to Use Natural Lighting for Best Product Photograph. We should mention our main character: mannequin. When you wear clothes for mannequin, you should check for creases, smudges and stains of product. Moreover, let’s try to have an extra pair of hands when dressing the mannequin. This will help you adjust the arms and clothes while holding it up can be challenging.

Take your photos

One of the biggest mistakes in product photography is displaying very few angles of the product on the listing. Let’s try to shooting your product in many different angles. These will help your customers feel confident. It has a holistic and intergrated view of your product.
So, you also need to shoot mannequin with your product in many different angles. Firstly, let’s take a picture of the front of the garment, with the front of the mannequin facing the camera. Take off the garment, turn your mannequin around so that the back of it is facing the camera. Then dress the mannequin again, but this time the garment needs to be inside out. The reason you’re doing this is so you can get a clear view of the behind the neck or waist.

Next, it is more complex, so require that you need to have high-precision shooting. Say that take a photo of the back of the mannequin with the product the right way around, and the front of the mannequin with the product inside out. These will help your customers have object view about your product.
After taking your product photos, let’s check it out and edit to create a ghost mannequin effect before releasing product on website. Keep in mind that avoid any small error on the final product because of existing small weakness.
Below are the tutorial video for step-by-step guide to the process. Don’t forget that this effect on your product images will not only make your products look more attractive and perfect. It will also bring the look of your online store to a highly professional level as well as boost your sales.
If you have any questions or concerns, please do not hesitate to contact us today for a free consultation.