Categories
Support

Color Correction in Real Estate Photo Editing


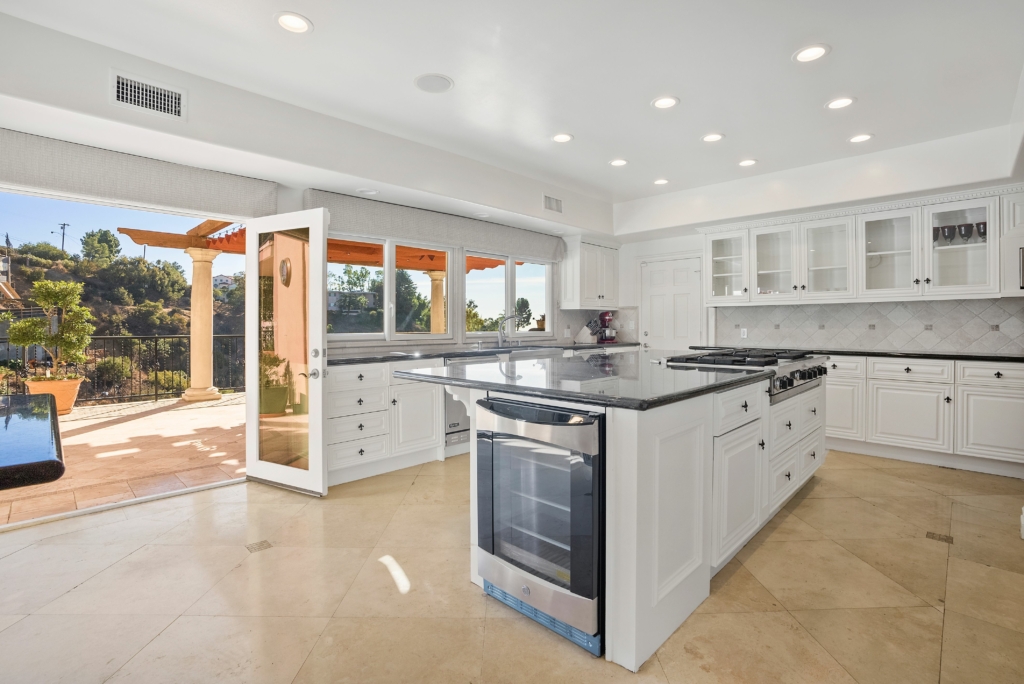
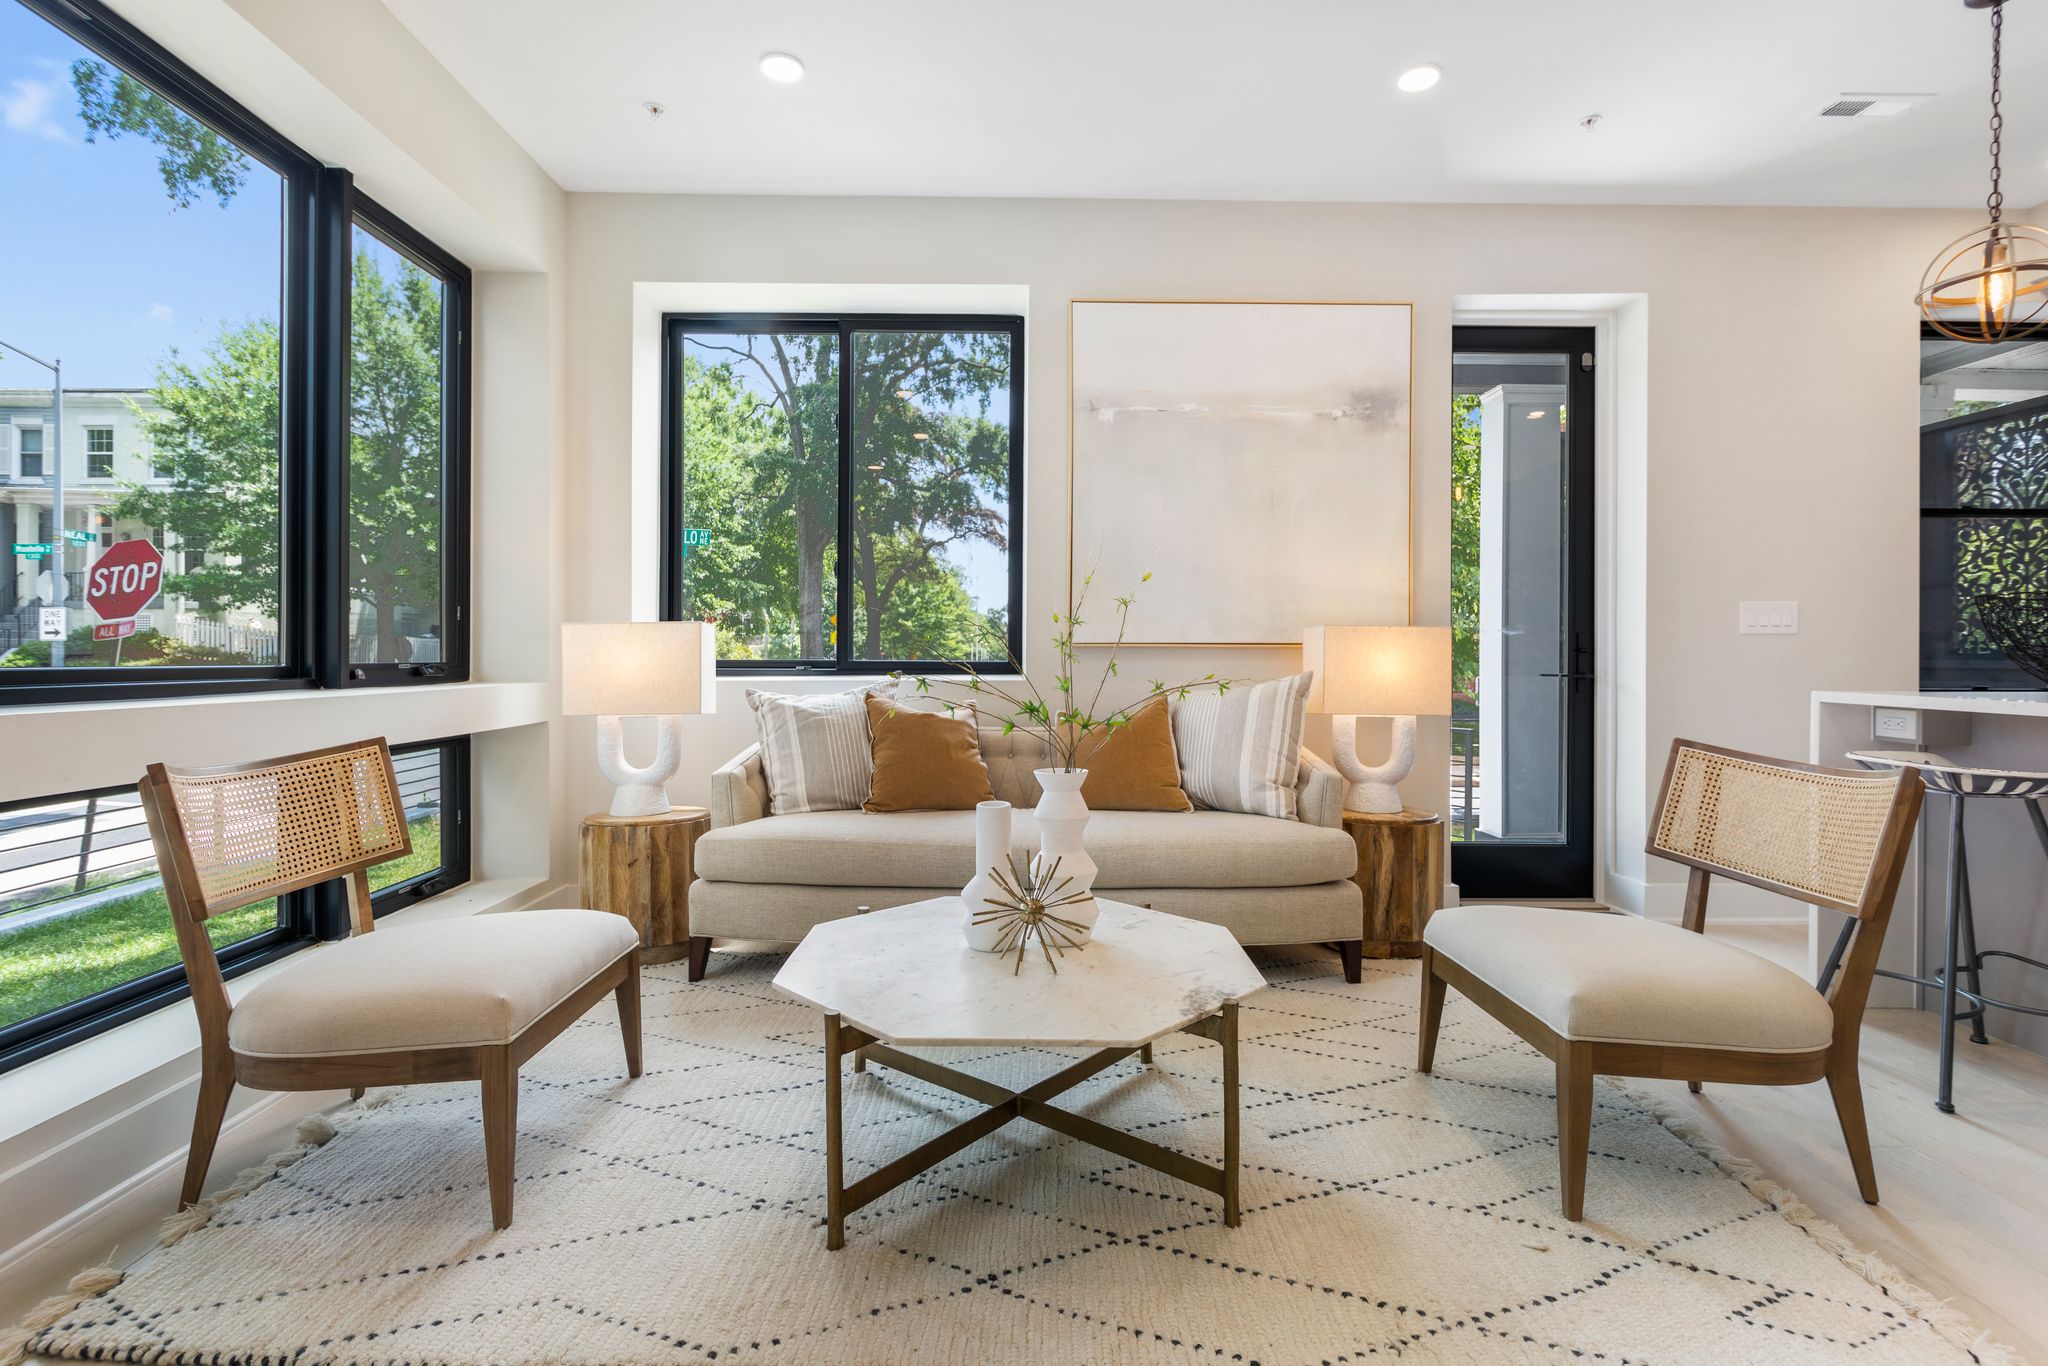
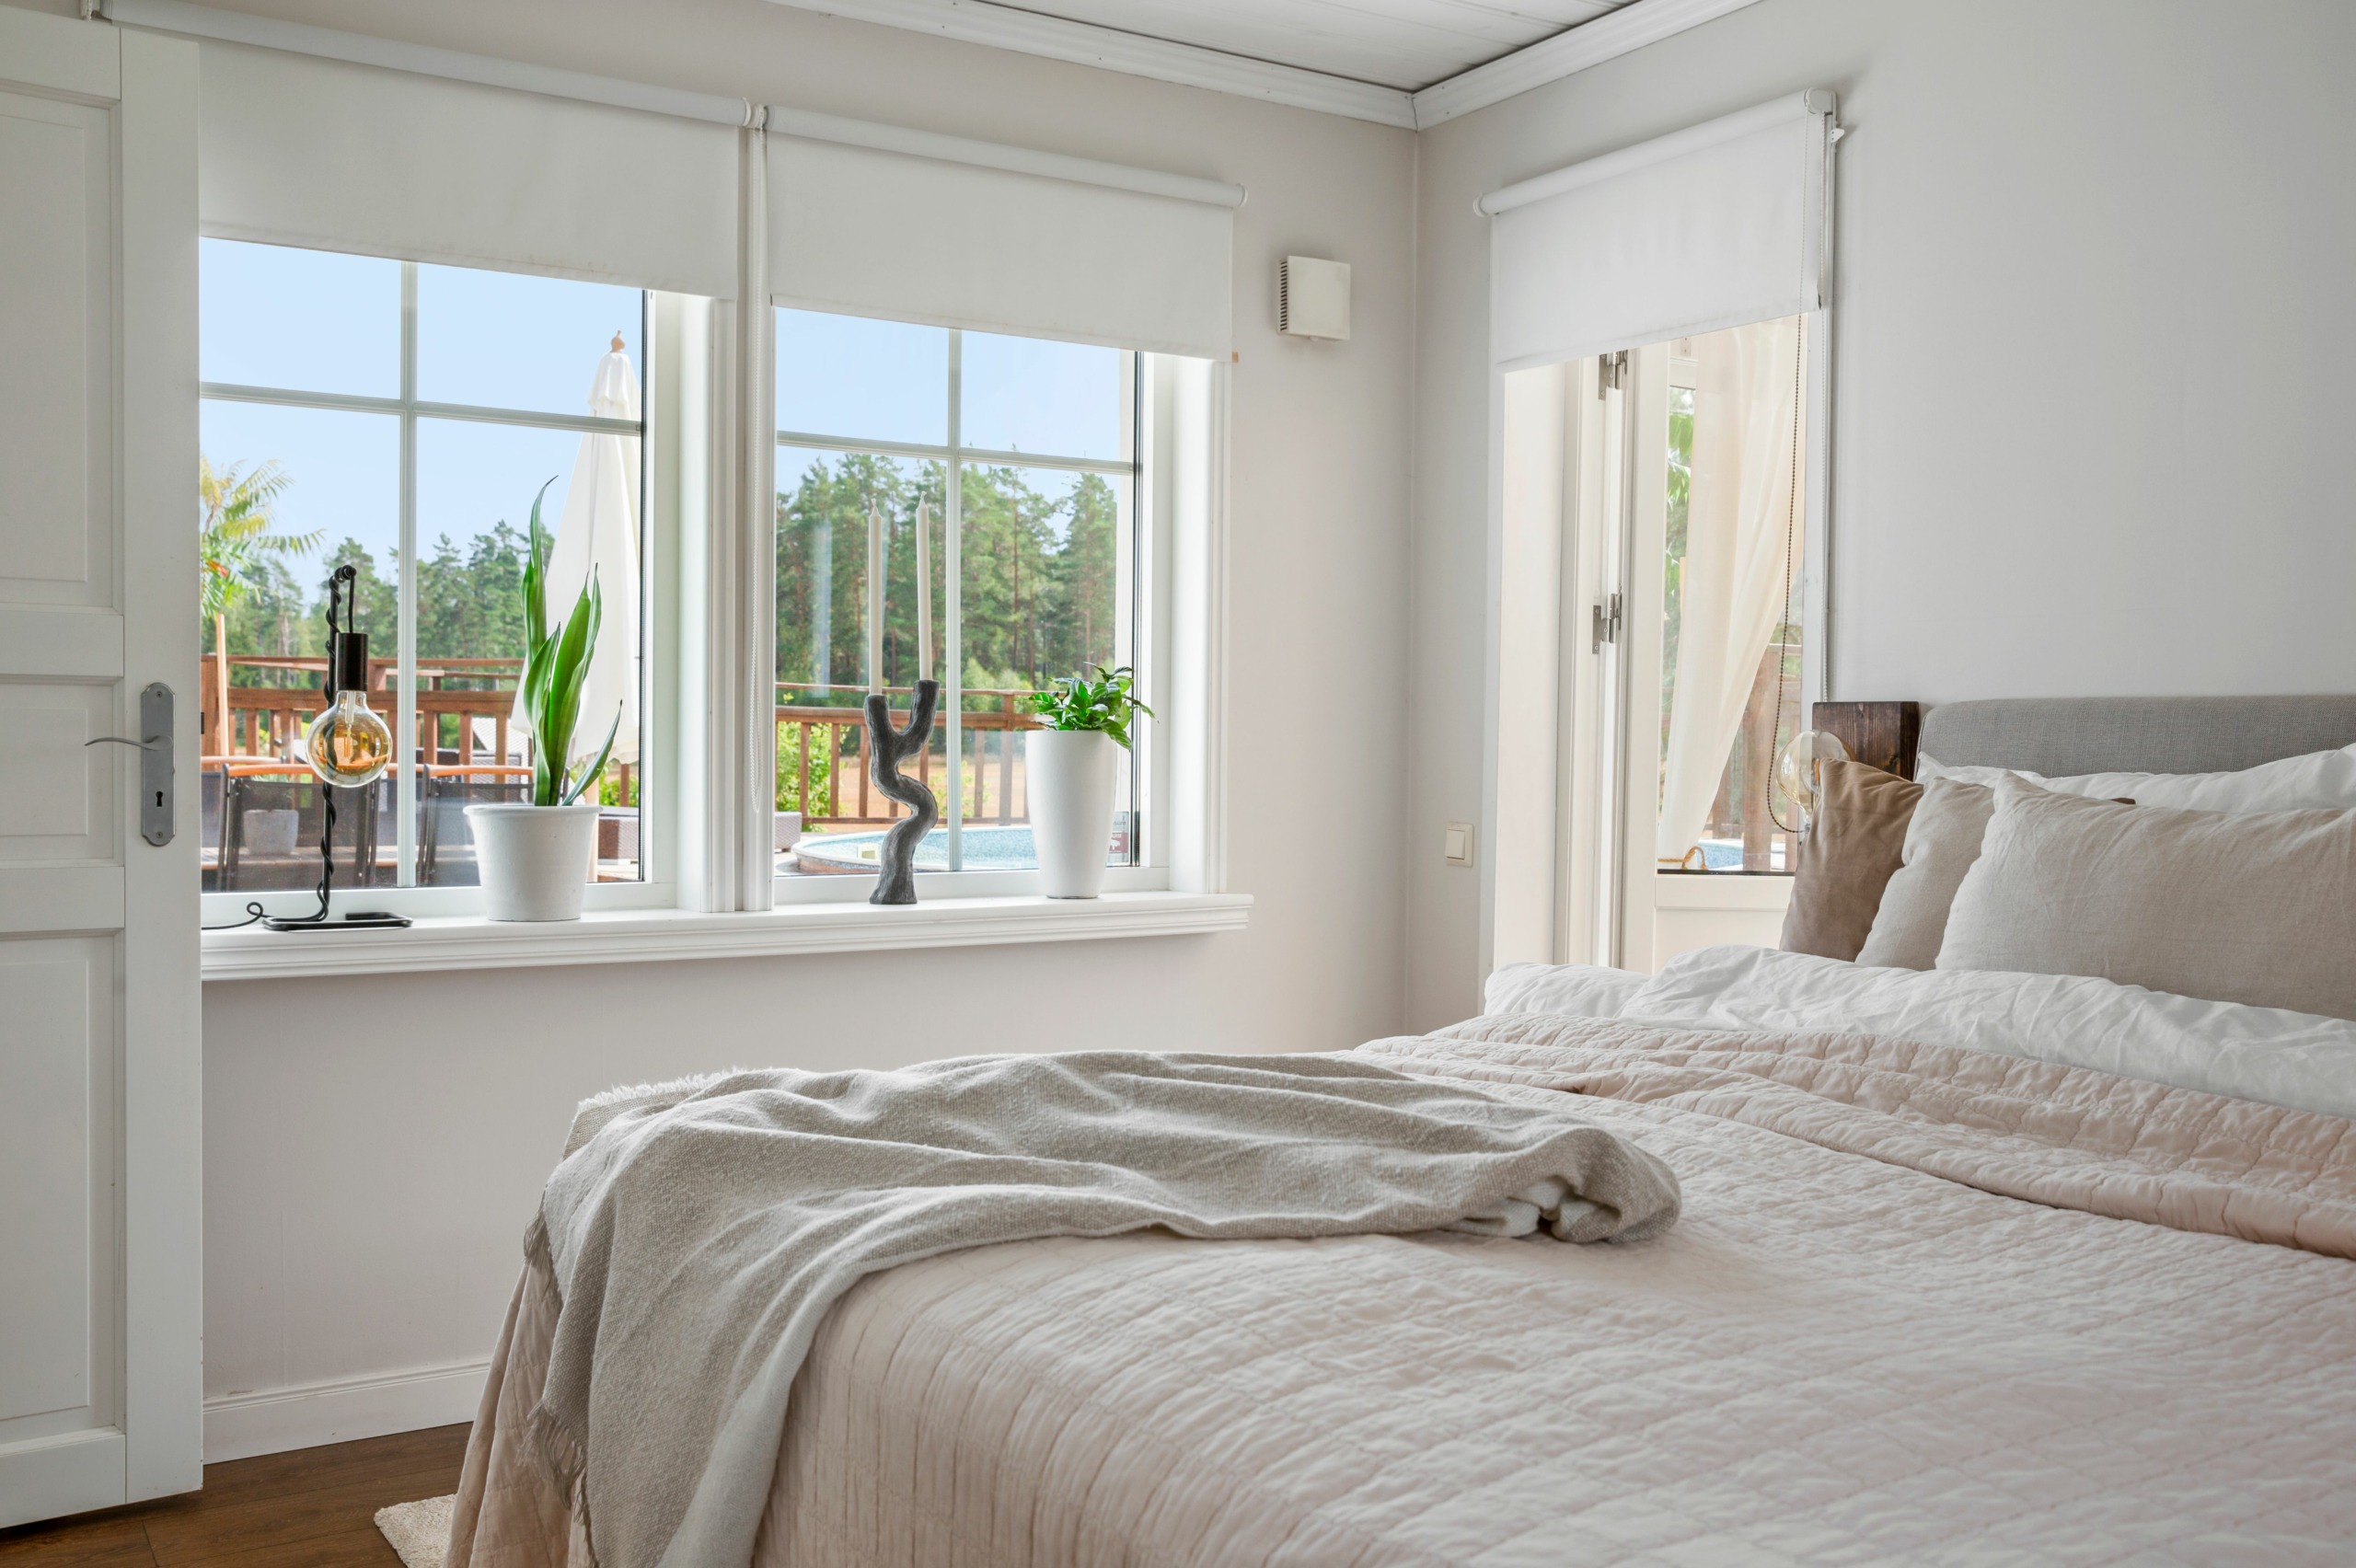
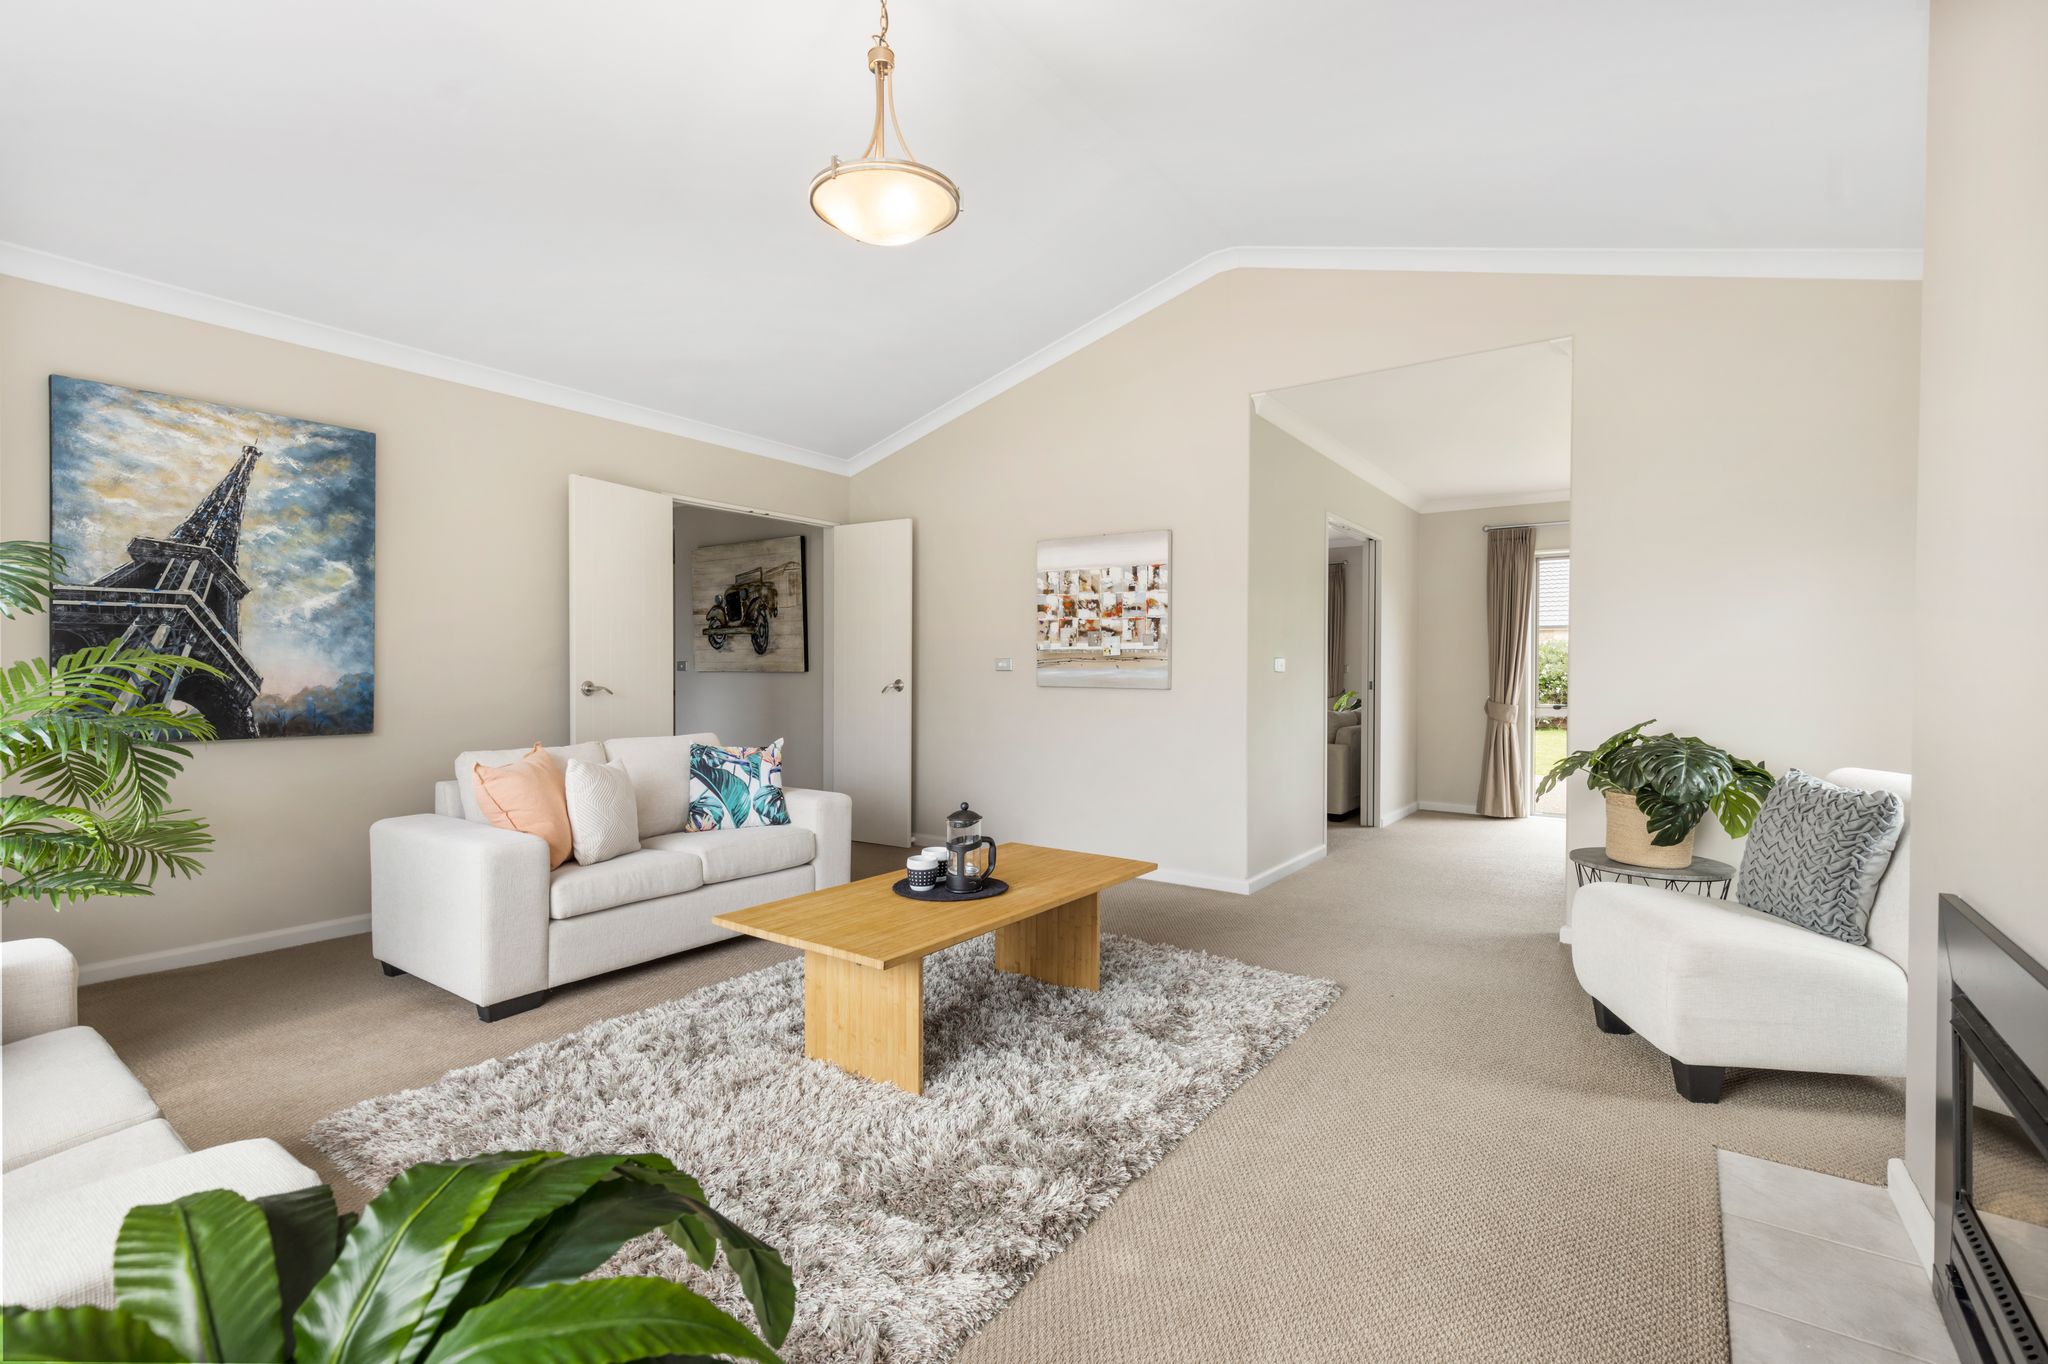
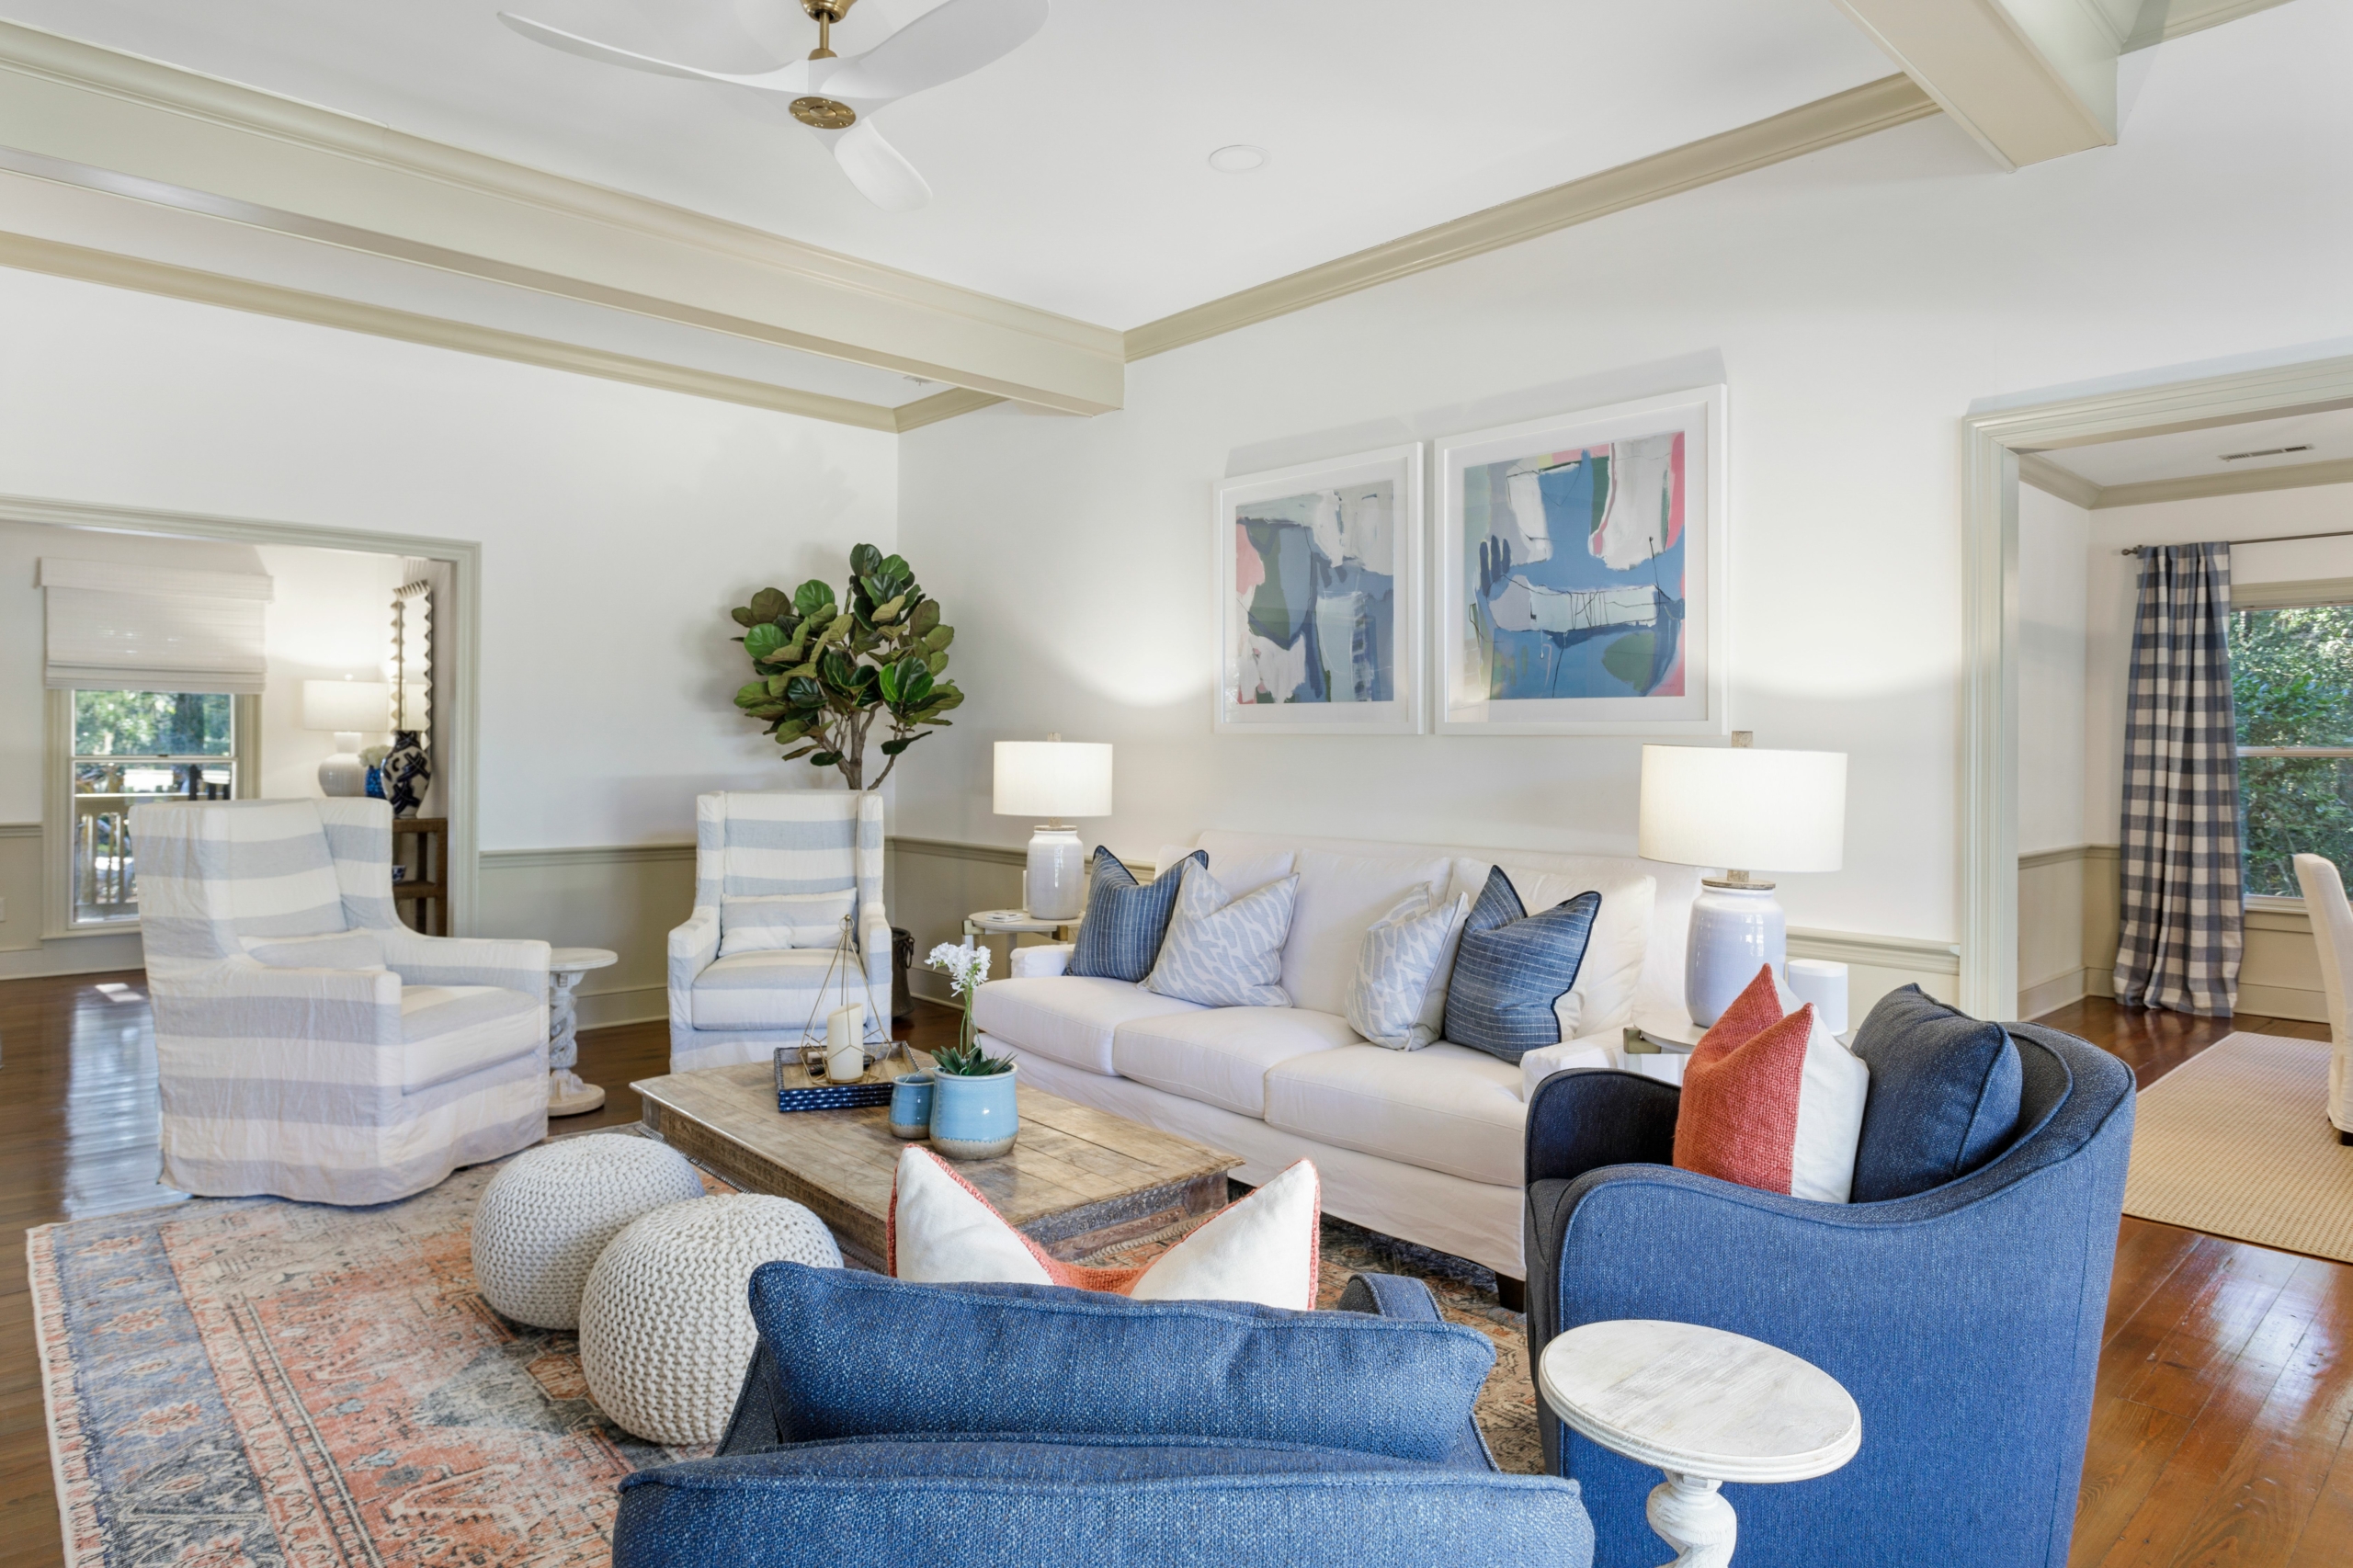
Real estate photo editing is necessary and higher in demand these days. Because they are so noticeable, color correction in your real estate photographs is necessary. Color correction in Photoshop impacts the look and feel of the photos and makes them more appealing to the viewer’s eyes. Photos taken directly from a digital camera are not always perfect. When you use Photoshop more frequently, you can discover some recurring problems with photographs that need to be fixed. For instance, some pictures might be too light while others might be too dark. Here comes the role of real estate image editing, especially the use of color correction to make your photos look amazing.
https://admin.fotosolution.com/color-correction-in-Photoshop
Color Correction in Real Estate Photo Editing

Let’s go through a few crucial real estate image editing techniques, like color correction. The post-processing process depends on it. It is important to use the strategy while maintaining the buyer’s interest. Making the images give victor a feeling of actually visiting the site and help him make his buying decision. Color correction should be done before any further editing on real estate photos. For the image to be beautiful and realistic, it needs a strong foundation. Pictures should be captivating to viewers visually.

  • Every color has its own meaning.
  • Sales are correlated and are impacted
  • Has the ability to enhance visual awareness of life
  • Achieve realistic visibility

Color Correction in Photoshop

This most important photo-editing method has the power to make or break your image. Any photograph can profit from this difference, even if a pro takes it. You can make the necessary adjustments if your image needs to feel darker. Similarly, if you want to add more color to your photos. Make them brighter and more saturated. This method aids in bringing the image up close to the property.

What are the special methods used to make this technique successful?

This correction approach will have several methods depending on the program utilized, including illumination and lighting in addition to color correction.

  1. Exposure is the amount of lighting that enters the camera during the photo shoot. It might vary from area to area. Photo editing helps in balancing this by combining layers through the stitching process.
  2. Lights generate unwanted darkness and shadows. These shadows can be eliminated with the use of mid-tone changes. Midtones are the grey zones, and altering these regions enhances the aesthetic of the image.
  3. Color and brightness impact the way light is reflected on them. The neutrality and color balancing is controlled by the white balance.
https://admin.fotosolution.com/?p=27625&preview=true
Color Correction in Photoshop

Criteria to find the best Photo Editing Services

  • Please find out the rates at which they provide their services
  • Know more about the company
  • Understand their project capacity
  • Quality should be kept at the forefront of the decision

Finally, outsource your requirements to Fotosolution, we will be more than happy to assist you with the correction process. We have a team of expert professionals highly skilled in using advanced tools and enhancing the appeal of the photos

Fotosolution team – is the best photo editing company – hope to bring more value to your production. Finally, if you need any further information, please do not hesitate to contact us. We are looking forward to hearing from you soon.
Categories
Tips & Tricks

ADVANTAGE OF COLOR CORRECTION IN REAL ESTATE PHOTO EDITING SERVICES


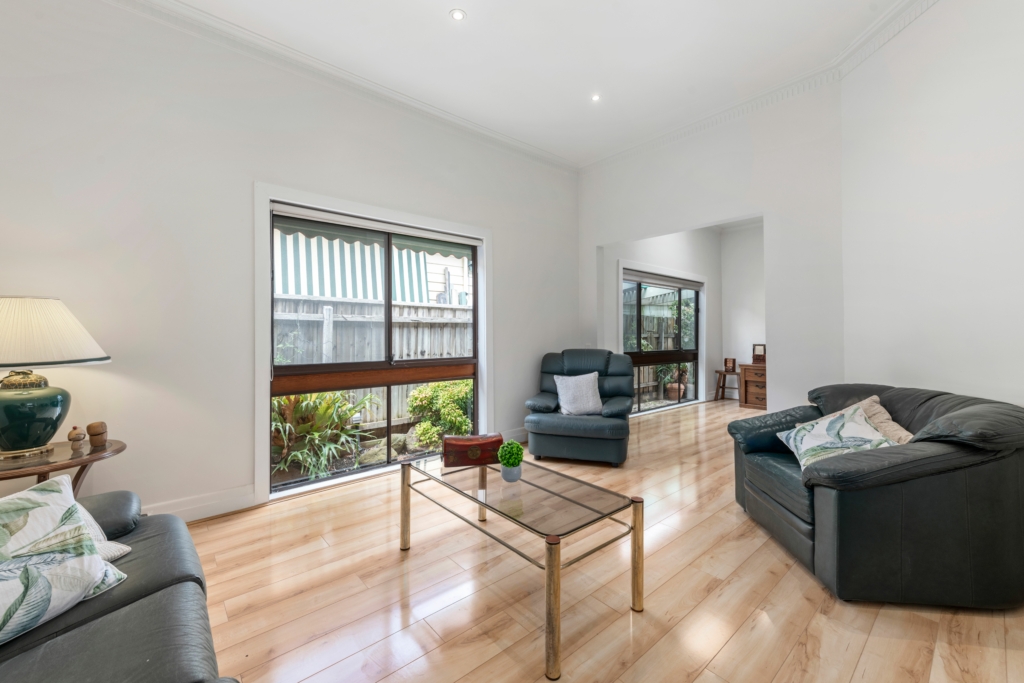
Behind the most beautiful images that we can see in real estate magazines and website, it’s the best effort of real estate photographer as the help of real estate photo editing services. Because in fact, the original photo a real estate photographer captures is nothing like the spectacular real estate photos after editing. Using real estate photo editing services will help photographers transform and convert dull or dark images into eye-catching and bright ones. One of the most important aspects of real estate photography and editing is getting the colors right as it presents a property will have an authentic appearance. And in this article, we will refers to the advantage of color correction in real estate photo editing services.

[twentytwenty]

color correction, fotosolution real estate editing services

[/twentytwenty]

Talking about the color correction subject, there are many types related to this subject, so first, we will find out types of real estate photo editing services.

Types Of Real Estate Photo Editing Services

Color Correction

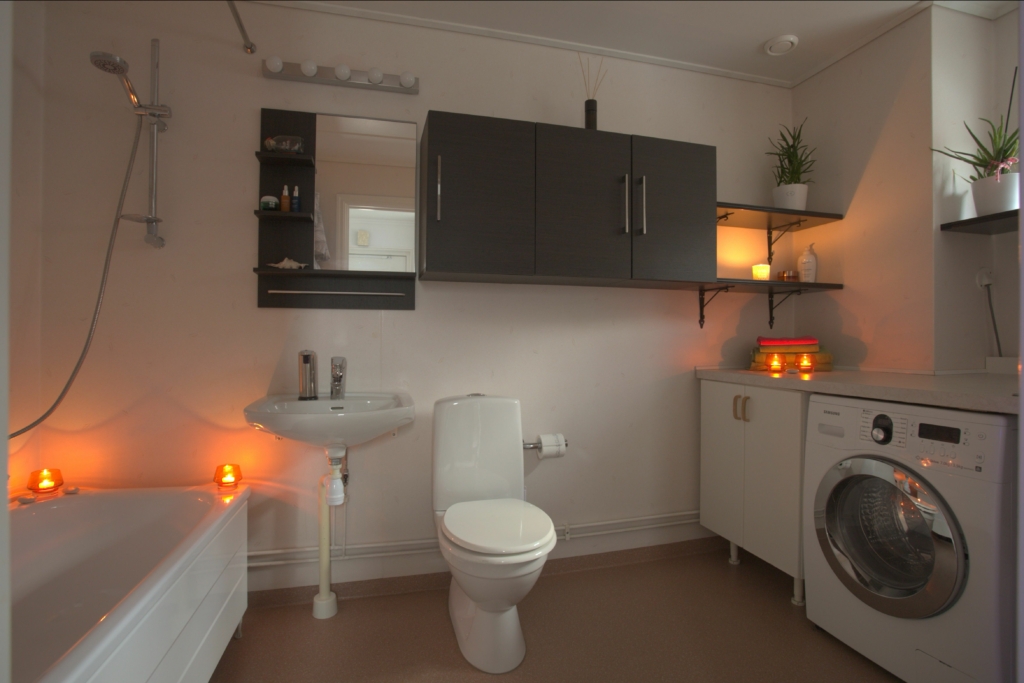
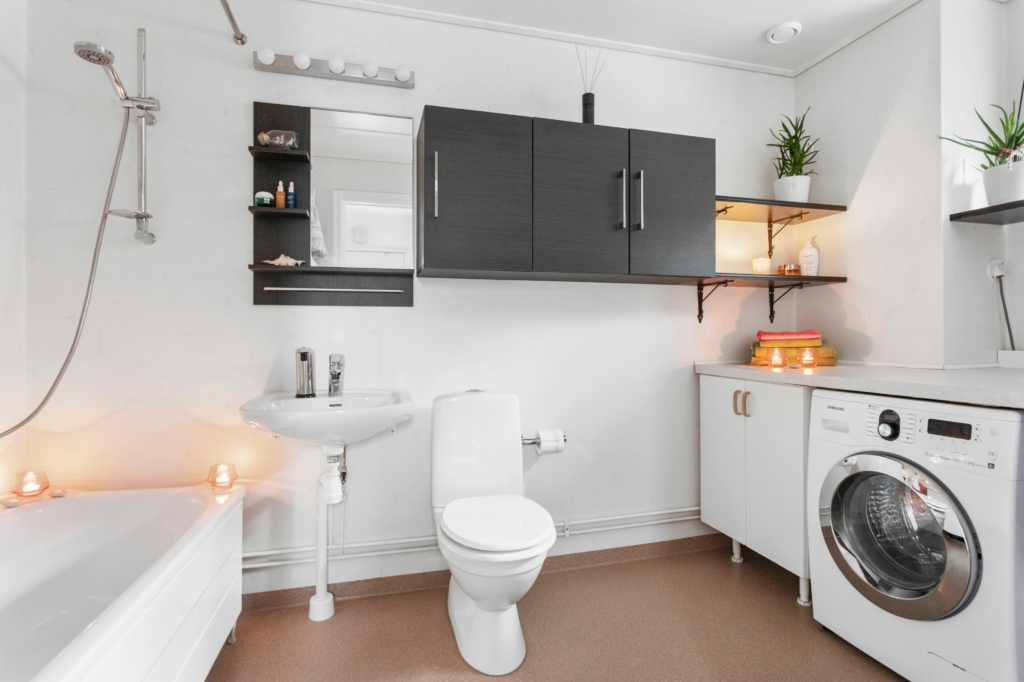
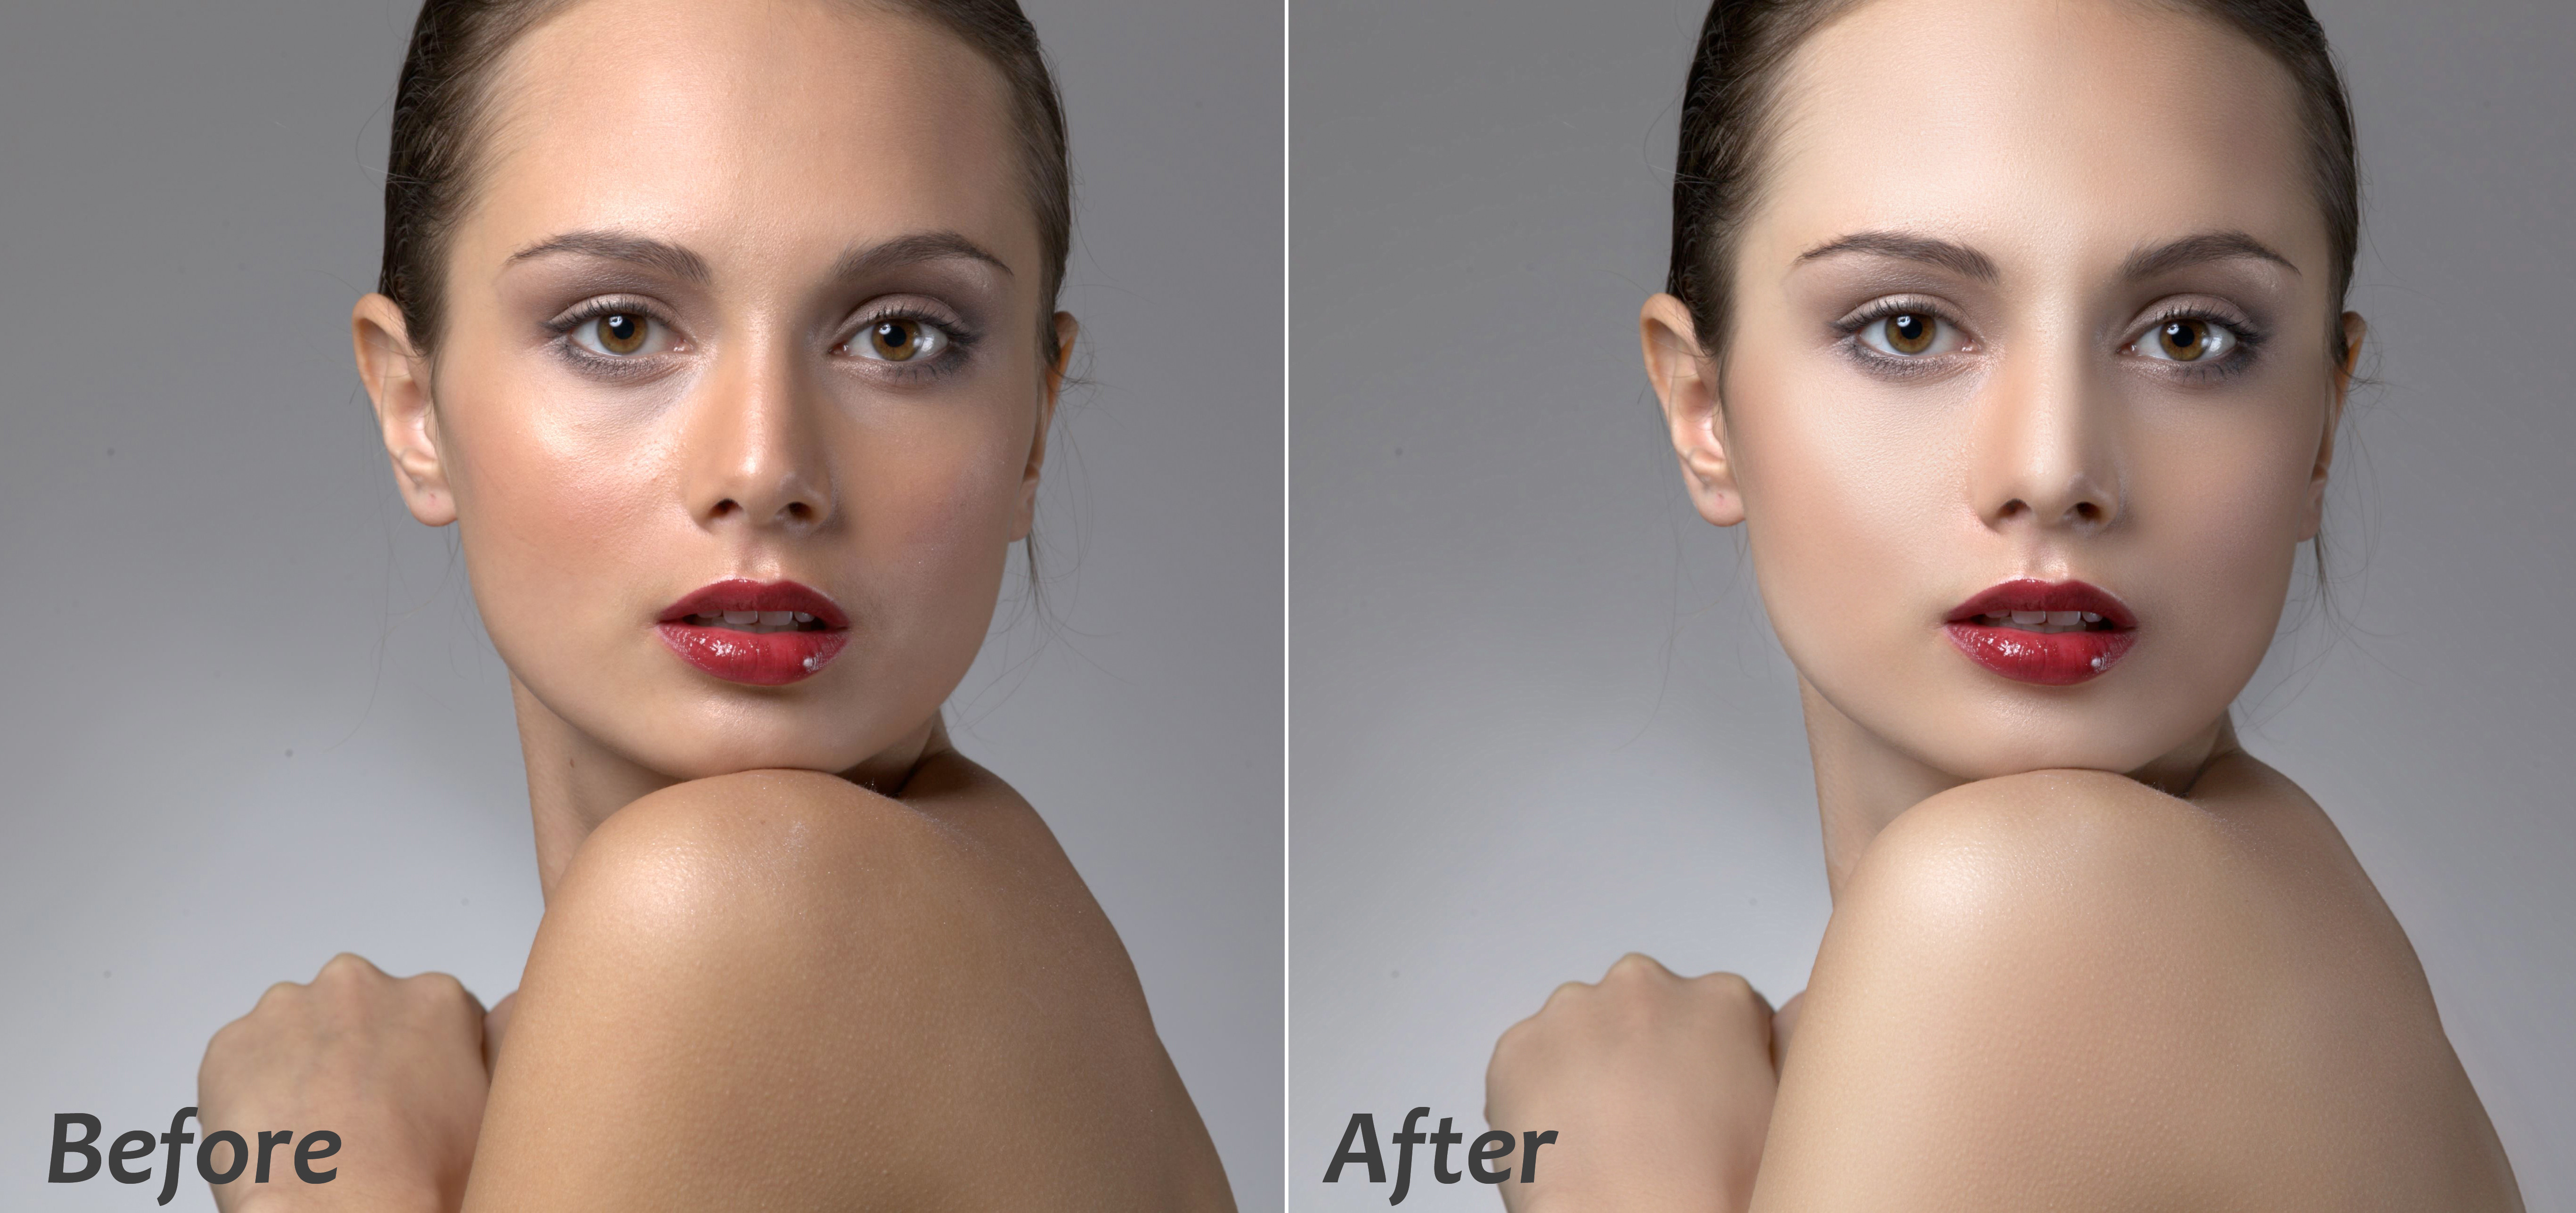
Color correction is the basic and most important part of all real estate photo editing services, and the first deciding factor to choose one standard images. With color correction, what will we do?. It is including that the colors are altered, removed, added, enhanced or diminished, and so on so that you get stunning real estate photographs after editing. Color accuracy is necessary as it is affected by camera settings; it also varies according to the manufacturer.

White Balance

The white balance is one of important factors that affects directly the color accuracy of photos, and this mainly depends on the white balance settings in the camera. If photographer choose the wrong setting, this can easily ruin images, and that’s the reason why professional photographers pay serious attention to this setting. However, we can’t also avoid unexpected situation, this can be solved to a certain extent with the help of experienced real photo editors. Besides, most real estate photo editing services ask photographers to have the right white balance in photos.

[twentytwenty]

color correction, fotosolution real estate editing services

[/twentytwenty]

Hue and Saturation

Hue and saturation are adjusted to enhance colors of a real estate photo and make it look more plentiful and multiform. With mission of one professional editors, they can balance colors and then give each color the right amount of intensity or saturation to create a fascinating final product. These color adjustments can transform any dust image into a more vital and pretty plenteous photograph. This is best condition to increase the buyer’s attention and will eventually make you earn more profits.

Ghosting Correction

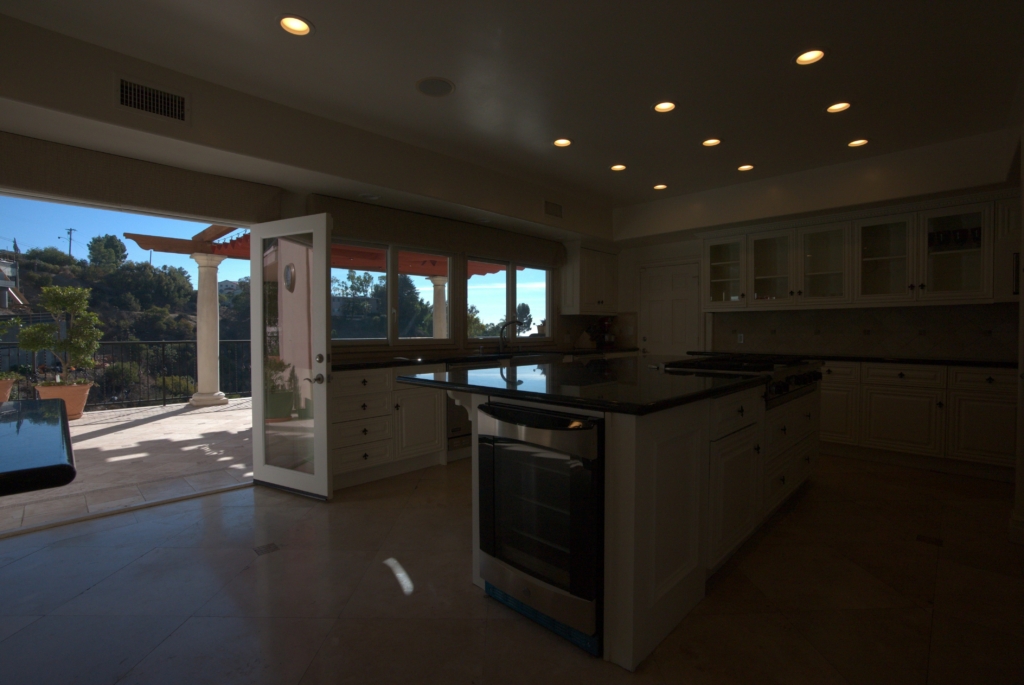
Bad weather or dark and bad quality light will affect directly to result of shooting of photographers. It creates blurred effect or in other words a ghosting effect in real estate photo subject. However, if you are not lucky in this situation, don’t hurry to cancel product because real estate photo editing services will help you process it. You can bring them back to life with the help of this ‘ghosting correction’ from the service of the real estate photo editing company. It can improve the sharpness of any photo by giving each part the right amount of detail.

[twentytwenty]

color correction, fotosolution real estate editing services

color correction, fotosolution real estate editing services

[/twentytwenty]

Why Do You Need Color Correction Services?

With color correction services you will not have to worry about the lighting of location or white balance setting of your camera if there are any unexpected situation. You can always get helps from professional and experiences real estate photo editors who can do the magic by balancing the colors which can make your image more vital and interesting.

It should be obvious to you by now that color correction is necessary in real estate photography.

Fotosolution team – is the best photo editing company – hope to bring more value to you production. Finally, if you need any further information, please do not hesitate to contact us. We are looking forward to hearing from you soon.
Contact us: sales@admin.fotosolution.com

Skype: Fotosolution

Categories
Support Tips & Tricks

How to Color Correction Product Photography in Adobe Lightroom

As far as we know, Adobe Photoshop Lightroom is a gold key for your product photography. It has some quick and powerful tools for color correcting your images. Have you ever used Adobe Lightroom tool for color correction product photography?. Below are some tips to help you change colore correction product image in Adobe Lightroom.

There are five steps to color correction including: organize image, import, adjust, sync adjustment to image and export.

fotosolution-How-to-Color-Correction-Product-Photography-in-Adobe-Lightroom

Organize Image

The first thing to note before anything else is that you should be shooting in raw. One of the most fundamental benefits of raw is the ability to adjust white balance after capture with no penalty on image quality.

Import Image

Next, you should import image in a folder. Below are some basic steps to help you import image.

  • Choose “File” > “Import Photos And Video”
  • Use the “Source” panel to find the image folder
  • Make sure the “Add” button is selected
  • Choose the “Select All” button
  • Click “Import” and “Adjust”

Adjust Image

After importing image into a folder, you should choose an image from the folder. Because we’ll use this single image to perform adjustments. Then we’ll apply those adjustments to all other images.

Adjusting image you should carry out 3 steps including: White balance, Exposure and Contract tools.

fotosolution-How-to-Color-Correction-Product-Photography-in-Adobe-Lightroom-01

White Balance

Click the dropper tool up in the top left of the “Basics” tab, and drag it over the image to a spot that should be grey. Click that spot and Lightroom will automatically white balance your image.

Exposure

You can use this tool to brighten or darken your image. Don’t feel obligated to use it just because it’s there. If the quality of your image is very well, you should not waste time to adjust.

Contrast

Contrast is the go-to tool for making details stand out. Adjust it to help you accentuate light and dark.

Sync Adjustment to all image

It’s time to apply those adjustments to all of your other images from the shoot:

  1. Select the rest of your images.
  2. Click the “sync” button at the bottom right of the “tools” panel.
  3. From the popup window, choose the adjustments you want to apply to the rest of your images.
  4. Click “synchronize”

Export Image

Finally, you should only export image and save file. You should create a new folder within the same folder that contains your RAW images and name it something descriptive, like “Color Corrected” or “Final.” Then, you carry out file naming and save. Your images have been color corrected.

fotosolution-How-to-Color-Correction-Product-Photography-in-Adobe-Lightroom

Here are tips to color correction product photography in Adobe Lightroom. Do you have any color correction tips or challenges? Do you use different software to perform batch processing and color grading?. If you have not known about Adobe Lightroom for color correction, let’s refer this article here.

If you have any opinions as well as any questions concerned about this subject, let me know your though in the comment below.

Categories
Support Tips & Tricks

Color correction in Photoshop

Color correction is one of the important factors affect directly the result of images. If we have two pictures: white and black pictures and pictures with prominent color, which one do you prefer?. Beautiful images with stunning color will surely be a wonderful choice. So, color correction an image is one of the most common uses of Photoshop. If you don’t know the way about them in Photoshop,  here are guide video show you different ways on how to color correct on image.

In this video we’ll also take the time to talk about how color works in Photoshop. This is a complicated topic but I’ll try to simplify it so it’s easy to understand and able to color correction on your images. In addition, in this tutorial, we also show you how you can use Curves to color match an image to create a realistic composition.

You are interested in: http://bit.ly/2fpzBZk

Let’s download this video to find the best answer for your issues and free to express your thought  in the comment below. If you have questions or concerns, please do not hesitate to contact us today for a free consultation.

Color correction

Color correction in Photoshop from VRaySchool on Vimeo.

Categories
Support Tips & Tricks

How to make the color correction in Photoshop

Color correction is one of the important factors affect directly the result of images. If we have two pictures: white and black pictures and pictures with prominent color, which one do you prefer?. Beautiful images with stunning color will surely be a wonderful choice. So, color correction an image is one of the most common uses of Photoshop. How to make the color correction in Photoshop. If you don’t know the way about the color correction in Photoshop,  here some quick tips show you different ways on how to color correct on image. Let’s get started.

Color Balance Adjustment Layer

To get started, you should open an image that you think has a color board. After, you choose layer-> new adjustment layer-> color balance, this gives you information about the pixels in your image. Using the adjustment layer is the best way that it can either remove adjustment or edit the adjustment at the later time.

You will see the appearance of color board to choose, then, color balance box will appear to support your work. Before applying the color balance adjustment layer, I think that you should make a copy of the background layer, then turn off the background. Then, choose the Color Balance adjustment layer option in the Adjustments panel.

Color Balance Adjustment Layer

Selecting the slider that has the tint color and move it away from the tint color. For example, since the image has a yellow, you want to move the cyan or yellow slide towards cyan to remove the yellow tint. You may also want to adjust the other two sliders to get the color you want for the image. Let’s click on double right arrow at the top right of the panel to finish with the adjustment.

If you want to change the different color, you can always go back in and make adjustment to the color balance properties by clicking on the layer thumbnail. Besides, you can use Gradient adjustment layer to make prominent color.

Curves

With some photographers, curves in an image will an intimidation factor, it will affect directly the quality of image. Don’t worry about this, we will help you adjust the curves. To adjust the curves, you have to click on the Curves Adjustment layer in the Adjustment Layers panel. You will see the appearance of  Curves Proprieties Layer.

fotosolution-How-to-make-the-color-correction-in-Photoshop-03

Notice the drop down option next to the RGB channel. Not only can you change all channels at one time (your image is a combination of red (R), green (G) and blue (B) channels), you can also change the individual channels. If you reviewed the Color Balance Adjustment Layers above, you are also aware of the ‘opposite’ colors of each of these individual channels. The original curve is a diagonal line from bottom left to top right. If you want to effect the reds in the darker areas, I adjust the line towards the bottom left. If you want to effect the red in the lighter areas, you can adjust the line towards the top right.

If you want to remove some of the cyan introduced when we adjusted the Red channel, select the blue channel and drag the middle of that line down slightly. You can continue to adjust the curves in the various channels till you have the color you desire.

Increase Contrast

Using increase Contrast technique will a perfect choice that help your image more prominent. To crease contrast an image, you can use Levels Adjustment Layer. First, choose layer-> new adjustment layer->levels.

fotosolution-How-to-make-the-color-correction-in-Photoshop-05

The Levels properties panel shows a histogram. This is a quick visual that shows the range of tones in the image. This particular histogram shows a lack of light or white areas. The data on the histogram doesn’t extend all the way to the right, nor is it all the way to the left.

Click and drag the white arrow adjusts the light or whites area of image to the left until it under the right edge of data of the histogram see setting in above image. Click and drag that black arrow adjusts the darks or blacks to the right until it is just under the left edge of data of the histogram.

Auto Color

Auto color is considered as the quickest way to color correct an image, if you need to something quick, use auto color to solve all problems.

Choose Image->Auto color from the main menu, this technique will determine what needs to be adjusted and perform the color correction for you. However, this technique have also some disadvantages and one of them is that you are depending on Photoshop to determine the best color adjustment.

Here are four tips to color correct in Photoshop. We hope you found it interesting. Do you believe that If you have any questions or concerns, please do not hesitate to contact us and comment below this post.

Thanks for reading!