Colors are one of the most important factors what affect direly the quality of images and effective way to make your images become more nominate. If you own your online store, the first important factors what will attract your customer is product image or apparel product photography. High quality product photography is essential for apparel ecommerce. And main color will necessary elements what contribute to the success of the pictures.
If you are a huge fan of color. You like bold colors to create a mood in your images, and often use the meaning behind colors to reinforce the message you want to convey. Sometimes though, you want to get rid of the colors to draw the viewer’s attention to your compositional lines, to textures, or to make a contrast. To do so, you may want to turn a color picture to black and white, in order to see what works best.
Black and white background are the standard backdrop that is commonly used in product photography. It creates a high energy, happy, and distraction free scene, perfect for pictures of your friends and family. These are because black and white background makes the product more visible and clear than any other color.
If you’re looking for premium quality Photoshop Photo Effects or Photoshop Actions, then choose from our collection of creative options. You can also get color images converted to black and white on our website.
Converting to black and white digitally has a number of advantages. With film, the black and white conversion essentially happened at the time of shooting. If you wanted to change the nature of the black and white conversion, you could only do it by placing a colored filter on the lens. For instance, you can make blue skies much darker by using Photoshop. Here are that we will start with a color photo and converting it to black and white in Photoshop, you have complete control over the conversion.
Way #1: Channel mixer adjustment layer
First, you can go to your layer panel and click on Channel mixer or you can also go to Layer -> New Adjustment Layer -> Channel Mixer

Why do you choose channel mixer?. Because simply, using channel mixer you can do more than just saturation your colors. You can get great results sorting by color channel. This will modify your input and output levels.

Converting black and white background, you can get lighter or darker tones, you can also play with your constant overall tone. You can choose and use each channel and see what you like the most. For example, you can play with green channel in a natural picture, therefore highlighting your subject.
Way #2: Using Black and White Adjustment Layer
When working with black and white you cannot see different adjustments at once. To keep several adjustments visible, you can create a door layer or a separate layer on which the adjustment has been applied directly to the image. It is simply, you can press Shift + Option + CMD + E, and the door layer appears. This will combine all visible layers into one.
You can then combine with a black and white adjustment layer. First, you go to Layer > New Adjustment layer > Black and white. Then, choose the different values for each color to adjust the tones as you wish in your image.
Secondly, let’s add a layer mask to each one, and paint on the mask or the part of picture that you want to hide by using black, this will help you reveal the layer underneath. Paint with white or layer mask is white by default to reveal the selected areas of the top layer.
Or the different way is that you create only two types of black and white and make it easier to apply selectively the different effects. At the end, you have a mix of different contrasts in your image, and can apply those contrasts as they best suit each area where you want to drawing the viewers’ attention. There are so many ways to create a black and white images in Photoshop.
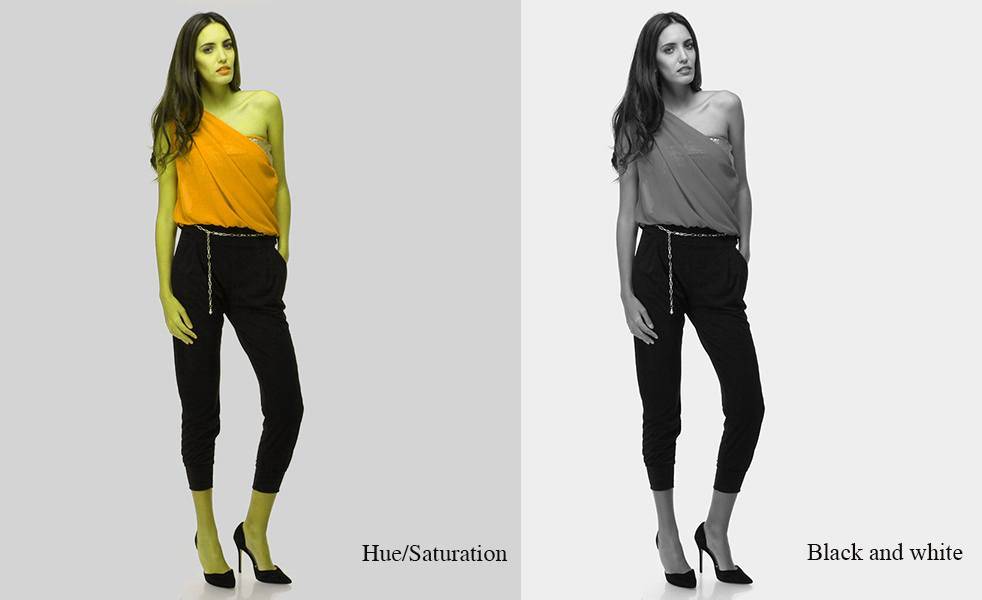
Way #3: Use the Hue and Saturation Tool
This method gives exactly the same result as converting to black and white. The only advantage is that it’s available as an adjustment layer, and can be used as part of a non-destructive editing process.
To make this, you can use Photoshop CS 3 and Photoshop Elements:
You go to Layer > New Adjustment Layer > Hue or Saturation, click “ok” and move the saturation slider all the way to the left (-100) and press ‘OK’
Advantage: Quick and easy and can be applied as an adjustment layer in both Photoshop CS 3 and Photoshop element.

Below are tutorial video that help you review easily. Check it out and have amazing experiences!
There are many ways to convert black and white. To have many interesting experiences, you can spent much times to experiment with these different methods when deciding how to approach black and white conversion. Do you have other methods to convert to black and white using Photoshop?. Please share your experiences in the comment below.
Thanks for watching!.