Categories
Support Tips & Tricks

Tips for Owning Best Product Photography

Best product photography entails taking photos of a product on its own and with a clear background to remove any unexpected and make you capture the viewers’ attention. Whether you have your eCommerce site, product photography is always the best option to use and help you close to your customers. A good product image will enhance your listing more effective and will also increase your sales. Product photography will with no doubt help your eCommerce site thrive. Practicing product photography may seem simple but without the proper knowledge can prove to be hard. Below are tips to help you practice and improve product photography easily and perfectly.

Gets lots of light

This is the most important tip of all. Having enough light ensure the product photo is clear and appears as the original item. Whatever you are photographing, whatever shooting indoor and outdoor, lighting is a key to capturing a great photo. Having good use of lighting, you need to take advantage of natural light and artificial light.

fotosolution-Tips-for-Owning-Best-Product-Photography-01

Especially, natural light is the best and works best for all photo types. It is thus prudent to shoot photos during the day.

In this case, if shooting in indoor or in studio, you need to use take advantage of artificial light. This may require that you set up lighting, or manipulate the available light using things like reflectors or a flash. Certainly, use the artificial light will have cost more than natural light.

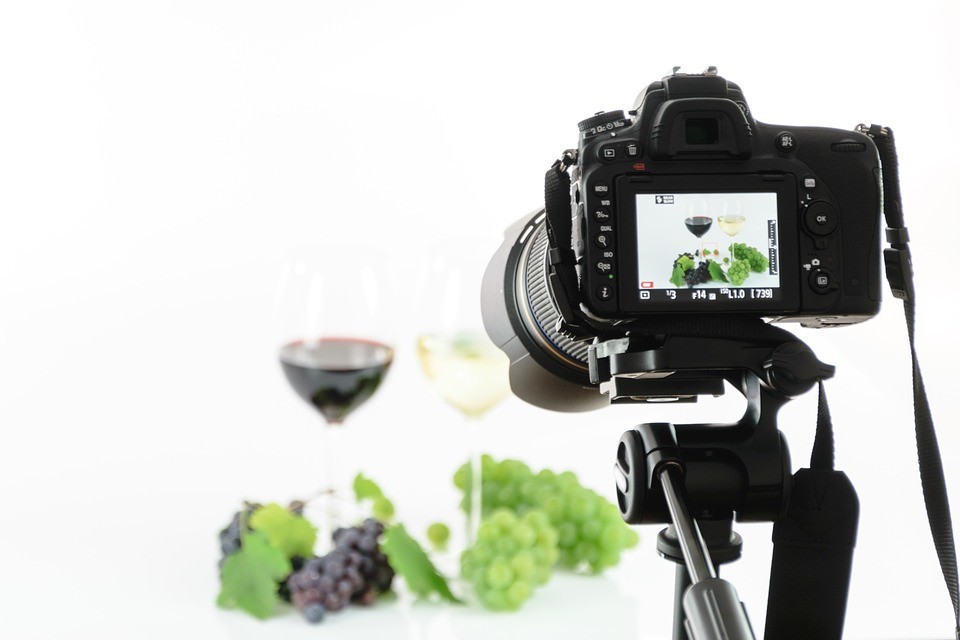
Use a tripod and a timer

When taking a photo even the slightest vibration can cause blur in the photo. You should also keep in mind that the closer you move to an object the more you’ll cause blur on the objects photo. Tripod is an essential tools to support your project. Hand-holding your camera with interior photography not only looks unprofessional, but it will result in blurred shots every time. Arm yourself with a tripod and a remote shutter release to eliminate the risk of camera shake when taking a shot.

fotosolution-Tips-for-Owning-Best-Product-Photography-02

You can use the cameras in built timer to ensure you minimize vibration while maximizing sharpness.

Edit the photos

Taking photos is always the beginning next comes editing. Edit the photos will an important step to check the comprehensive process before uploading your website. First, while preparing to put the photos on your site you should know the size of photos required. Re-size the product photos you’ve taken so that they can fit in your site. Editing also involves removing any bad sections that may have appeared in the photo. For best results, let’s ensure you use the best photo editing service.

fotosolution-Tips-for-Owning-Best-Product-Photography-03

Lastly always remember that captivating photos are the key to bringing and keeping traffic in your site. They are also the key to increasing sales. If you have any opinions as well as any questions concerned about this subject, let me know your though in the comment below.

Categories
Tips & Tricks

How to Align Your Product Photos You Should Know

Beautiful image is one of the most importants factors to decide the success of store online. So, choosing suitable image and editting it require high accuracy. If product photography is wrong and  inaccurate alignment, these can be affected directly the result of  your product. Thus, one thing remains clear that consistency is key in product photography. By developing alignment guidelines and incorporating them into your apparel photography workflow, your images will become more attractive. Below are the basic steps how to align your product photograph  what help you improve and develop your ecommerce site.

Setting correctly alignment

Firstly, you will choice a alignment standards for your apparel photographs. After, you can attent some factors such as: aligment, cropping and proportition before update these images in your ecommerce site. Talking about how to align your product photograph, we can determine the size of image.

fotosolution-How-to-Align-Your Product-Photos-You-Should-Know-01


The size of image can determine through the specifications of your specific website that you will choice to sell your ecommerce products.  This may range but most commonly will start no lower than 1000px by 1000px at 72 dpi. Normally, your images will be larger than this straight out of your camera, which it should be. Let’s check with your ecommerce platform and determine the marketplaces where you will be selling your products before you start setting your image guidelines.

Secondly, to arrange all products  perfectly, you also know what is the product that will be featured on the e-commerce page?. All product have the different ways on setting alignment. For instance, if you want to have the appearence of your product on website is perfect, footwear and purses is two of typical examples, you can set up them aligned towards the bottom of the frame of your image, these making everything look lower in the image but when matched up on your website and consistently laid across your site, the appearence of your product will look more prominent and more useful. Apparel on the other hand may need specific attention to detail when aligning to make sure that your product images are accurately centered across but are aligned top to bottom as well.

Thirdly, you should choose position for your product such as: align at the top, the center or the bottom.

How to creat an aligment templateclick_create_new_alignment_template

It is important things for creating an infographic that you should choose to align exactly your images to ensure consistently these infographics on all images moving forward. Using your guides tool within Photoshop while setting up your image file is the best way that help you realize this way. You need to set spaced 2 inches from each side top to bottom and centered within the frame. the position the product within the frame what you created,  aligning the top or bottom of the product to the guidelines of the height. It is best to not put your product to fall outside of these infographic giving your product enough room to breathe and space for it to live.

Choosing photograph for your product

Now it’s time for you to photograph your product or products by utilizing the method you have chosen for your images. There are different methods of styling for your apparel product images. Photographing a garment on a mannequin or a model is the best way to demonstrate shape and fit, while also encouraging customers to visualize themselves wearing it. If you hire a model for store online, you will lost much money but using a mannequin, you can save much better.

After you complete image gallery on website, you will need to apply your alignment standards to your images during the post-production process to make your images web-ready. If you have any questions or concerns, please do not hesitate to contact us and comment below this post.

Thank for watching!.