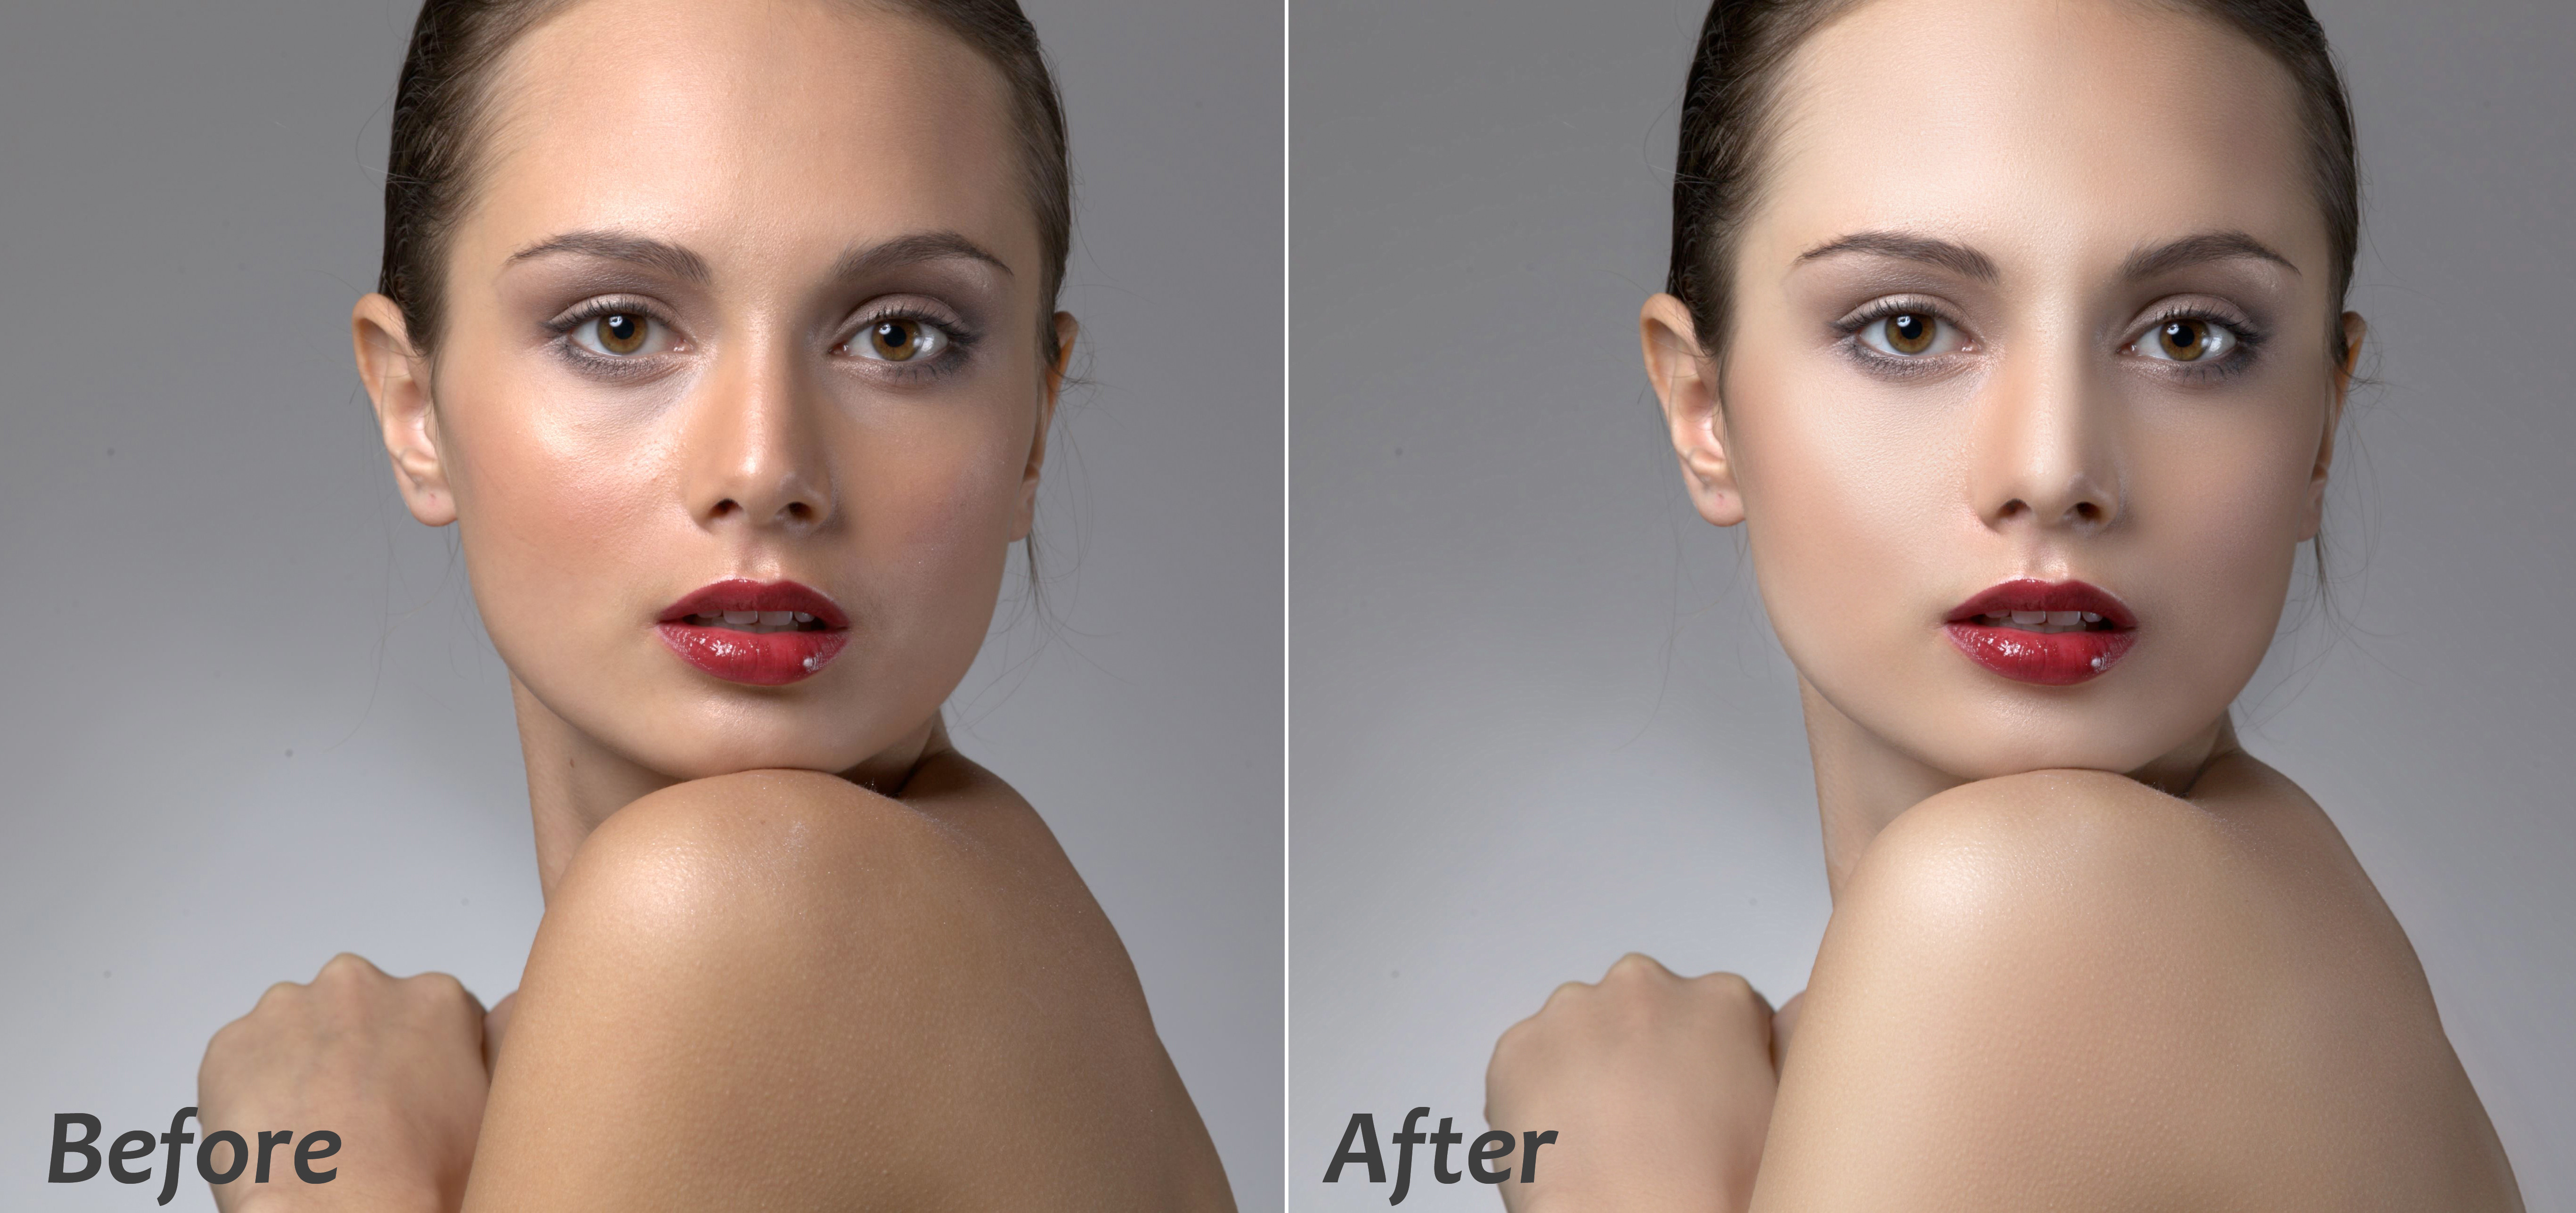
As far as we know, Adobe Photoshop Lightroom is a gold key for your product photography. It has some quick and powerful tools for color correcting your images. Have you ever used Adobe Lightroom tool for color correction product photography?. Below are some tips to help you change colore correction product image in Adobe Lightroom.
There are five steps to color correction including: organize image, import, adjust, sync adjustment to image and export.

Organize Image
The first thing to note before anything else is that you should be shooting in raw. One of the most fundamental benefits of raw is the ability to adjust white balance after capture with no penalty on image quality.
Import Image
Next, you should import image in a folder. Below are some basic steps to help you import image.
- Choose “File” > “Import Photos And Video”
- Use the “Source” panel to find the image folder
- Make sure the “Add” button is selected
- Choose the “Select All” button
- Click “Import” and “Adjust”
Adjust Image
After importing image into a folder, you should choose an image from the folder. Because we’ll use this single image to perform adjustments. Then we’ll apply those adjustments to all other images.
Adjusting image you should carry out 3 steps including: White balance, Exposure and Contract tools.

White Balance
Click the dropper tool up in the top left of the “Basics” tab, and drag it over the image to a spot that should be grey. Click that spot and Lightroom will automatically white balance your image.
Exposure
You can use this tool to brighten or darken your image. Don’t feel obligated to use it just because it’s there. If the quality of your image is very well, you should not waste time to adjust.
Contrast
Contrast is the go-to tool for making details stand out. Adjust it to help you accentuate light and dark.
Sync Adjustment to all image
It’s time to apply those adjustments to all of your other images from the shoot:
- Select the rest of your images.
- Click the “sync” button at the bottom right of the “tools” panel.
- From the popup window, choose the adjustments you want to apply to the rest of your images.
- Click “synchronize”
Export Image
Finally, you should only export image and save file. You should create a new folder within the same folder that contains your RAW images and name it something descriptive, like “Color Corrected” or “Final.” Then, you carry out file naming and save. Your images have been color corrected.

Here are tips to color correction product photography in Adobe Lightroom. Do you have any color correction tips or challenges? Do you use different software to perform batch processing and color grading?. If you have not known about Adobe Lightroom for color correction, let’s refer this article here.
If you have any opinions as well as any questions concerned about this subject, let me know your though in the comment below.
