High quality product photography is essential for apparel eCommerce. If you own store online and you try to think what do your customers do when they go to shopping online?. Hi-res product photography will perfect answer for your question. Shooting beautiful images for store online, you can use mannequin or model to showcase the unique shape and fit of each product. However, it isn’t always effective to actually show the model or mannequin. Today, we will show simple start-to-finish guide about how to create a ghost mannequin effect in Adobe Photoshop.
Mannequin or Model
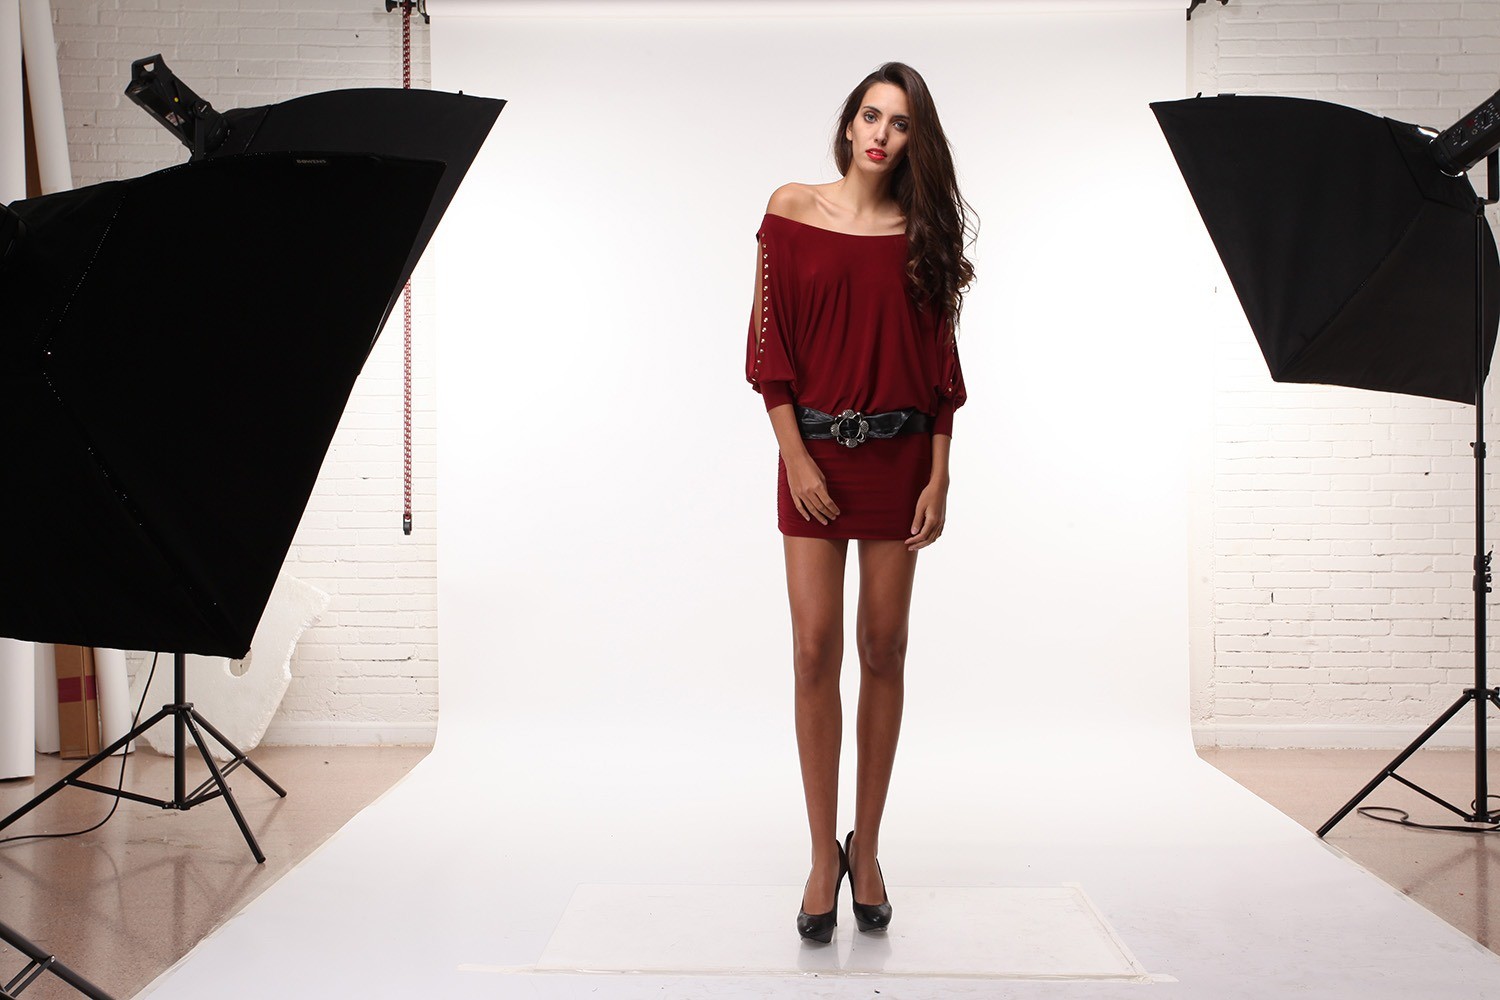
Let’s start learning how to create a ghost mannequin. The first things you are interested in: choose ghost mannequin or model for shooting product photography.
If you use a model, it need to be big enough to cover at least the model’s top half. But models are very expensive and can distract from your product. If models are not in budget, you can use mannequin are an excellent alternative. But the problems here is change color dress, it waste many times for your shooting. For example, you want to present your new dress with five or six different colors such as: white, black, pink, yellow, red,… You do not know what colors attract customers to your website or how do colors affect your purchases?. You have to wait a model who wear your product with different colors to shoot. This will make you as well as your work lost many times. Using and change your product for mannequin also waste your valuable times.
If you choose mannequin to take a photos, depending on your needs, you may choose to purchase a mannequin with or without arms, hands, or legs. To summary, let’s make sure that your product fits your mannequin or model by using the right size or tailoring the garment to fit correctly.
Set up your studio
Let’s choose white background for product photography. It will turn into your product become more specific in pictures. Especially, the white will reflect light back onto your image and keep your camera’s white balance calibration accurate.

Using a tripop to position your camera is one of the neccessary elements to decide the sharpness of the image. Ideally, you want the camera positioned so the entire frame is filled by the white backdrop and the product.
You also need to interest in lighting. If you choose the natural light, you may be read: How to Use Natural Lighting for Best Product Photograph. We should mention our main character: mannequin. When you wear clothes for mannequin, you should check for creases, smudges and stains of product. Moreover, let’s try to have an extra pair of hands when dressing the mannequin. This will help you adjust the arms and clothes while holding it up can be challenging.
Take your photos
One of the biggest mistakes in product photography is displaying very few angles of the product on the listing. Let’s try to shooting your product in many different angles. These will help your customers feel confident. It has a holistic and intergrated view of your product.
So, you also need to shoot mannequin with your product in many different angles. Firstly, let’s take a picture of the front of the garment, with the front of the mannequin facing the camera. Take off the garment, turn your mannequin around so that the back of it is facing the camera. Then dress the mannequin again, but this time the garment needs to be inside out. The reason you’re doing this is so you can get a clear view of the behind the neck or waist.
Next, it is more complex, so require that you need to have high-precision shooting. Say that take a photo of the back of the mannequin with the product the right way around, and the front of the mannequin with the product inside out. These will help your customers have object view about your product.
After taking your product photos, let’s check it out and edit to create a ghost mannequin effect before releasing product on website. Keep in mind that avoid any small error on the final product because of existing small weakness.
Below are the tutorial video for step-by-step guide to the process. Don’t forget that this effect on your product images will not only make your products look more attractive and perfect. It will also bring the look of your online store to a highly professional level as well as boost your sales.
If you have any questions or concerns, please do not hesitate to contact us today for a free consultation.