Categories
Support Tips & Tricks

How to make HDR images in Photoshop

Creating HDR images is typically contained a quite time-consuming workflow that consist merging, tone – mapping and post processing, possible spanning several different software program. To generate HDR images as you would expect, smoothyly and professionally, Photoshop will brilliant tool that help you make great HDR images.

Below we show how to make HDR images files from your bracketed images in Photoshop. Hope that you will find it interesting.

fotosolution-How-to-make-HDR-images-in-Photoshop-01

Step 1 : Launching Photoshop and opening bracketed photos

Using the data images for creating HDR images, one of the useful images sources are that from bracketed photos. Therefore, you have the option of opening bracketed images or select automatically all open merges to merge into HDR images instead of navigating and selecting them yourself. Two of ways will help you save much time.

Step 2: Choosing file images to realize HDR images

Choose File -> Automate-> Merge to HDR pro are three basic manipulation as make HDR images. After completing three options, you will see the appearance of the Merge to HRD pro dialog box. Let’s use this dialog box to add your source images.

fotosolution-How-to-make-HDR-images-in-Photoshop-02

Step 3: Choosing source images

As you opened the images and saw the Merge to HDR pro dialog box, you press “ Add open files” button. In case, the image doesn’t choose, click File-> Automate-> Merge to HDR pro and Merge to HDR pro dialog box shown, let’s click “browse” -> File images-> press choosen images. In other words, as you press “ Browse”, navigate to the folder that include the bracketed photos and select them.

fotosolution-How-to-make-HDR-images-in-Photoshop-03

Step 4: Select the Attempt to automatically align source image

After finishing the choice of images from bracketed photos, the next step you can realize are that click “ Attempt to automatically align source image”. This option help you align details in images and is especially useful for hand-held brackets. However, in case, you take the pictures using a tripod, you might not need to align the source of image.

Step 5: Click “ OK” to continue

Photoshop merges the files into an HDR images. After pressing “OK”, the Manually Set EV will be displayed in Photoshop. This Manually Set Ev box will allow you adjust and check the exposure value of images. Enter the correct camera parameters in the Exposure Time, f-Stop and ISO or choose EV and enter the exposure value in the EV box, then click OK.

When finished, the Merge to HDR dialog box will appear with a new form and you can see some of parameter in the right screen.

Step 6: Select the images and custom

Let’s select image you want to remove from the preview from the under image and select them again to add them back.  This allows you to change the balance of the HDR file toward under- or overexposure. You can see some of parameter under big image through “-“ or “+”. You can custome this size of image you want.

Step 7: Choose approriate Bit/Channel from the Bit Depth drop-down list

To hold up the most flexibility, you should choose approriate bit/channe. This allow you to save the resulting HDR file. If you set it with 16 Bit/Channel or 8 Bit/Channel and click OK, Photoshop automatically starts the HDR conversion process and reduces the bit depth of the image. We recommend you that you should use 32 bit/channel, it will help you retain the bit depth of image. If you don’t need to save the HDR file, selecting the bit depth saves time.

fotosolution-How-to-make-HDR-images-in-Photoshop-04

Step 8 Drag the set white point review to alter the image’s exposure

After choosing 32 bit/channel from the bit depth drop-down list, you will see “set white point review” part. This part will allow you review and finalize image’s exposure during HDR conversion.

Step 9: Click Ok and save file HRD images

Click “Ok” to complete HDR image. Choose file and save images are the last mission for your project. Note that Photoshop support many different HDR file types, including the standard Radiance and OpenEXR formats.

Finally, we can affirm that Photoshop are invaluable support tool for your images project. Today, some steps help you create great HDR images. Let’s start now and own HDR images file yourself. If  you have questions or concerns, please do not hesitate to contact us today for a free consultation. Interested in hear your thoughts in the comment below.
Categories
Support Tips & Tricks

5 tips to shoot great HDR images

How do you create great and successful HDR images?. It is a question that photographers or person who love photograph always query and wanna find the best answer. Understanding their anxiety, here are list of 5 tips to shoot great HDR images that we wanna show and share readers.

Using Tripod

fotosolution-5-tips-to-shoot-great-hdr-images-4

While most HDR rendering software can attempt to line up images, you really want clear consistent frames because stability is key. Using tripod will one of an amazing way to support your images project. A tripod will not only allow you to stabilize each individual image and some of which may be fairly long shutter speeds but also get you better quality. In addition, tripod also allow you to avoid touching the camera while making frames. This will good for sequences and long exposures.

Don’t tone map a single exposure and call it HDR

As far as we know, when they or you shoot an images, you can create an underexposed, neutral, and over exposed image in Lightroom from the same RAW file, and then merge those three images into one HDR photo, but it’s really not the same as capturing individual images. And you always ask yourself why?. It is simple that when you capture one exposure at a given set of settings of this exposure values on the exposure triangle you are recording data within that given range. And whatever you do, you can not also change this data, you only change the way to show images when they are on the screen.

When you capture three or more images at different exposures (EV), then those three images are all going to have different levels of data from which you can pull; allowing for a truly high dynamic range photograph. The more images you capture the more data you’ll have at your disposal.

Know when you need HDR and when you don’t

HDR all about light or it stands for ‘high dynamic range’. Sometimes it’s from a single file. Often it means getting various exposures at different lightness levels. It is simple thing that we should know and understand when need HDR and when don’t to have a best preparation. If you’re photographing a scene where the lighting is fairly even from shadows to highlights, you don’t need to do HDR.

fotosolution-5-tips-to-shoot-great-hdr-images-1

So, when you need HDR?

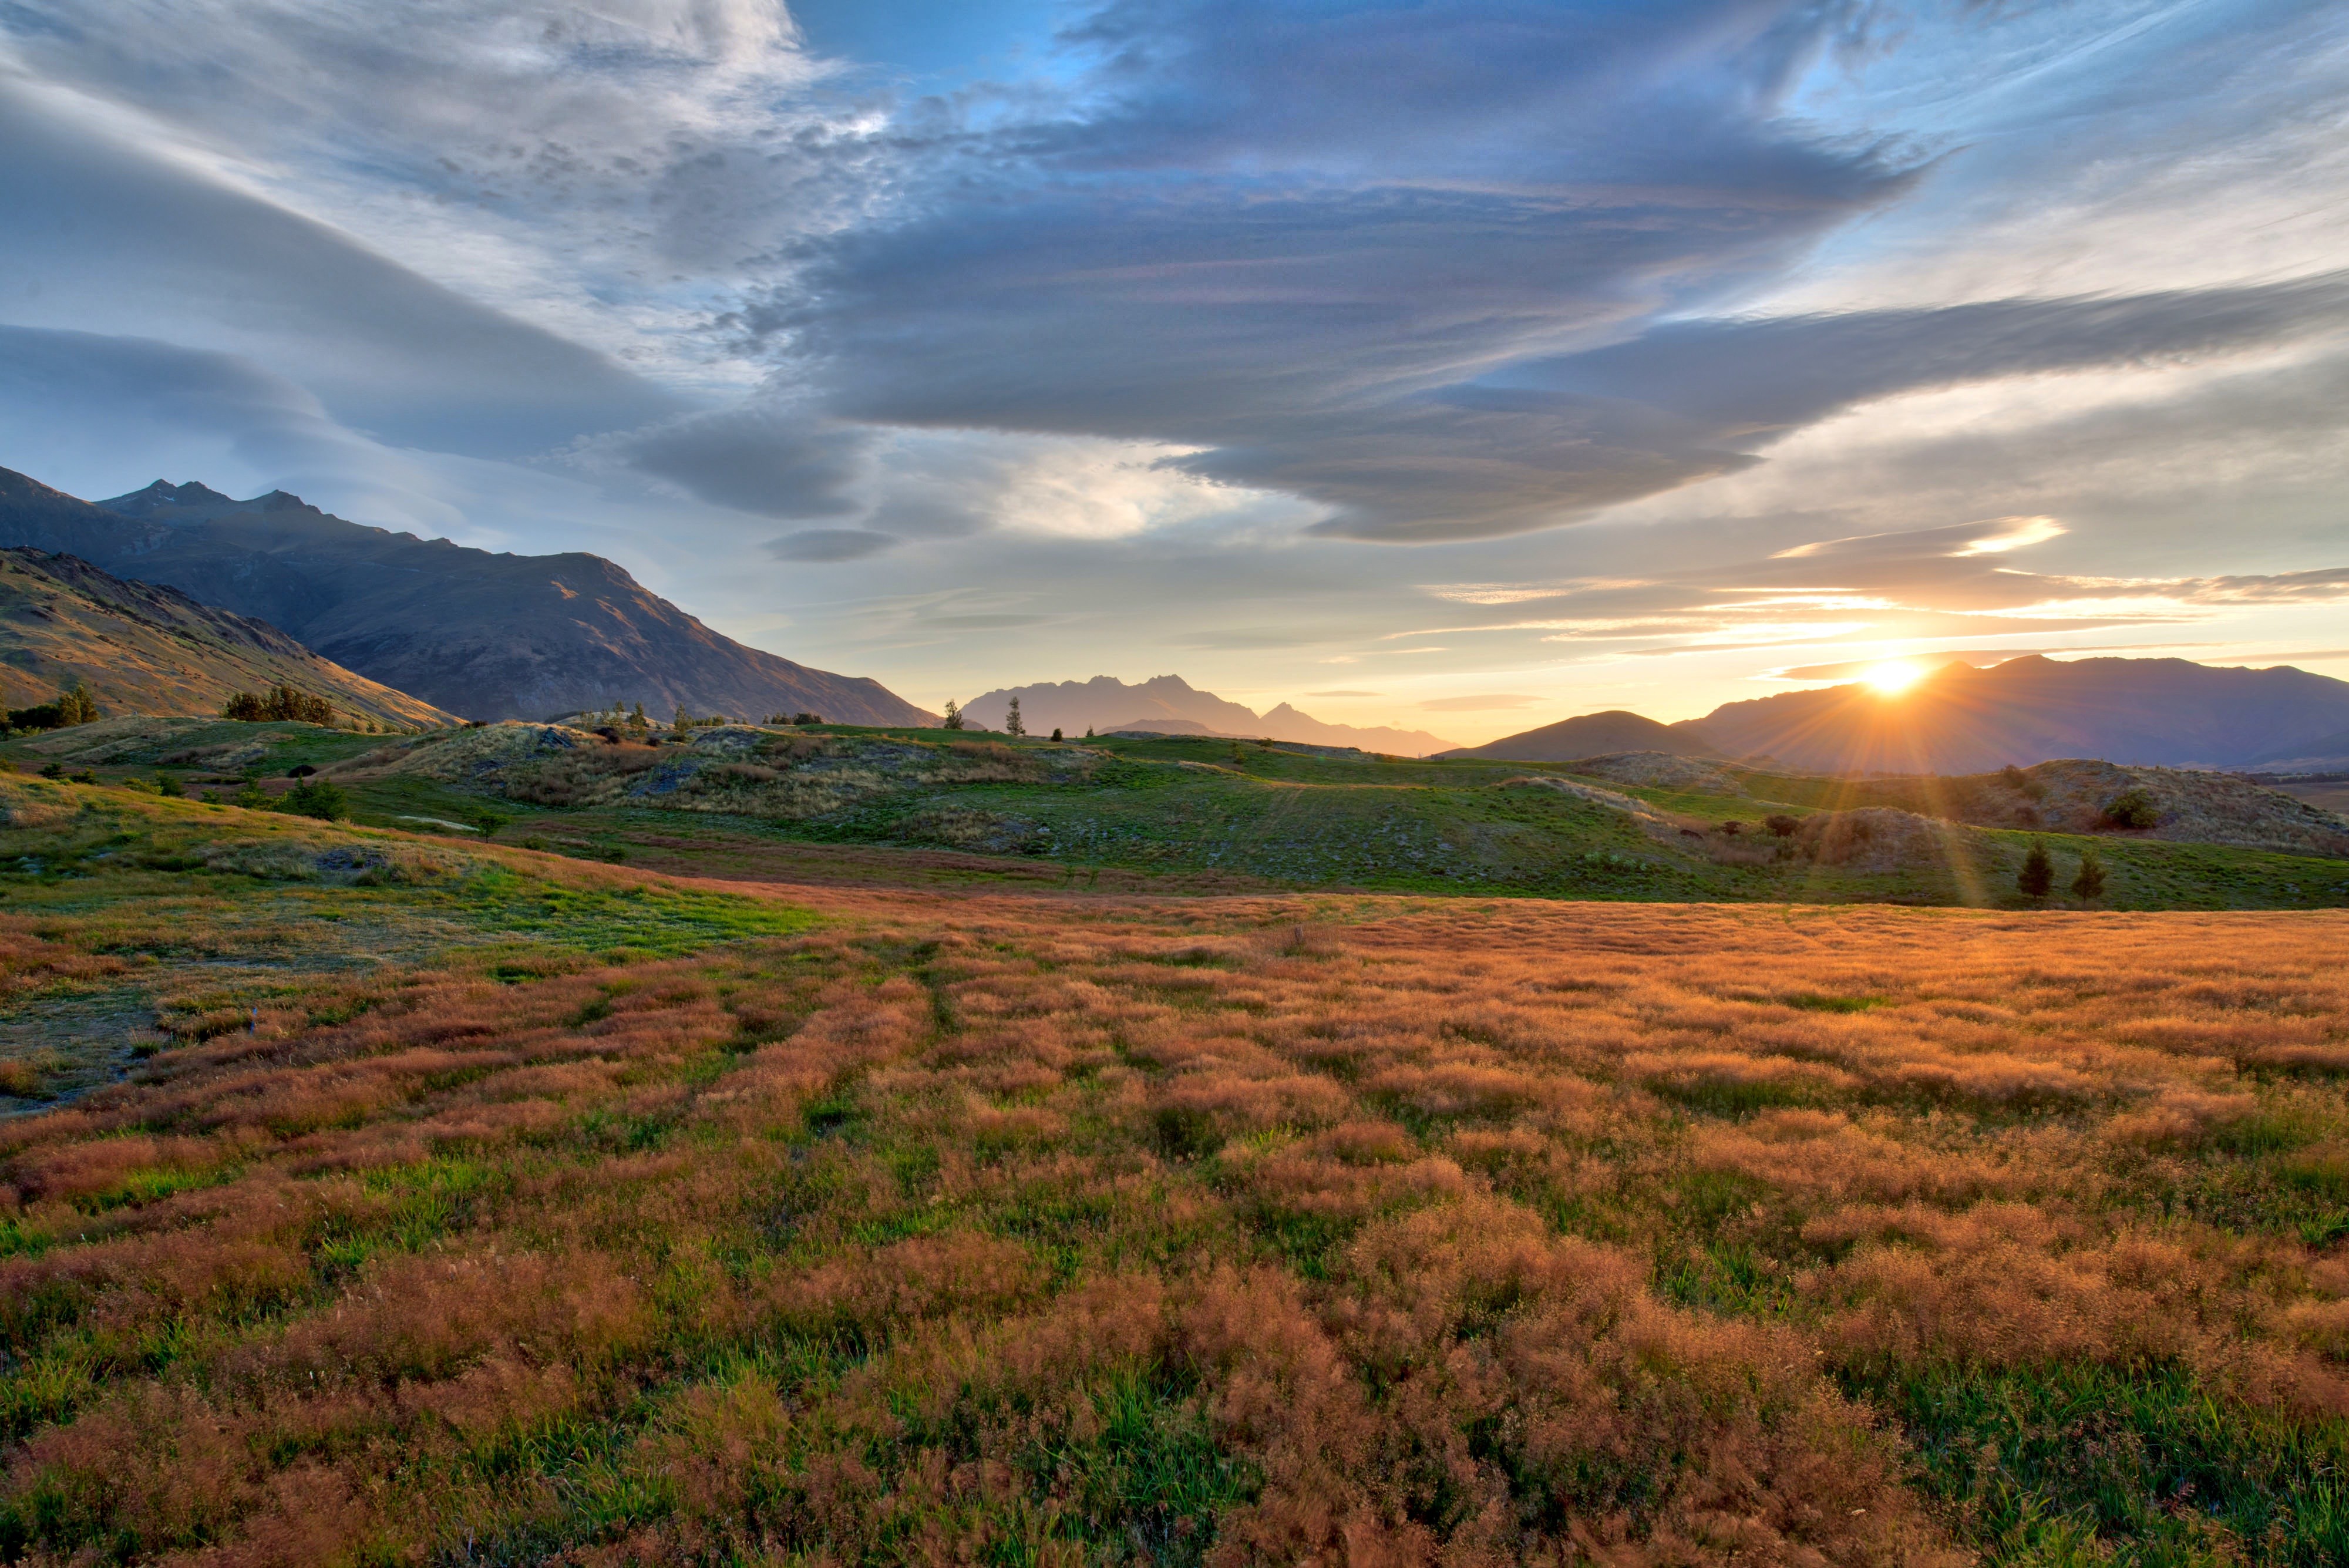
Using it during sunrise or sunset, especially when you are photographing into the sun. Or use it to photograph architecture or man-made objects are great ideas for your project.

Invest software technology

To make a good meal, you should know great raw materials and understand the processing of raw materials and refining product. Like a good meal, to shoot a beautiful images, you need also to prepare many things to ensure high – quality pictures as great and lighting space to create stunning images anaphase.

Here, we will show you two great programs that we have experiences: HDR Soft’s Photomatix Pro or Nik Software’s HDR Efex Pro. There are two programs that have free version, but we think that they don’t do as good of a job at tone mapping. Remember the tone mapping process is done algorithmically so the more powerful the software’s algorithms, the better the end results.

Control yourself

fotosolution-5-tips-to-shoot-great-hdr-images-5

This is one of reasons of the argument when using HDR. Some people say that it’s their style to create over the top, surrealistic style and other’s say that they are destroying the world of photography by creating these highly saturated and oddly lit photographs.

It’s easy to get carried away with tone mapping your images, but if your goal is to recreate what you saw, the best way to do this is to remember to tone it down a bit before you press that process button.

fotosolution-5-tips-to-shoot-great-hdr-images-3

Here are some useful sharing for HRD images, we hope that you will find its interesting. And with these 5 tips are good start to get you on the right track to capture your first high dynamic range photos. If you have some tips, let’s add to the list? Leave one in the comments below!.