As far as we know, ISO, aperture and shutter speed are important three factors to set up cameras for product photography. Shooting in manual mode is a crucial step for DIY product photography. Let your camera automatically handle important setting such as: ISO, aperture and shutter speed. However, make sure to take control, this will help you get best product photography.
If you want to shoot high-quality images, you need to set up ISO, aperture and shutter speed for DIY product photos. ISO sets sensitivity to light, aperture controls how much light gets through, and shutter speed is how long your sensor is exposed to light.
Also, we need to focus on question: “ How to set ISO, aperture and shutter speed” to own beautiful images.
ISO
ISO is the level of sensitivity of your camera to available light. It is typically measured in number, the lower the number, the less sensitive and higher numbers mean more sensitivity. You can increase ISO to capture images in lower light. You should use the lower ISO to keep noise to a minimum. If you choose higher ISO, this maybe lead to grainy or noisy images.

ISO measurements generally range from 100-3200. Normally, a high ISO such as ISO 1,600 will produce a brighter picture than a lower ISO such as ISO 100. The drawback to increasing the ISO is that it makes the picture noisier.
Let’s shoot your camera on a tripod and take a look at your product after your lighting is set. Choosing the lowest possible ISO and gradually increase it until best appropriate images for your product.
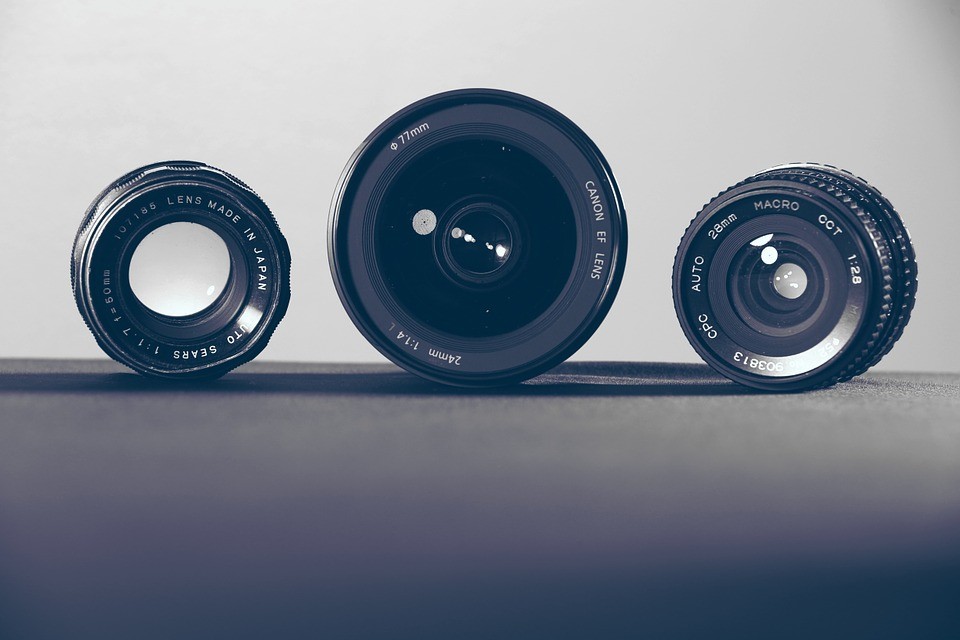
Aperture
Aperture is a hole within a lens, through which light travels into the camera body. Aperture also controls the depth of field, which is the portion of a scene that appears to be sharp. If the aperture is very small, the depth of field is large, while if the aperture is large, the depth of field is small.

Aperture generally ranges from F1 to F22 and captured by F-stops system. You should use lower F-stops because this allows you to focus on specific details while focus falls off and blurs around your focal point.
Shutter Speed
Shutter speed is the length of time that a camera shutter is open to expose light into the camera sensor. It is typically measured in fractions of a second.
As setting up shutter speed for DIY product photography, you should use slow shutter speed. This will allow more light into the camera sensor and are used for low-light and night photography. And if you choose fast shutter speed, this will support you to freeze motion.

Shutter speed is extremely important as shooting landscape, nature or sport photography. One of big reason of these types of photography are that contain moving subjects. This requires correct shutter speed setting.
However, if you set up shutter speed for DIY product photography, it’s easier because you don’t need to move. So it’s possible to use a low shutter speed to create extremely sharp images.
Especially, if you’re taking a picture an it is too dark, a slower shutter speed will allow the camera to gather more light. The shutter speed is also principally responsible for controlling the amount of blur in a picture.
So, let’s choose best suitable shutter speed setting to help your product photography more attractive.
Here are some basic shared experiences about how to set up ISO, aperture and shutter speed for DIY product photography. Do you have questions about ISO, aperture and shutter speeds?. Let’s us know your thought as well as your experiences in the comment below!.