Categories
Support Tips & Tricks

Tips: 4 Tips For Better Real Estate Photography Using Natural Light

A best product photograph need to use many different elements and natural lighting is one of essential factors to create the success of product photograph. If you love photograph and are photographer, have you ever used natural light for your photograph?. Below is some useful tips what help you learn how to use natural light for better real estate photography.
You see, interior photography is a skill. It’s as much science as it is artistic. Both sides need to be studied, practiced and mastered if you’re to succeed in this saturated and competitive field of photography.
The following will give you a basic understanding of equipment needs, how to manage contrast and mixed lighting in a room.

#1: Using sunlight on the exterior

A sunny day is the best canvas for your exterior shots. As you know, the light changes from hour to hour and day to day. To create natural lighting for your own photos, you should shoot your photos at the brightest time of day. You can work in late morning and early afternoon. The times of beautiful sunlight and these gives sufficient lighting near windows or in the shade. In general, morning light is bright and has less color, while afternoon and evening light often has a warm undertone and brings out greater contrast in your images.

fotosolution-4-Tips-For-Better-Real-Estate-Photography-Using-Natural-Light-02
So, let’s try to schedule your shoot during a time of day when the sun will be shining on the front of the house. The light pours over surfaces, metal fixtures gleam, wood detail shines, and the edges of furniture upholstery glows. Especially, natural shadows produced by different objects convey a sense of depth.

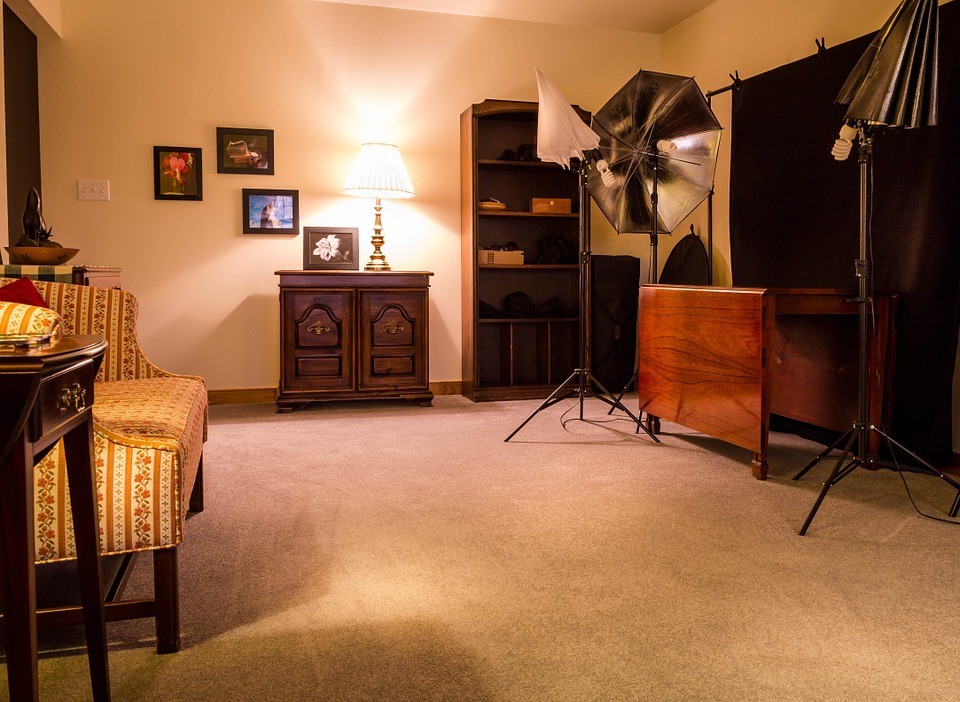
#2: Select camera position within a room

Choosing the camera angle is a important parts when you take the product photos with natural light. When photographing with window light at low ISOs your exposure can be upwards of several seconds, depending on your aperture. For the natural light photographer, finding that spot depends on two things: available space, and window brightness.
Most importantly, you need to pick a space you can physically occupy. For smaller houses and rooms, quite often your only choice is the doorway, as it is likely to be the only spot where you can fit behind the tripod. Capturing three walls in your shot will give the viewer a better idea of the size and space of the room.
Pick a spot in which extremely bright windows are angled more than 45 degrees away from center of your lens’ field of view. In addition, you should use ISO 100 to keep the noise levels down.

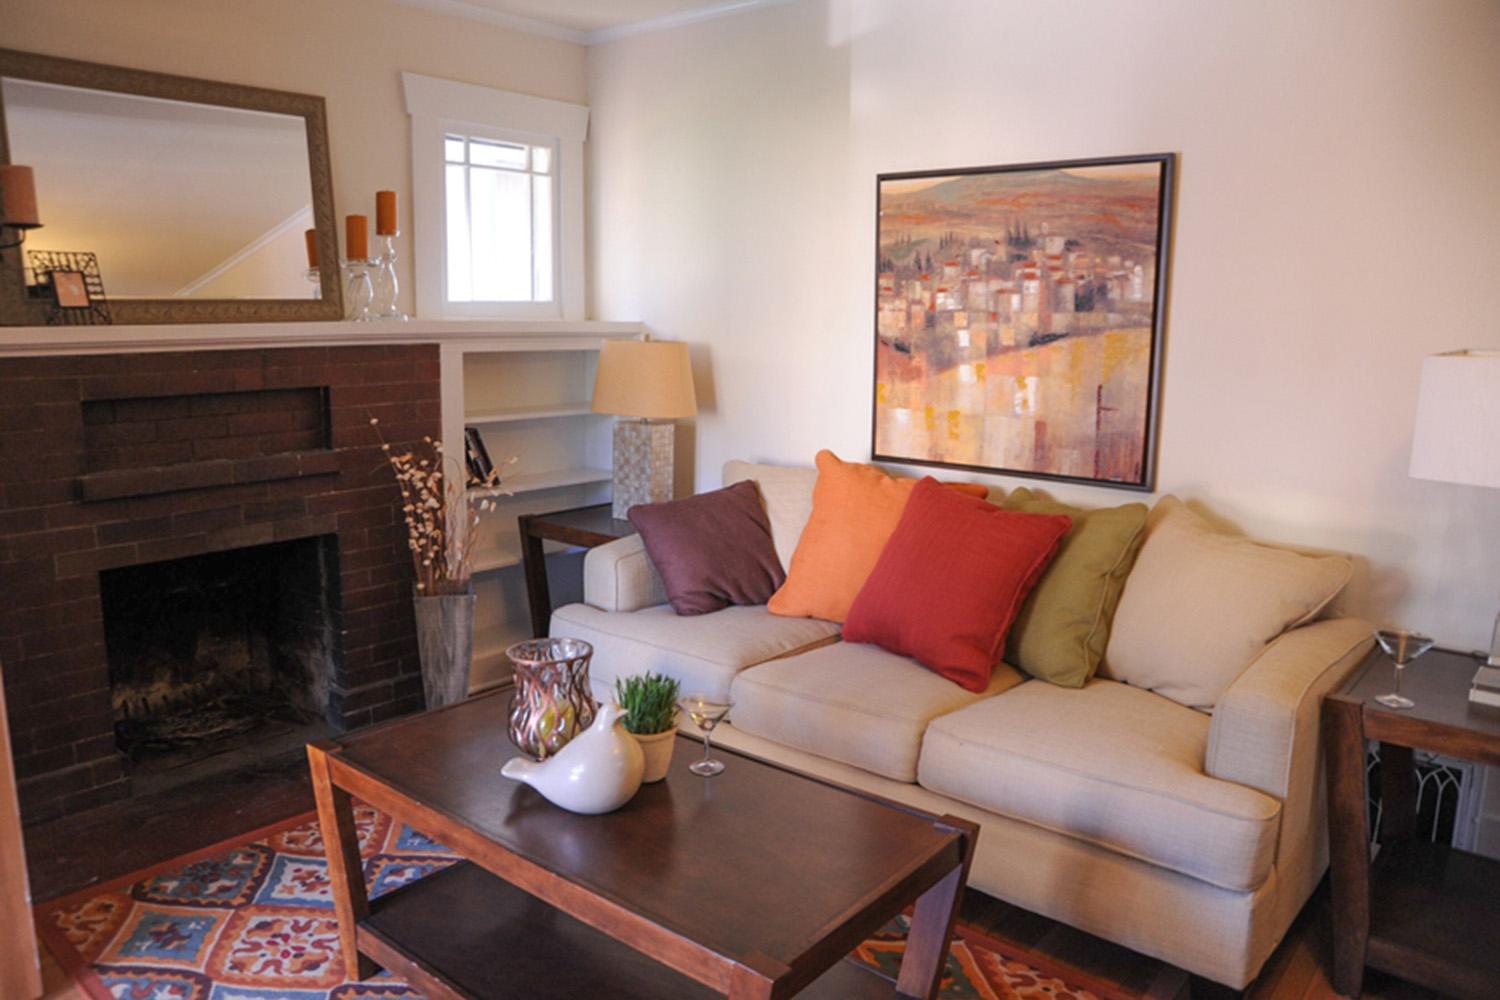
#3: Choose the appropriate Angle

First, to capture and shoot the natural light for real estate photography, you should choose the appropriate angle where have much light in a room. Let’s set up objects near window. Then, taking a photo with your camera set to expose for the room you’re in will leave the windows over-exposed as a mass of over-powering white light. High-end interior photography involves balancing the light coming through the windows with the light inside the room. Doing this correctly enables you to see the view outside the windows.
Don’t forget that you can weaken the light source by covering the window with a thin, solid curtain or various types of paper.

#4: Mixed lighting insidefotosolution-4-Tips-For-Better-Real-Estate-Photography-Using-Natural-Light-03

One of the difficulties of working with natural light, is dealing with mixed lighting situations. You can choose to leave interior lights off, resulting in a single daylight color temperature throughout the image. However, if light is too weak, not enough to shoot the reality image, this is a problem for photographers.
If the room isn’t bathed in sunlight, or contains light fixtures like pendants or chandeliers that should be on display, make sure to turn them on. Mixed lighting in real estate photographer will help them become warmer looking spaces.

fotosolution-4-Tips-For-Better-Real-Estate-Photography-Using-Natural-Light-04
Natural light is one of the important elements that help photographer make beautiful real estate photography. Here are 4 basic tips for better interior photos by using natural light. We hope that you will find it interesting. Do you have other methods for better real estate photography by using photography?. Please share your experiences in the comment below.
Thanks for watching!.

Categories
Support Tips & Tricks

What do you choice: Natural Light v.s Artificial Light?

A best product photograph need to use many different elements and lighting is one of essential factors to create the success of product photograph. There are two kind of lighting that photographers use to capture beautiful photos: natural light and artificial light. When you use an artificial light source, these can affect directly your product’s color, while using natural lighting for product photos preserves the natural color of the product. And a important question in photography: it is better natural light and artificial light. Each has its respective pros and cons, but many photographers might feel uneasy when trying to replace natural lighting with a strobe.

What is natural light and artificial light?. Natural light is extremely straightforward: it’s daylight. You can work in late morning and early afternoon – the times of beautiful sunlight and these gives sufficient lighting near windows or in the shade.  Artificial light generally creates various types of color heat signatures. And the biggest aspect of artificial light is that you can control it inside of your studio. You can control its angle, intensity, distance and hardness while natural light is much harder to control and is affected by numerous factors, to boot.

To understand more about the two kind of lighting, we will discover the advantages and the disadvantages of natural light and artificial light.

The advantages of natural light and artificial light:

Artificial light is constantly available throughout the day and night, thus allowing you to skip planning your shoot around factors like the time of day and the weather has no effect on you. Based on the specific type of artificial light you select, you can even mimic sunlight or moonlight in your shots, giving the impression that you worked with natural light when you really didn’t.

In fact, there are cheaper options available in addition to the more expensive, professional strobe lights. While some artificial lights can be a bit difficult to set up, a lot more are quite easy to use.

In addition, if you want a particular look or mood, all that you have to do is set up the lights, and take photos until you have your results. There’s no worry that a cloud will move in and block your light. This a huge advantage over the fast changing conditions of natural light.

fotosolution-What-do-you-choice-Natural-Light-Artificial-Light-02

As you know, the light changes from hour to hour and day to day. To create natural lighting for your own photos, you should shoot your photos at the brightest time of day. You can work in late morning and early afternoon – the times of beautiful sunlight and these gives sufficient lighting near windows or in the shade.

In general, morning light is bright and has less color, while afternoon and evening light often has a warm undertone and brings out greater contrast in your images. You can always neutralize the image and make it cooler in post-production if want a cool, dark image.

In addition, natural light costs nothing to make use of; there are plenty of gadgets and accessories available, such as reflectors and diffusers, that do help to maximize results, but even without them, it is easy enough to get beautiful results using natural light, without spending any money.

The disadvantage of natural light and artificial light

Avoid reflecting of your shadow fall because this shadow will hide some details of your product and lost some of it sparkles. Avoid spending times to take your photos in sunset. Sunset is considered as golden hour to make a beautiful photos but use too much, it can create harsh shadows or be too warm for a simple product photo. If you’re shooting indoors, you should put your item in place where has lots of windows. Don’t forget that you can weaken the light source by covering the window with a thin, solid curtain or various types of paper. Be careful!.fotosolution-What-do-you-choice-Natural-Light-Artificial-Light-01

Remember that you need to focus on the product – it is the most important things to decide your best photos. Producing a nicely arranged photo of your product in use can be really effective and natural lighting can often produce beautiful effects but you must guarantee the quality of product. In addition, the effects of weather and other people are gone, this solution is not without its own limitations. Window light, while often beautiful for photography, can be quite dim and may require slower shutter speeds than you might like for portrait photography. A lack of space is also a common problem when shooting indoors.

If you use the artificial light, you’ll make a bigger investment in terms of money, time and planning from the very start. Another initial disadvantage of studio lighting is the amount of knowledge you have to gain, in order to start using it. It’s very possible to accidentally take a beautifully lit photo in natural light. With artificial light, that’s next to impossible. To get good results, you have to spend an enormous amount of time reading and practicing. This involves things like new aspects of aperture and shutter speed in relation to flash, qualities of light, effects of modifiers and the dreaded inverse square law.

So, natural light and artificial light, what is the better?. It is difficult to choose and answer correctly this question. In my opinion, neither and both are better. Both are just tools to be used at each photographer’s discretion. Each method is capable of stunning results and you would rather have a full toolkit to use for every opportunity, than miss out on something because you restricted yourself from using the right tool for the job.

Here are some our experiences about natural light and artificial light that we want to share. We hope that you will find it interesting. If you should our support, please do not hesitate to contact us. If you have any opinions as well as any questions concerned about this subject, let me know in the comment below.