Categories
Support Tips & Tricks

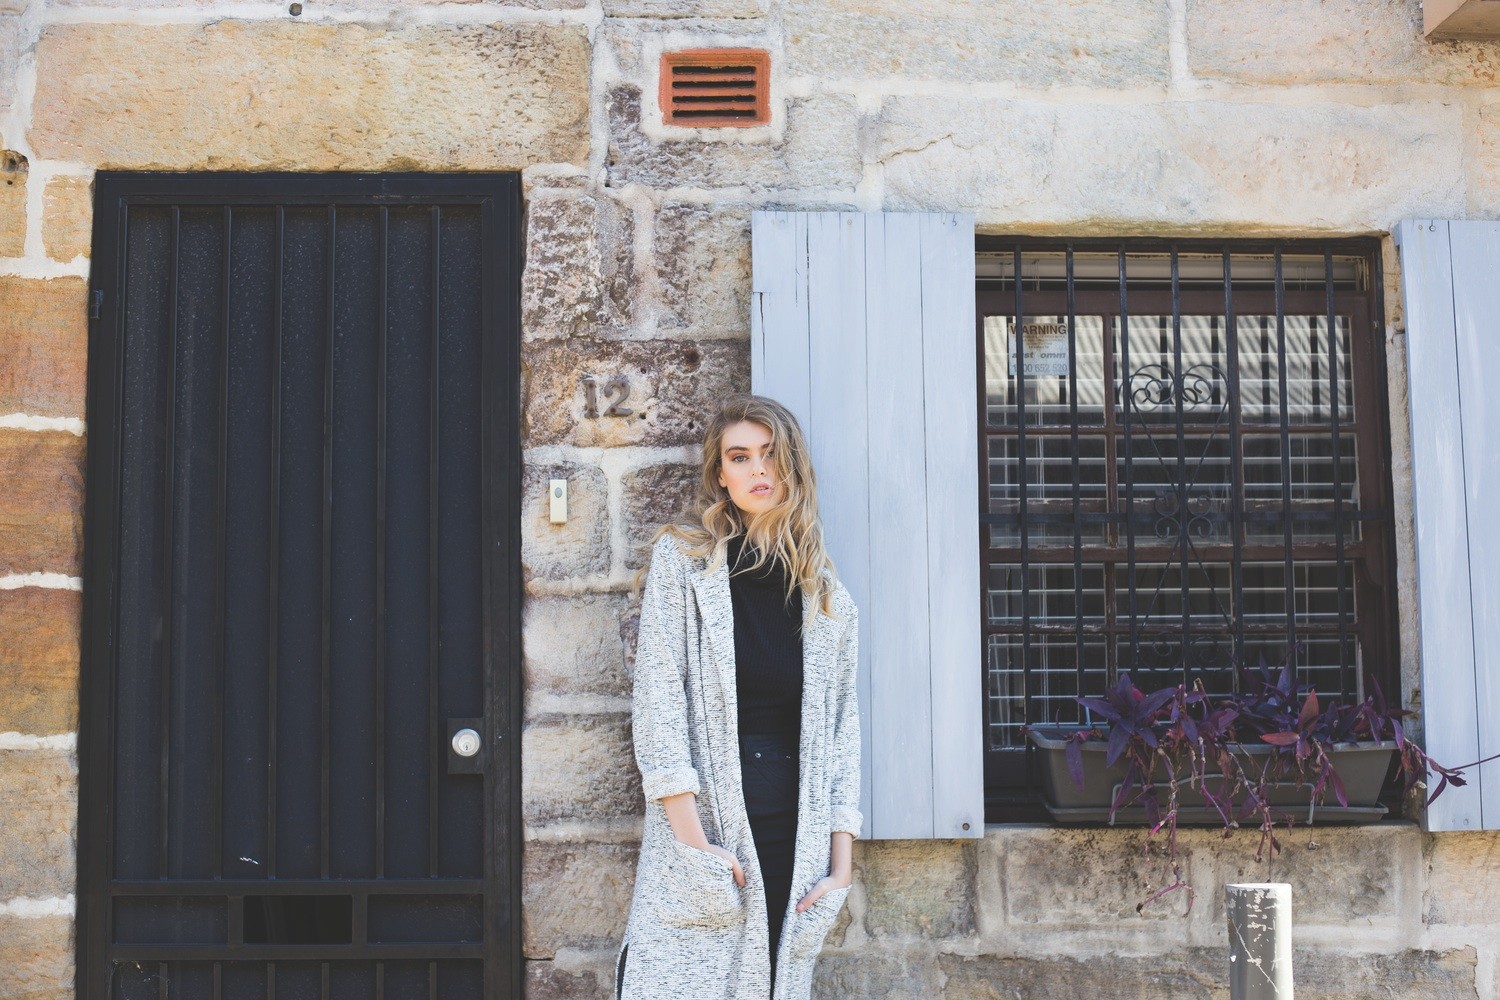
3 Main Reasons To Use Natural Lighting For Headshot Photography

Natural lighting is one of useful and important tool that support for photographer’s project. In addition, this source of light is completely free and natural. Understanding the feaures and the advantages of natural lighting allow photographers to improve the quality of images and save time as well as save their budget. Today, we will show take advantages of natural lighting in shooting headshot photography.

Headshot photography is a photographic technique where the focus of photograph is a person’s face. Do you owner best headshot photography?. If you are professional photographer, you should know how to get someone relax in the front of camera, evoke the best poses to capture amazing photography with the aim of natural lighting.

Below are 3 main reasons to use natural lighting for headshot photography. Hopefully, you will find it interesting.

Natural Lighting is cheap

If you are beginner, you can’t affort to hire modern equipement for shooting project. In other words, you can creat a beautiful headshot photography without fancy studio equipement.

Think ing about your own product and how being a natural light photographer may be a way to capture attention from potential clients. In addition, you should understand and take advantage of natural lighting. The time of the day is also known as golden hours because of the tone of the lighting. For example, morning light is softer light, mid-day light is harsh and night-day is the weakest lighting. Knowing the natural of light will allow you to plan the timing of the shoot.

fotosolution-3-Main-Reasons-To-Use-Natural-Lighting-For-Headshot-Photography-01

Natural lighting highlights every skin tone

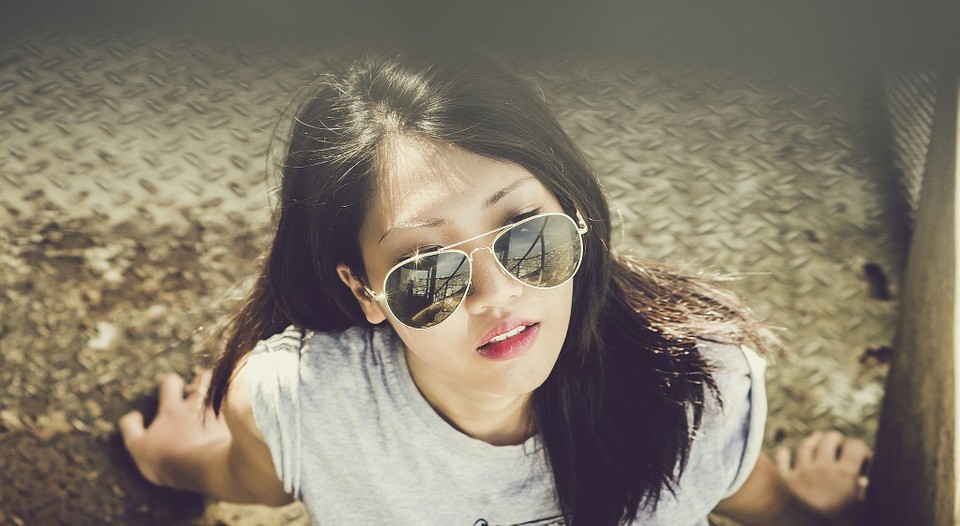
Natural lighting is one of perfect choices that help you highlights every skin tone. From pale or white skin to dark chocolate brown, natural light makes everyone look beautiful. Natural light will make skin tone or facial features brighter. If you shoot headshot photos at midday – the harshest time of day, you should set up objects to limite the harsh lighting. For example, you can use the side of a building or under a tree.

fotosolution-3-Main-Reasons-To-Use-Natural-Lighting-For-Headshot-Photography-03

Simply, you just know and understant the time of natural lighting, just be creative in how you use it, you will capture best headshot photography.

Shooting outdoors is more effective

Every location has its own particular feature that can give an image something unique. The location doesn’t have to dictate the type of shot you take but certain places will enhance your vision. Getting your subjects to interact with the surroundings not only makes for a more interesting shot, but adds a bit of fun for everyone involved. Also, shooting outdoors will best way that allow your clients to access to environment and to feel relax as well as more comfortable.

fotosolution-3-Main-Reasons-To-Use-Natural-Lighting-For-Headshot-Photography-02

Now, the mission of photographer are that help clients know how to get relax in the front of camera. It gives you a chance to take some of pressure off them. This is best opportunity that help you capture best moment of clients as well as have better look of the headshot.

Here are 3 main reasons to do headshot with natural lighting we wanna share with readers. What other reasons do you know? Share your questions and experiences with us below.
Categories
Support Tips & Tricks

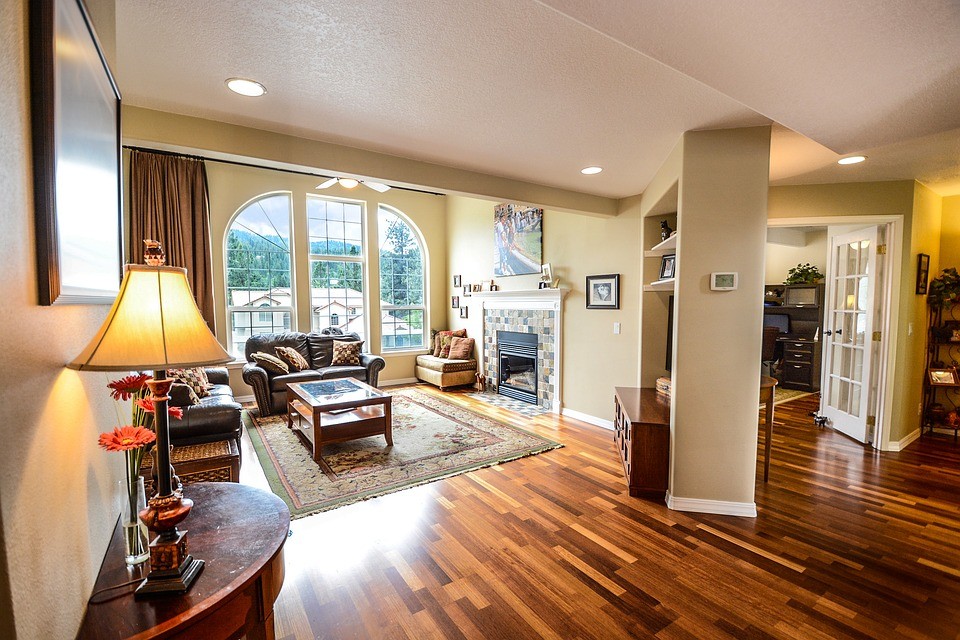
5 Tips to Own Great Real Estate Interior with Bright Windows

One of the most frequently asked question we receive is from photographers facing to over-exposed window with regards to interior photography. It’s considered as tricky skill or big challenge for photographer as mastering the large lighting differences between the darkest parts of the room and the view on the outside.

The most convenient solution to tack this issue without using expensive lighting equipment is to take multiple exposures. You can use the Automatic Exposure Bracketing function that is available on most DSLR cameras to capture the room interior with bright window.

Here are 5 tips to own great real estate interior with bright window we wanna share. Now, let’s start by identifying this problem and find the best results.

Turning on all lights on the room

fotosolution-5-Tips-to-Own-Great-Real-Estate-Interior-with-Bright-Windows-1

As far as we know, the light level in outside and the room are very differents. This spread of brightest exposure are on the outside. During a sunny day, the light level outside can be over 30 times brighter, almost 5 stops than the room you’re in, the researchers results claims. So we need to increase the light within the room by turning on all lights on the room. This will make the room brighter and help it limit to the lighting differences in the scene.

Set the ISO to 400

fotosolution-5-Tips-to-Own-Great-Real-Estate-Interior-with-Bright-Windows-2

Next, we need to establish a “base shot” with setting up approriate ISO. Our goal is to be able to see the view through the windows. One useful advices for photographer is that use ISO not higher than 400. This level will help you achieve the best result even when using the tripod to shoot.

Putting up the interior to set up the shutter speed

We need to have many light in the room including using the lamps and natural lighting. For the natural lighting, the bright sunlight coming through the window will skew your camera’s auto exposure towards underexposure and the bright of lighting results so too.

To get the best lighting result, let’s point your camera at some position in the interior that is far away from the windows and any other source of lighting. Then, we will use and set up the shutter speed. Shutter speed only affect the ambient light in the scene. It cannot change the effect of your flash has on illuminating the room or any objects in that room. However, slowing down your shutter speed can help you raise the ambient light level of the room.

Keep in mind that you need to set your camera to Aperture priority before doing this.

Set the camera to manual mode

fotosolution-5-Tips-to-Own-Great-Real-Estate-Interior-with-Bright-Windows-3

Manual mode is great choice in this circumstance, it will help you master the camera’s setting. Using manual mode allows you to choose the shutter speed for the normal exposure of your bracketed sequence and gurantee that the aperture and the ISO are kept the same in all bracketed shots.

Using the camera for bracket 5 frames at 2EV

Your bracketed exposures cover both the bright window views and the darkest parts of the interior are idea solution that help you achieve the good result. So, let’s use the camera that can auto bracket 5 frames at 2 EV.

If you’d prefer add this article to your favorite document sources sharing site and leave the link to them. Or let’s us know your thought in the comment below. We greatly appreciate your hearfelt opinion.

Categories
Support Tips & Tricks

How to Use Natural Lighting for Best Product Photograph

A best product photograph need to use many differents elements and natural lighting is one of essential factors to creat the success of product photograph. If you love photograph and are photographer, have you ever used natural lighting for your photograph?. Below is some useful tips what help you learn how to use natural lighting for best product photograph.

When you use an artificial light source, these can affect directly your product’s colour, while using natural lighting for product photos preserves the natural colour of the product. So, natural lighting complements products photos really well. However, the light changes from hour to hour and day to day. You can choice the suitable light for your product.

Select the camera angle

Choosing the camera angle is a important parts when you take the product photos with natural light. When photographing with window light at low ISOs your exposure can be upwards of several seconds, depending on your aperture.

fotosolution-how-to-use-natural-lighting-for-best-product-photograph-2

Suggestion: you should use ISO 100 to keep the noise levels down.

Choose the best time of day

As you know, the light changes from hour to hour and day to day. To create natural lighting for your own photos, you should shoot your photos at the brightest time of day. You can work in late morning and early afternoon – the times of beautiful sunlight and these gives sufficient lighting near windows or in the shade. In general, morning light is bright and has less colour, while afternoon and evening light often has a warm undertone and brings out greater contrast in your images. You can always neutralise the image and make it cooler in post-production if want a cool, dark image.

fotosolution-how-to-use-natural-lighting-for-best-product-photograph-1-1

Avoid reflecting of your shadow fall because this shadow will hide some details of your product and lost some of it sparkles. Avoid spending times to take your photos in sunset. Sunset is considered as golden hour to make a beautiful photos but use too much, it can create harsh shadows or be too warm for a simple product photo. If you’re shooting indoors, you should put your item in place where has lots of windows. Don’t forget that you can weaken the light source by covering the window with a thin, solid curtain or various types of paper. Be careful!

Remember that you need to focus on the product – it is the most important things to decide your best photos. Producing a nicely arranged photo of your product in use can be really effective and natural lighting can often produce beautiful effects but you must guarantee the quality of product.

Natural lighting will help your photos look great. We hope that our useful tips will bring you precious experiences to make beautiful product photograph and increase your online sales.

Categories
Tips & Tricks

6 Creative Ways To improve Your Digital Photography

As we know, digital photography play an important role to create the success of your sites or your shopping online. Why is digital photography important and how to revamp your digital photography?. Try to think that if you shoot a normal picture not digital photograph, it is not difficult to make that picture become more special before the eyes’s customers. But if you use the diverse photo effects and next gen tools, you can transform your pictures into stunning pieces of digital art.

Think about it. What are your photos really telling viewers? What is photo clarity and revamping and how do you achieve it?. How has the evolving digital world changed things for photographers?. Welcome to our site – it is great choice to answer every questions.

Create the light your photos by using the sun

sunlight-in-your-home

A best product photograph need to use many differents elements and natural lighting is one of essential factors to creat the success of product photograph. When you use an artificial light source, these can affect directly your product’s colour, while using natural lighting for product photos preserves the natural colour of the product. So, natural lighting complements products photos really well. Using the sun for photograph is considered as the most truely natural lighting for your product. It is one of the best lightings for great shots with fine details and splendid colors. However, the light changes from hour to hour and day to day. You can choice the suitable light for your product.

Choosing camera position

TStripod2

Choosing the camera angle is a important parts when you take the product photos with natural light. A photo can look much better just by approaching it in a different angle. Move your camera in relation to the subject and zoom in or out to change the composition.

Using watercolor effects

Colors is one of essential factors to make the paintings stand out. Watercolor effects is useful way what painters choose for their artwork. Photos can be revamped or recreated into luminous and soft watercolor digital photography. With various tools to choose from, you can easily create a watercolor effect to create photos that are uniquely yours..

Using the flash effect

The flash is a great tool to improve your digital photography. But how to use the effective flash is not simple. You need to keep a right distance when using the tool. It can’t be too near or too far. Often, a digital camera flash has a range of about 3 meters. If the flash is too far, your photos will be too dark. But if your flash are too close, your product photograph may be affected.

Use a Coloring Book Effect

This is an extremely fun and creative way to revamp your overall imagery. The best thing about photo editing and retouching tools is that you can use it on multiple images, allowing you to create a cool coloring book effect that helps reduce your photo to a simple but unique photography.

Make Your Photo a Digital Painting

You can use the scale space algorithm to reduce details excess in your photo or image and this will help your product photograph become more realistic. You can also break the basic preset rules by customizing various features to suit your taste when turning your photos into digital photography.

These amazing suggestions help you improve and revamp your digital photograph. 6 creative ways  remove image backgrounds to create digital artwork by allowing users to edit and cull their photos with a digital revamp. So, you are sure to incorporate layer masking techniques and blending modes to achieve a great effect. We hope that they will satisfy for your product photograph. Let’s share your experiences with us by comments in our site.