Best shots of apparel are important elements that help your product attract the customer’s attraction in the first time. So, how to own best shots of apparel for your store online?. This subject’s today will show reader 6 tips to take best apparel photos for your store online.
You are planning on building your own store online, you want to make all things what appear in your online shopping or your personality page more perfectly before the viewer’s eyes. Beautiful and sharp-looking product shots or best shots are a sure way to garner consumer confidence. Besides, this has a significant effect on your overall drive sales.
The first important factors what your customers always buy fashion ecommerce, will attract is apparel product photography. Taking professional photos of your apparel so as to improve the look and performance of your online shop involves simple tips and tricks as highlighted below. Incorporate them in your clothing photography for the best results.
Show off the Details
If you compared between the jewelry photos and the garment photos , you will shows details on apparels isn’t all that tricky. Preparing garments to be photographed is a crucial starting point for photographing apparel. Yet many photographers skip this step and rely on Photoshop to fix wrinkles, stains, and other visible defects. You should complete your product with some close-ups of the feature you wish to emphasize on. Tags, patterns, buttons, stitching— any detail you think makes your garment to stand out, focus on it.
Use props
Props and tools are a great way to ensure your ecommerce fashion product fits the model or dummy much better. Don’t be afraid to use props and tools to help you make the product fit the mannequin or model better. If the clothing available is larger than your model or mannequin, pin the loose portions at the back using a laundry clip.
- Use magic tape and transparent tape to fix loose portions at the side. You can also tape any tags if they’re visible.
- If the dummy has a small bust, insert a padded bra inside the apparel to enhance it.
- You want a dress or skirt to look ‘flowy’, let the model wear a petticoat inside the clothing.
- When you want to add some movement to the garment, use a fan on a low setting but from a distance.
- Use an iron to get rid of any wrinkles before you shoot. A steam iron will give you the best results, but you can also use a regular flat iron.
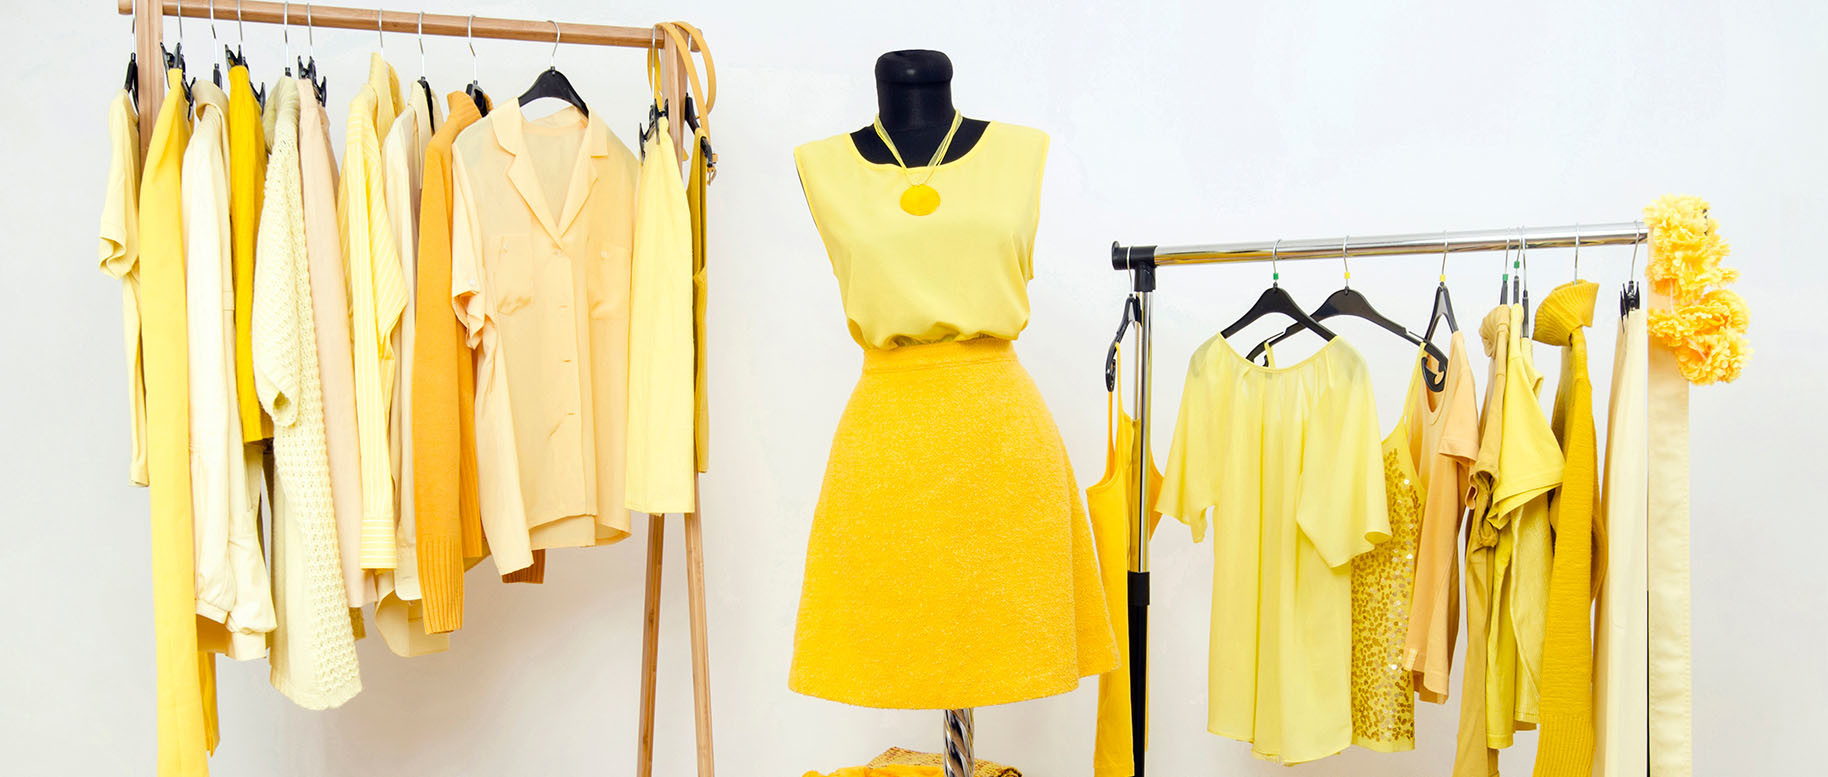
Use a Model

Photographing a garment on a mannequin or a model is the best way to demonstrate shape and fit, while also encouraging customers to visualize themselves wearing it. Using models make clothing come to life. Professionals are extremely expensive and you’ll have to mutually agree on a more convenient time, which sometimes isn’t easy. But the best thing about models is that they can strike any pose or even work with any given angle that accentuates your piece, helping you create the most amazing in-context shot or best shots for your apparel.
Tips: You should choose models who represent and can resonate well with their target customer.
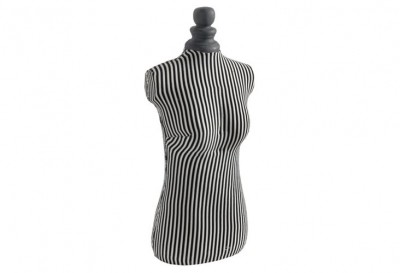
Use a mannequin

When you hire a model for store online, you will lost much money but using a mannequin, this will help your budget can save much better. As we know, when it comes to fashion ecommerce, displaying your clothing in a more realistic form is of more importance to your target customers. Since your customers can’t try on your apparels, and naturally they are more hesitant. If they can’t see picture how the piece will look on them. Using mannequins are an affordable alternative for best shots and easy to work with. Take time to style your product on the mannequin. If your garment looks too big, try fitting it closer to your mannequin by pinning it and tucking it until it fits properly. And you’re concerned a mannequin may be distracting or cheapen your product, you can use the invisible mannequin technique in post-production processing. A few additional shots of each product will allow you to remove the mannequin from your product images and present a 3D image that demonstrates shape and fit.
Create a Ghost Mannequin

Using mannequins for your product images is an efficient and cost-effective way to promote your products. However, mannequins can be distracting, so a great alternative is to create a ghost mannequin effect for your product images. In order to create the “ghost mannequin” illusion, you will need to first photograph your product being worn by a model or a mannequin from multiple angles. The plus side to this is that you will be able to use these images in your product galleries alongside any “ghost” images that you create. By displaying a few sections of the inside of your attire, your product will achieve a three-dimensional human form. Though the process of creating a ghost mannequin can be difficult, the end result is certainly worth it and it help you save your budget instead of hiring models.
Steps to Creating a Ghost Mannequin
Take a best shots of the product from the front. Then take a photo from the back, but turn the product inside out. You should use a tripod for this and avoid changing the amount you zoom. A good idea is to also mark a spot on the floor for your mannequin so it’s in the same spot for both photos. The next step involves background removal, as the background needs to be visible from the front. Using the pen tool will give you the best results, but it does take a bit of practice to learn how it works or using Photoshop to place the front on top of the back; this should be easy especially if both photos are taken from the same angle and distance. This process requires some skill and also takes some time. If you ever need help fixing this, remove background can professionally create for you the final ghost images.
Now you can take photos of your apparel!
Here are some tips useful sharing for your store online, we hope that you will find its interesting. What other tips to own best photography have you known?. Let’s add to the list? Leave one in the comments below!.