If you’re beginning to extend your product photography, you’re already familiar with Adobe Lightroom.
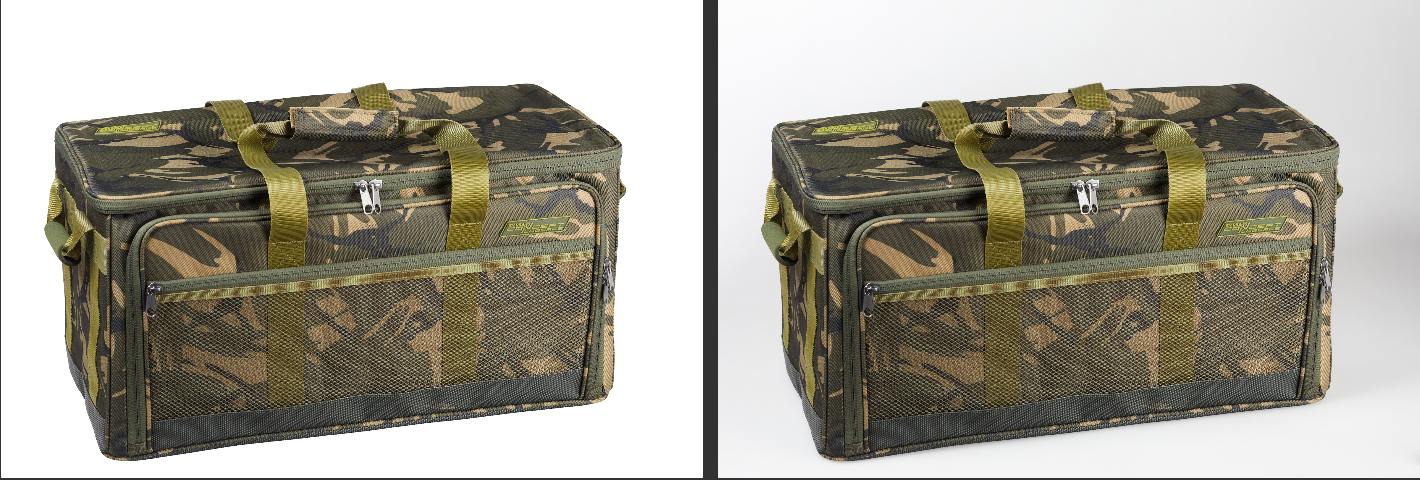
As far as we know, Adobe Photoshop Lightroom is a gold key for your product photography. Tethering, presets, batch editing, and other helpful tools for product photography are all there in this excellent program. Lightroom may be effectively used to produce reliable, excellent photos. Especially, it has some quick and powerful tools for product images. So, have you ever used the Adobe Lightroom tool for product photography? Today we will share some tips to help you with the product image in Adobe Lightroom.
In this document today, we will address 2 basic questions, like:
- What is the Adobe Lightroom?
- How to use Adobe Lightrom for Product Images
What is Adobe Lightroom?
Adobe Lightroom is software designed to be used by photographers for photo management and editing. Alternatively, cataloging and modifying It’s similar to a lightweight combination of Adobe Bridge and Adobe Photoshop if you’re familiar with other Adobe programs. But that’s selling it short.
Images can be imported, arranged, edited, and exported. You may search, bookmark favorites, make collections, and share photos. You can adjust individual images, perform batch edits, and save sets of adjustments as “presets.
How to use Adobe Lightrom for Product Images ?
Organize Image
What images are you processing?
Assume for the moment that you have just concluded a picture session and are editing RAW files directly from the camera. We advise creating a single folder on your computer where you may save all of the RAW files from the shoot.
Because lighting conditions will be similar, if not identical, organizing by shoot makes logical. That means the adjustments we make will be similar, too, enabling batch processing.

Import Image
Next, you should import the image into a folder. Below are some basic steps to help you import images.
- Select “Import” from the menu.
- Find the image folder using the file browser
- “All Photos” will be checked by default
- Click “Import” and “Adjust”
Adjust Image
After importing an image into a folder, you should choose an image from the folder. Because we’ll use this single image to perform adjustments. Then we’ll apply those adjustments to all other images. In other words, we will include
- Choose an image from the “Library”
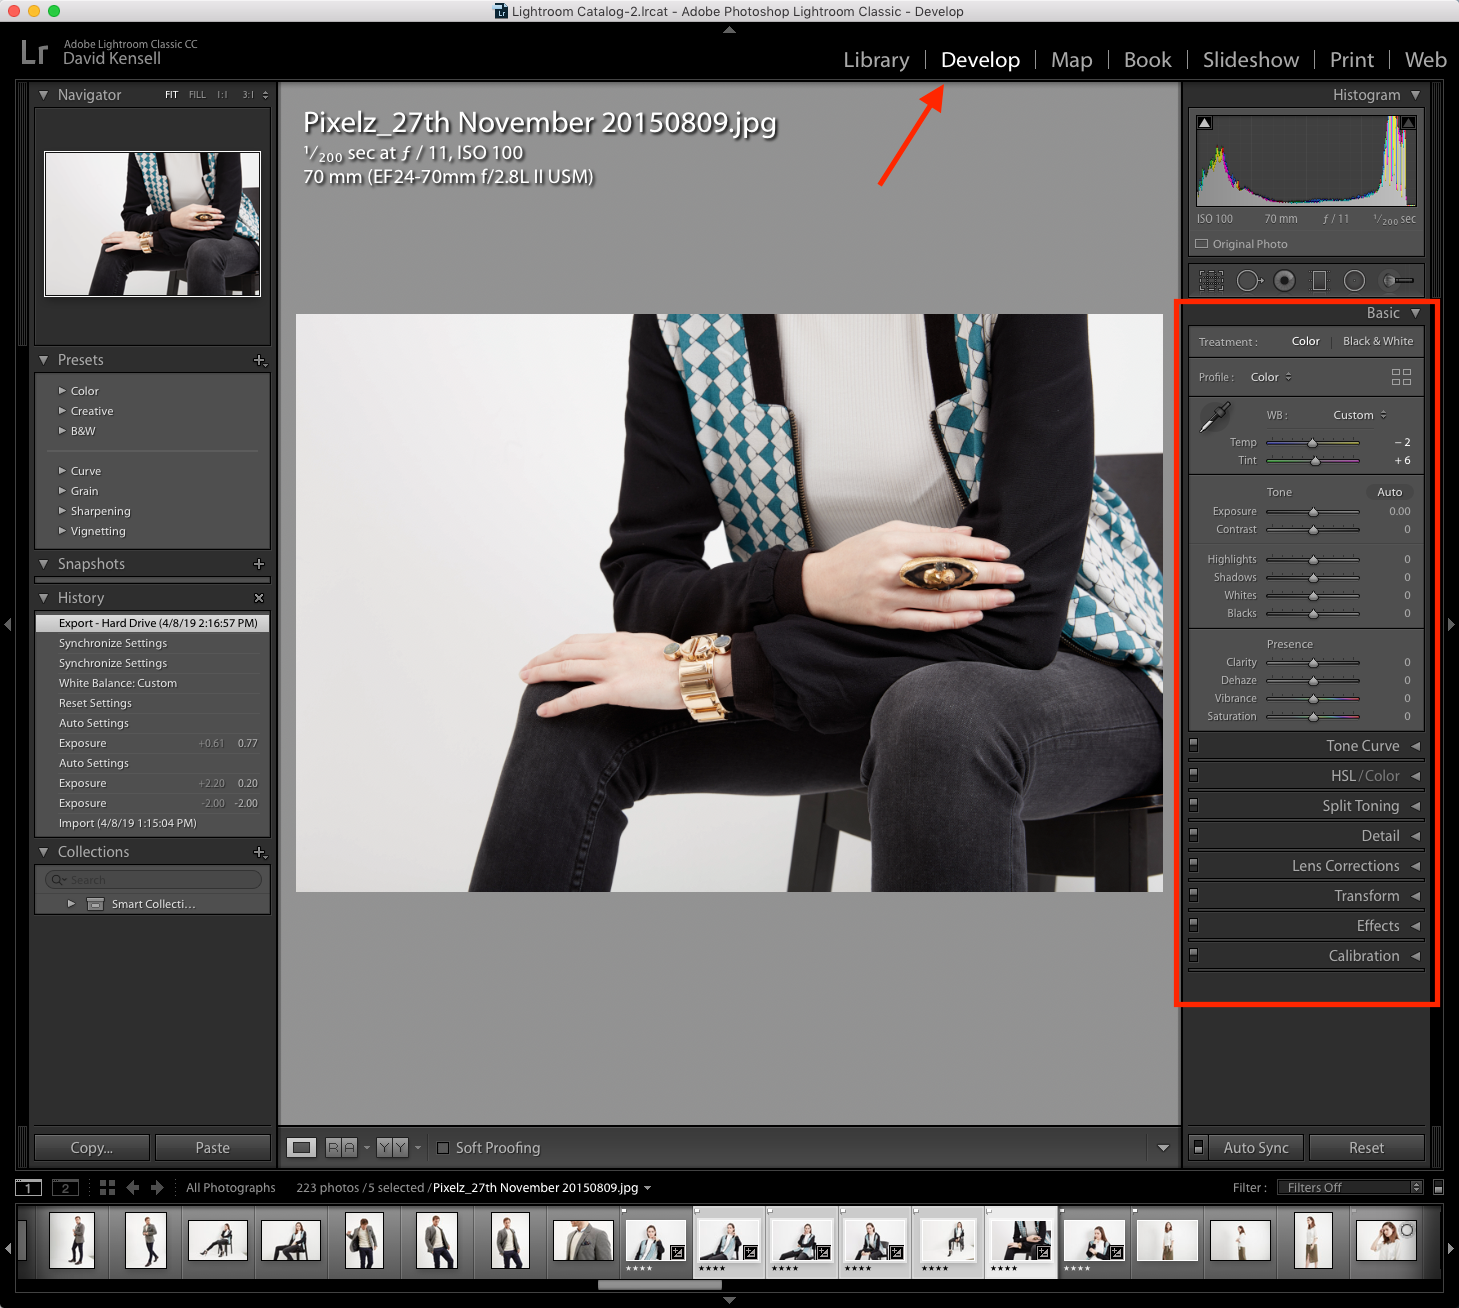
- Click “Develop”
- Expand “Basics” if not already open
- Adjust “White Balance,” “Exposure,” “Contrast”

Now you need carry out 3 main steps including: White balance, Exposure and Contract tools.
White Balance
Click the dropper tool up in the top left of the “Basics” tab, and drag it over the image to a spot that should be grey. Click that spot and Lightroom will automatically white-balance your image. If you’re still not quite satisfied, let’s play about with the “Temp” and “Tint” choices until you find the perfect setting.
Exposure
Brighten or darken your image with the “Exposure” slider. Don’t feel obligated to use it just because it’s there. If the quality of your image is very well, you should not waste time adjusting.
Contrast
By lightening light mid-tones and deepening dark mid-tones, the contrast will draw attention to details. Use it to enhance minor details.
Sync Adjustment to all image
It’s time to apply those adjustments to all of your other images from the shoot:
- Select the rest of your images.
- Click the “sync” button at the bottom right of the “tools” panel.
- From the popup window, choose the adjustments you want to apply to the rest of your images.
- Click “synchronize”
Flag or Star Selects
The adjusting is finished but you still need to sort through your images to find the ones you want to use.
- Select a photo from the filmstrip
- Press arrow key to go to next image
- Press “P” key to flag images you’ll use
- Press “5” key to star hero images
- Choose “Flagged” in the bottom right “Filter” drop down menu.
Export Image
Finally, you should only export the image and save the file. Create a new folder with a descriptive name, such as “Color Corrected” or “Final,” inside the same folder as your RAW photographs. Next, you can create a naming convention for your picture files that will aid in future organization, such as style numbers.

Depending on your workflow, you’re not going to want to continue shooting in RAW format. You might want to export your photographs as PSD or TIFF if you intend to do additional customized modifications in Photoshop. It’s JPEG time to conserve disk space, especially if you’re about to browse the web.
Here are tips to use Adobe Lightroom for product photography. The Fotosoluton’s retouching service makes it incredibly simple to get your images professionally edited, at scale, with a next morning turnaround if you don’t have the time or want to spend all day in Photoshop editing pictures. Benefit from the free trial and receive the best offers, let’s contact: sales@fotosolution.com – Mrs. Sofia Giang
If you have any opinions as well as any questions concerned about this subject, let me know your ideas in the comment below.
