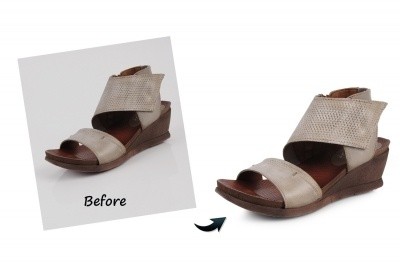
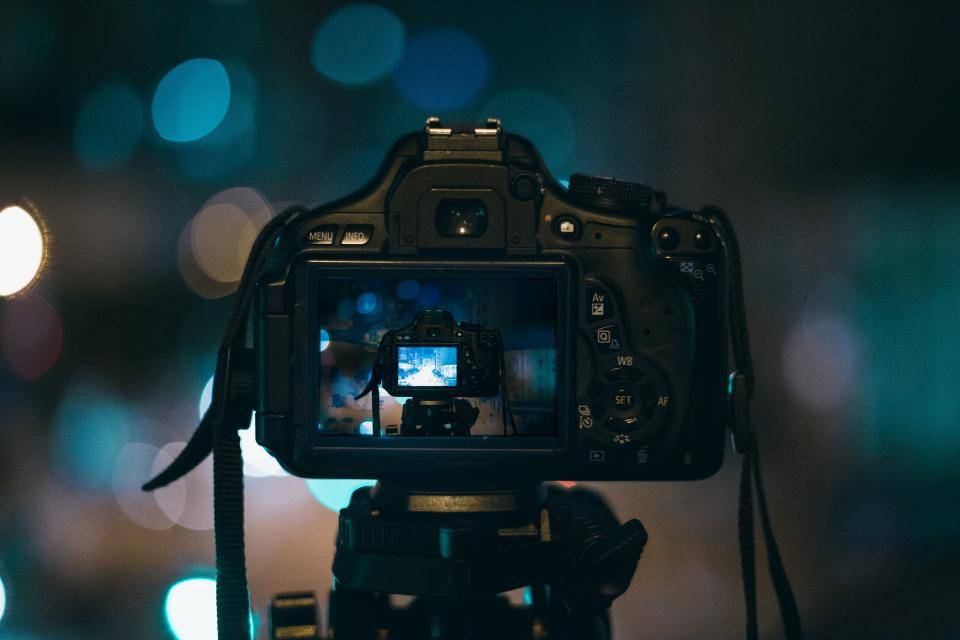
Product photography or apparel photograph is one of the most important factors to improve the sales online and keep the customers. High quality product photography is essential for apparel ecommerce. For many customers, your product images will determine whether or not they buy your product?. So, we will discuss the most common mistakes in product photograph to help you improve your apparel photograph and avoid them to create stunning inventory images!.
Miss 1: Not Utilizing A Mannequin or Live Model
Many apparel photographers shoot product photograph by using mannequins or live models. Choosing mannequin or live models who wear your garments – your product is the intelligent way to present product to customers the most authentic way. Normally, they simply lay clothing flat or photograph it on hangers. But they never know and understand that it is big mistake what can be affected directly to the results of sales. Photographing a garment on a mannequin or a model is the best way to demonstrate shape and fit, while also encouraging customers to visualize themselves wearing it.

If you hire a model for store online, you will lost much money but using a mannequin, you can save much better. As we know, when it comes to fashion ecommerce, displaying your clothing in a more realistic form is of more importance to your target customers. Since your customers can’t try on your apparels, and naturally they are more hesitant if they can’t picture how the piece will look on them. Using mannequins are an affordable alternative and easy to work with. Take time to style your product on the mannequin; if your garment looks too big, try fitting it closer to your mannequin by pinning it and tucking it until it fits properly. Present your products by using mannequins will allows you the opportunity to create a classy post production technique called the ghost mannequin effect and display it in the most realistic form.
Miss 2: Not Utilizing Enough Light
You should avoid to making product images look dingy and underexposed. One of your biggest with an online apparel retailer is bright lighting . Great apparel images are produced when lighting flatters your product. Shiny products like jewel, glass or metal can be tricky to photograph owing to their highly reflective nature. All your product is different and having the right lighting will allow customers to appreciate the unique facets of your garments. The darker the lighting situation, the poorer the image quality—and poor image quality will not flatter your products and vice versa.
Suggestion: You should put your item in place where has lots of windows and a reflector panel made from foam board.
Miss 3: Not Preparing the Garment Carefully

Preparing garments to be photographed is a crucial starting point for photographing apparel, yet many photographers skip this step and rely on Photoshop to fix wrinkles, stains, and other visible defects.You should complete your product with some close-ups of the feature you wish to emphasize on. Tags, patterns, buttons, stitching— any detail you think makes your garment to stand out, focus on it. So, you can check and prepare the garment carefully to ensure the quality of images as well as the effect of your product.
Miss 4: Not Using Suitable Color
Color is an essential feature of post processing careful attention to white balance, some colors—like neons, reds, and pinks—are difficult to photograph correctly in camera and often need to be tweaked in Photoshop. Let’s ensure that the colors of your garments are accurate. The bottom line is that you want the customer to see exactly what they will receive in the mail should they order your product. There are a number of ways to tweak colors, so get to know Photoshop’s offerings and choose your favorite tool. After you have fixed the colors, make sure to convert your images into SRGB format to make sure that different browsers, computer screens, and websites won’t change the accurate colors that you worked so hard to create for your customers.
Miss 5: Not Ensure The Number of Image
As you know, when you go to shopping or purchase product? You can look at the outfit’s colour, feel its fabric, checkout its prints and styles and then try out if it fits you after choosing product. If you buy the product online, image factors is one of the first elements to keep your’s leg. Beautiful quality image can be decided the big success for sales but having a small thing what we always forget, is the number image that you update your shopping online. If we just update one or two images of each product is simply but these are not enough to give customers an accurate feel for the cost-effectiveness and quality of your inventory. Therefore, it’s important to give customers as much information as possible about each product by uploading at least 3 images per product—and preferably 5-10. You should shoot photograph with many angles of your products as possible. The more images of your product that you upload, the more the customer will come to understand about the product.
Miss 6: Not Using Correct Cameras Setting
Using epic images to showcase your products can make the difference the quality of product. So, you want to take camera setting that perfect product photography—sharply focused and perfectly lit so as to attract the attention of customers. Because it is simple thing that if you choose wrong camera settings and these can drastically reduce that quality. You should check and use correct cameras setting.
Camera mode
Once you have your camera, tripod and product in place, you can start by selecting your camera mode. Most cameras offer a variety of settings but I usually stick to using three modes: Manual, Aperture priority and Automatic. As you can see, image taken with my manual mode looks much more pleasing to the eye. This is simply because you can be able to control all your image settings without worrying about the camera using the wrong automatic settings like aperture, flash, shutter speed etc.
ISO Settings
ISO Setting is one of the important factors to perfect product images. Now, let’s select our ISO setting based on the light in our studio. As a general rule, the better the light in the room, the lower your ISO value needs to be. By adjusting your ISO setting just right, you will be able to produce crisp and clean photos.

I would recommend first setting your ISO at 200 and using the viewfinder to evaluate its effect on the product image. If the image appears too dark, increase the ISO value to a setting that is more suitable. If your studio or space is too dark for shooting, raise the ISO value to a range between 600-1400.
ISO measures the sensitivity of the image sensor which takes your image. The lower the number the less sensitive your camera is to light and the finer the grain in your images. This means your image will have less grainy ‘noise’ or what I like to call speckles! Higher ISOs are generally needed in darker situations unless you are using a tripod.
Aperture
When you choose aperture, you’ll be putting up your exposure settings. For a home studio, f16 is considered ideal as you’ll need to have the whole product in focus so as to shoot clearer photos for your customers. The rule of thumb recommends the use of Aperture settings of more than f11 to ensure nearly (if not the whole) product is in focus. In essence, the higher your aperture gets the better for your images. If for some reason your camera will not reach as high, the highest aperture your camera will allow is perfect or you can even try the auto settings!.
White balance
It is a vital element of outstanding product photography. Be sure to adjust the white balance settings on your camera. Although many cameras will come with pre-program options or presets you need at least one custom white balance option. This means that the camera can “read” and self-adjust itself to be able to take pictures under many light conditions. This feature is very important. White balance means that the camera needs to adjust itself to the ambience light you are using, to give you accurate and true colors of the items being photograph. There are many different types of light sources, but the most common are tungsten, fluorescent, LED, and natural sunlight. Let’s choose suitable white balance to make your perfect product.
Miss 7: Not Editing Properly
After all is done and your images are safe in your website or your shopping online, you can edit the images you would like to upload to the web. To keep all images consistent in relation to one another and cut back your post-processing time, make sure to develop a standard set of specifications for both shooting and editing. You can check all acrops, alignments, colors, cropping and backgrounds identical from image to image in your inventory.
Finally, we have shown 7 most common mistakes in apparel photography, you have the opportunity to correct your workflow and get back on track to creating wonderful product images for your customers. Hope that you have valuable lesson after reading this post and good luck!.


